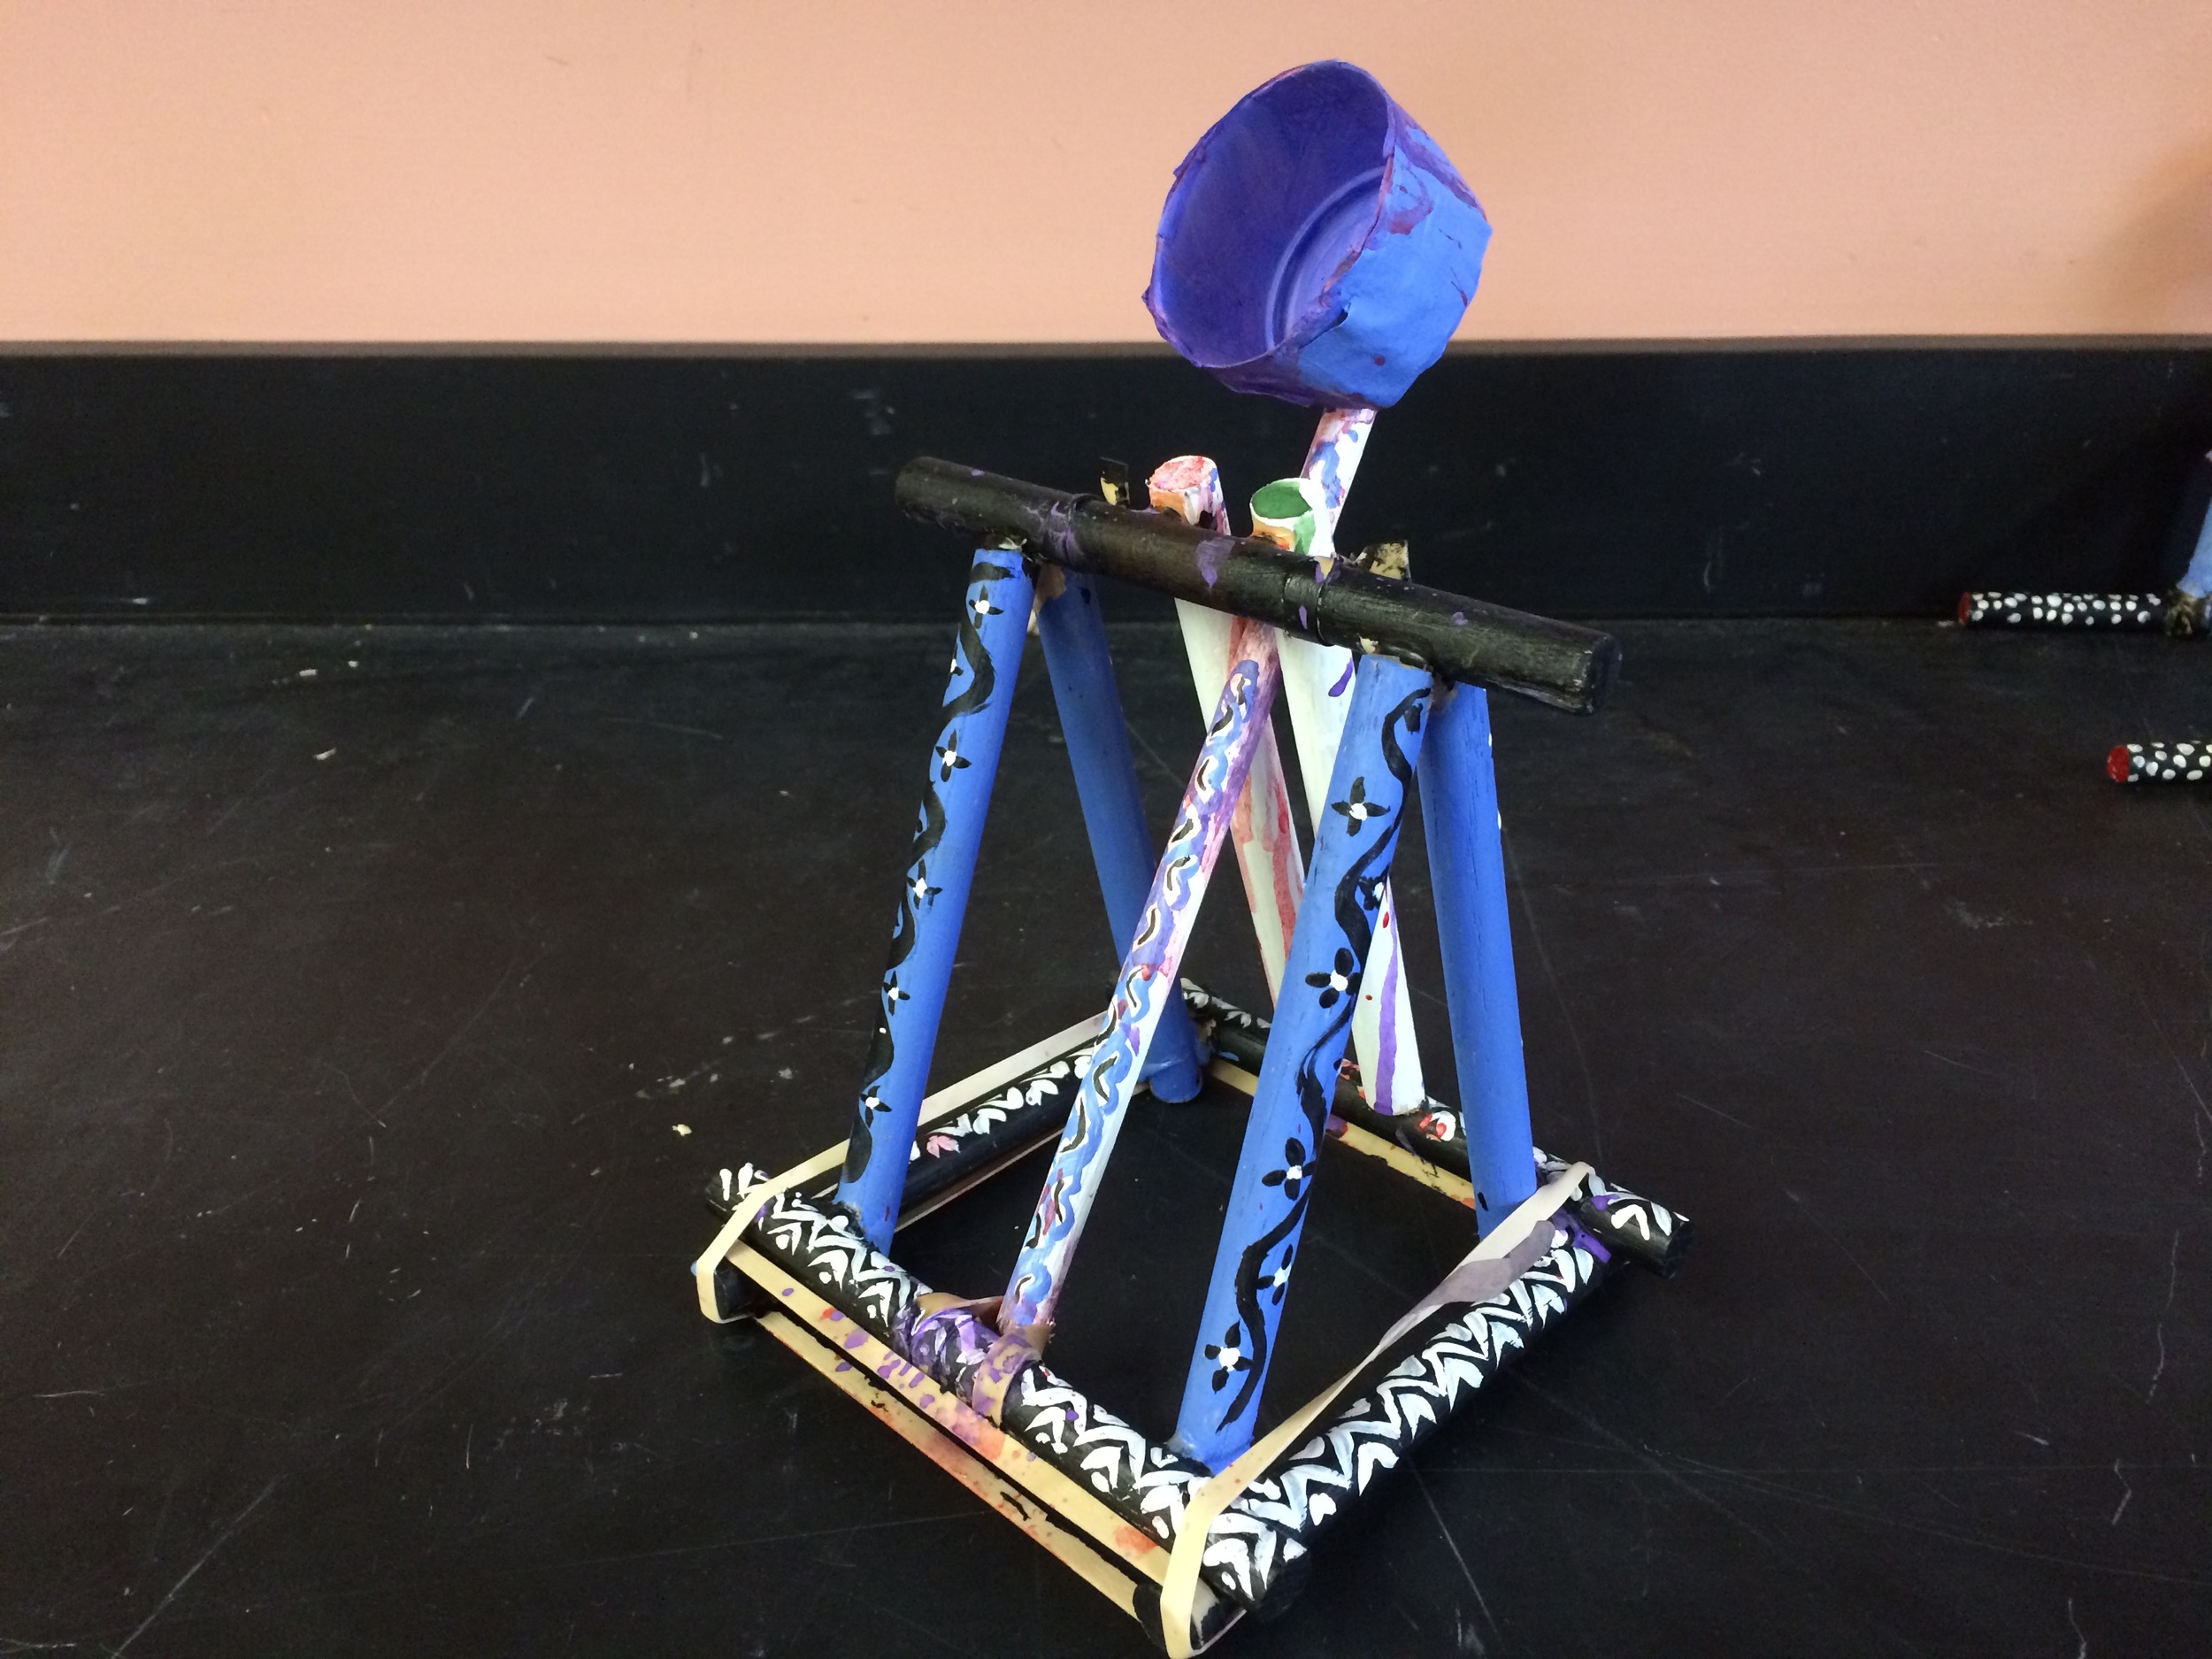
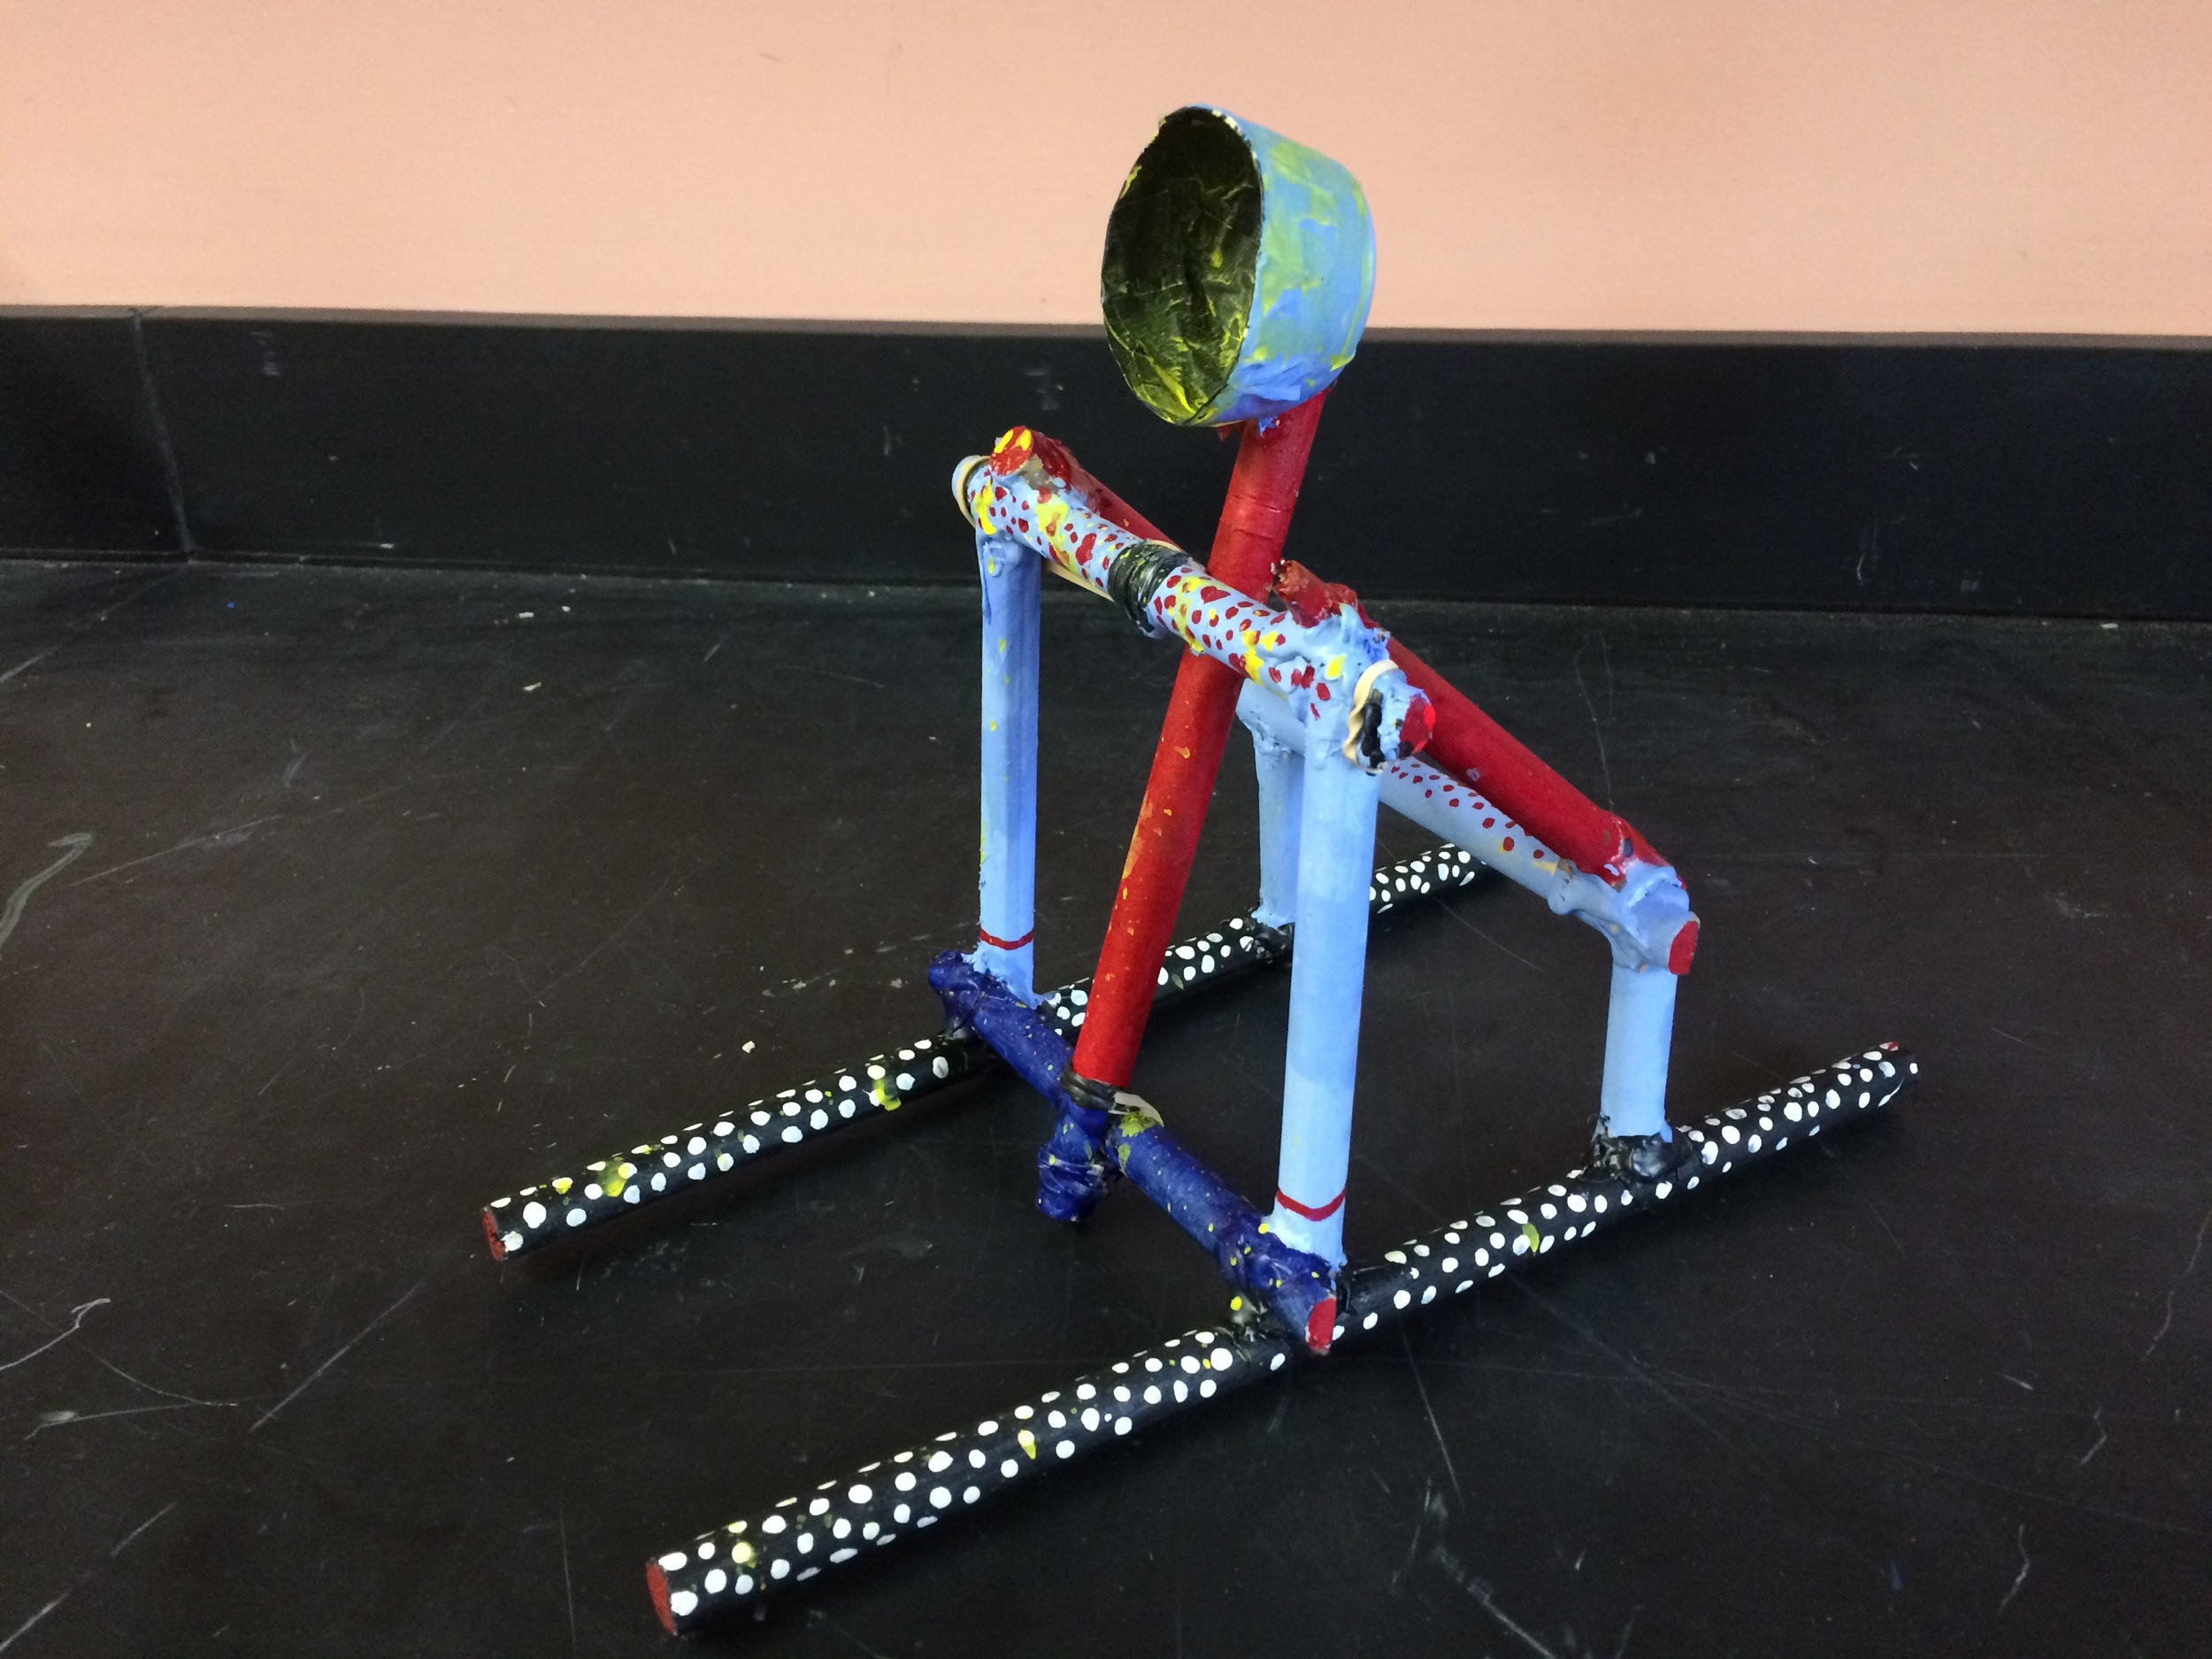
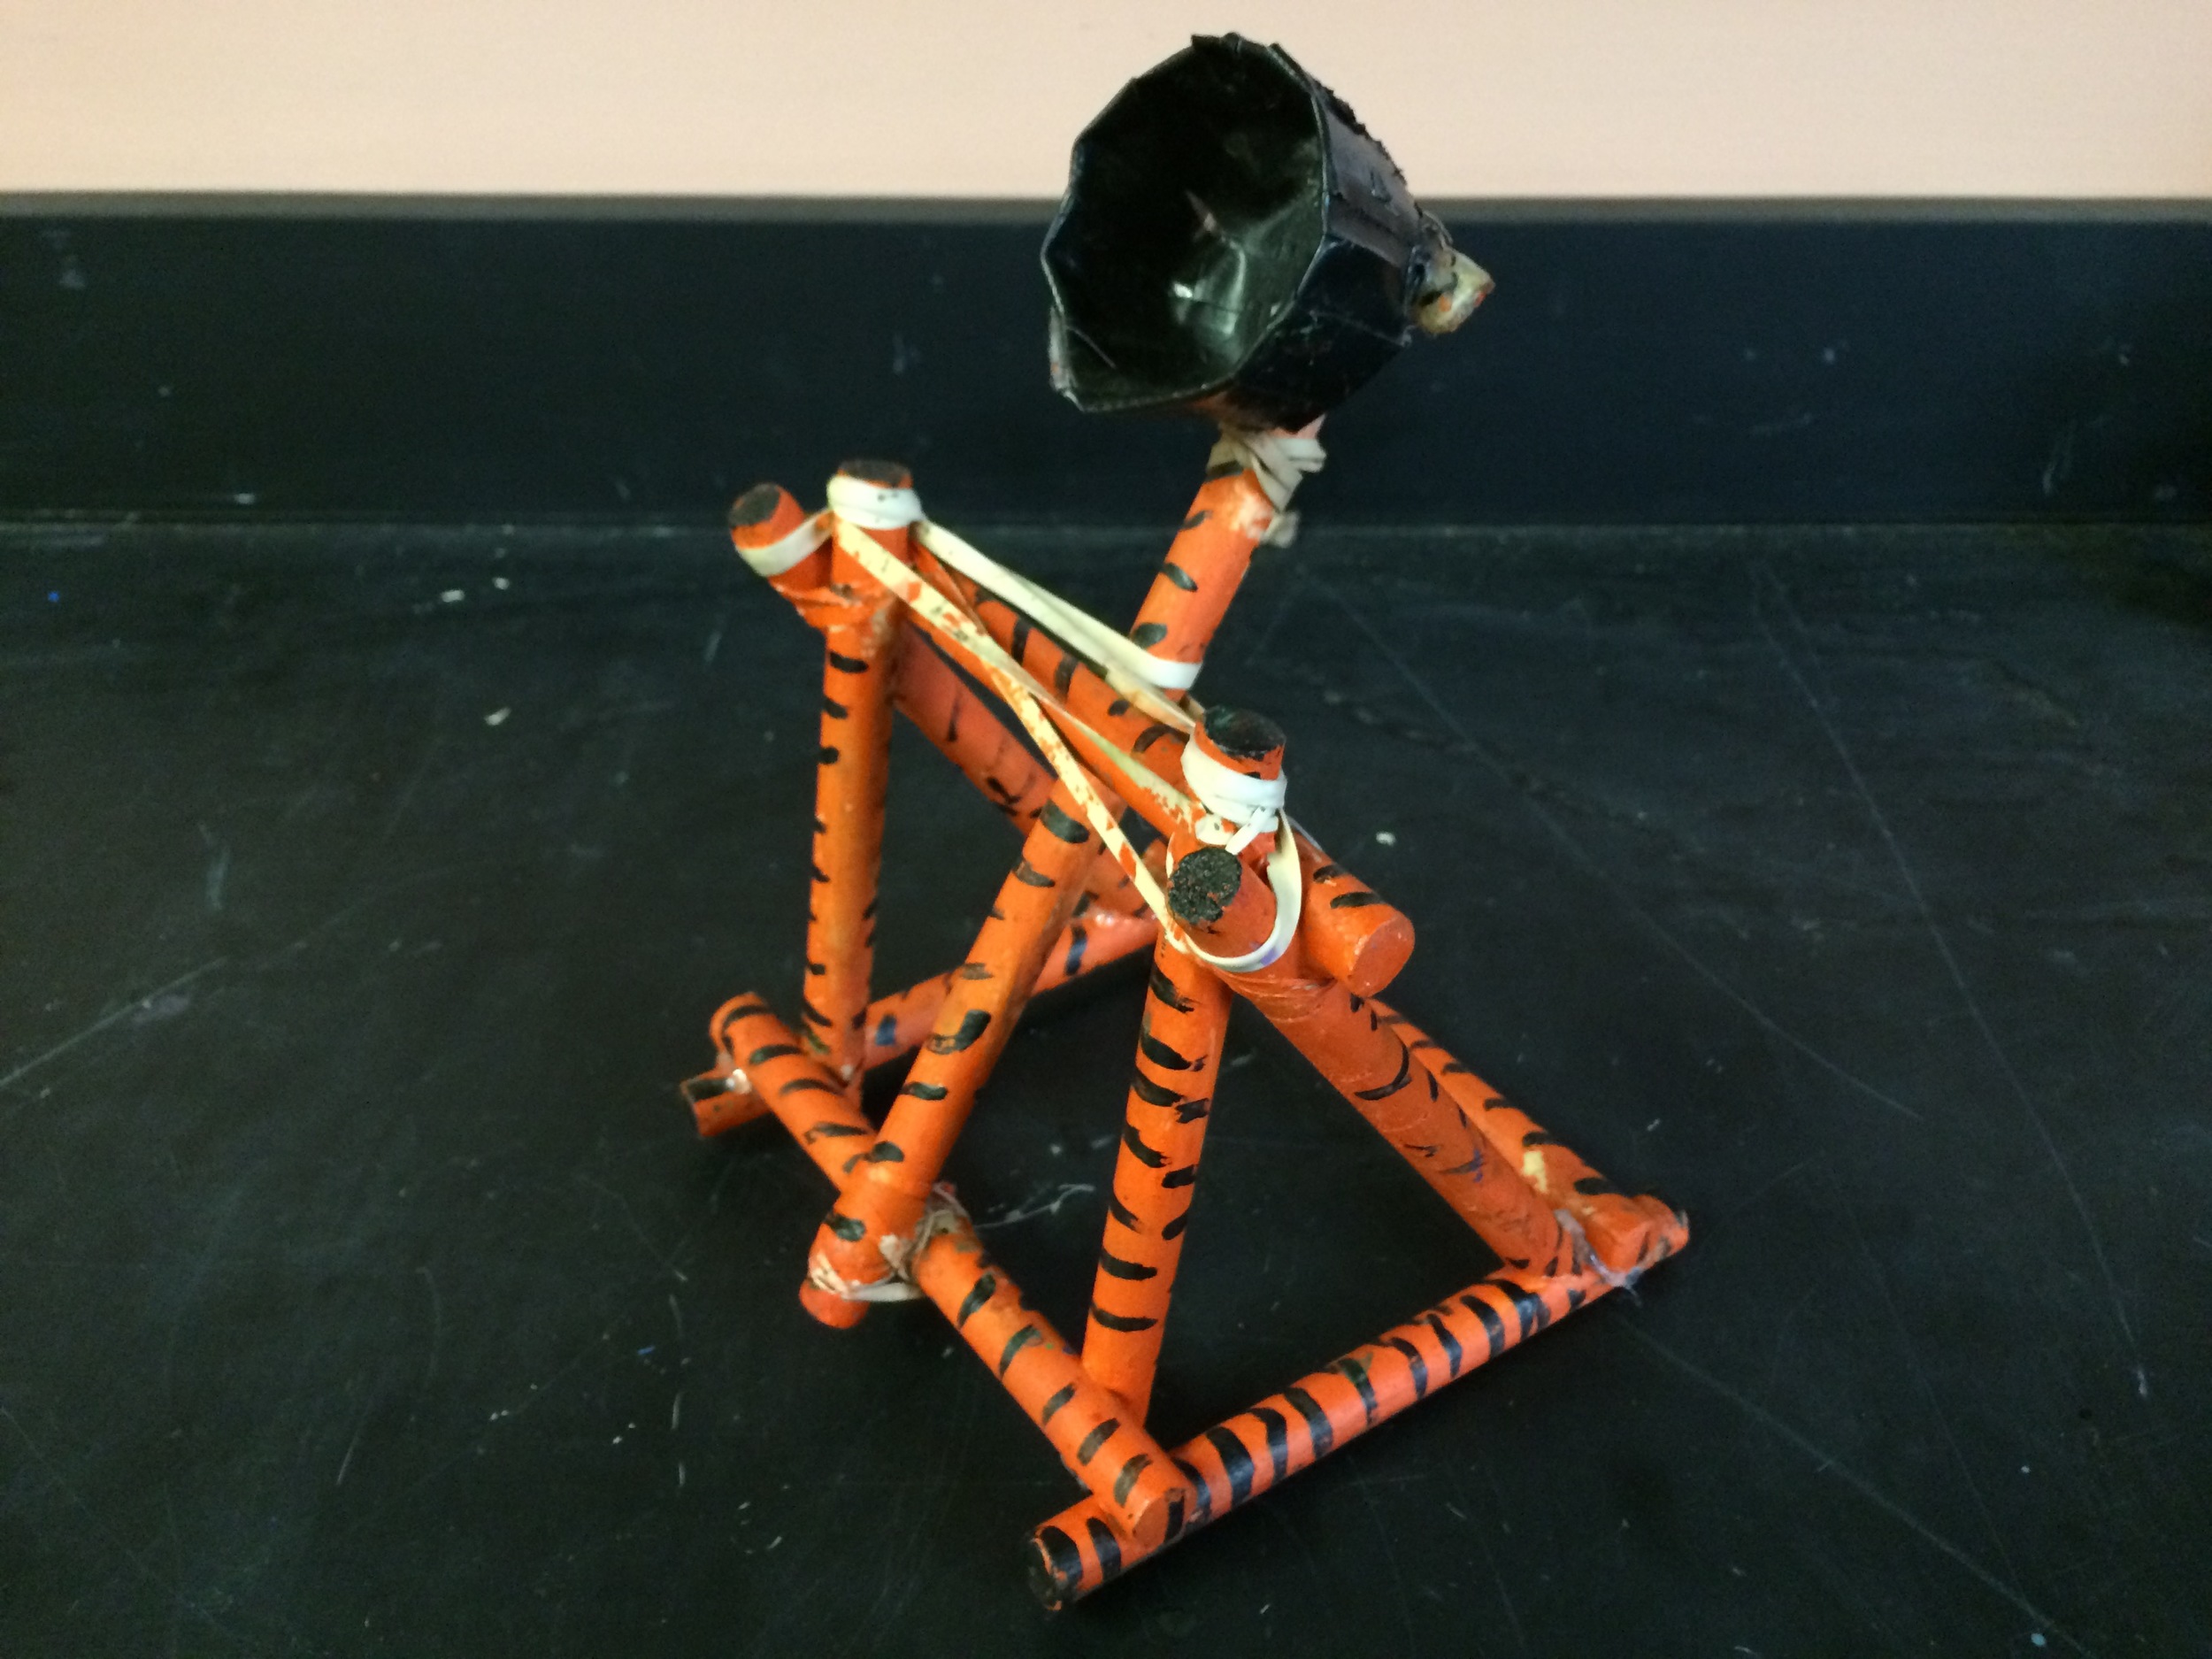
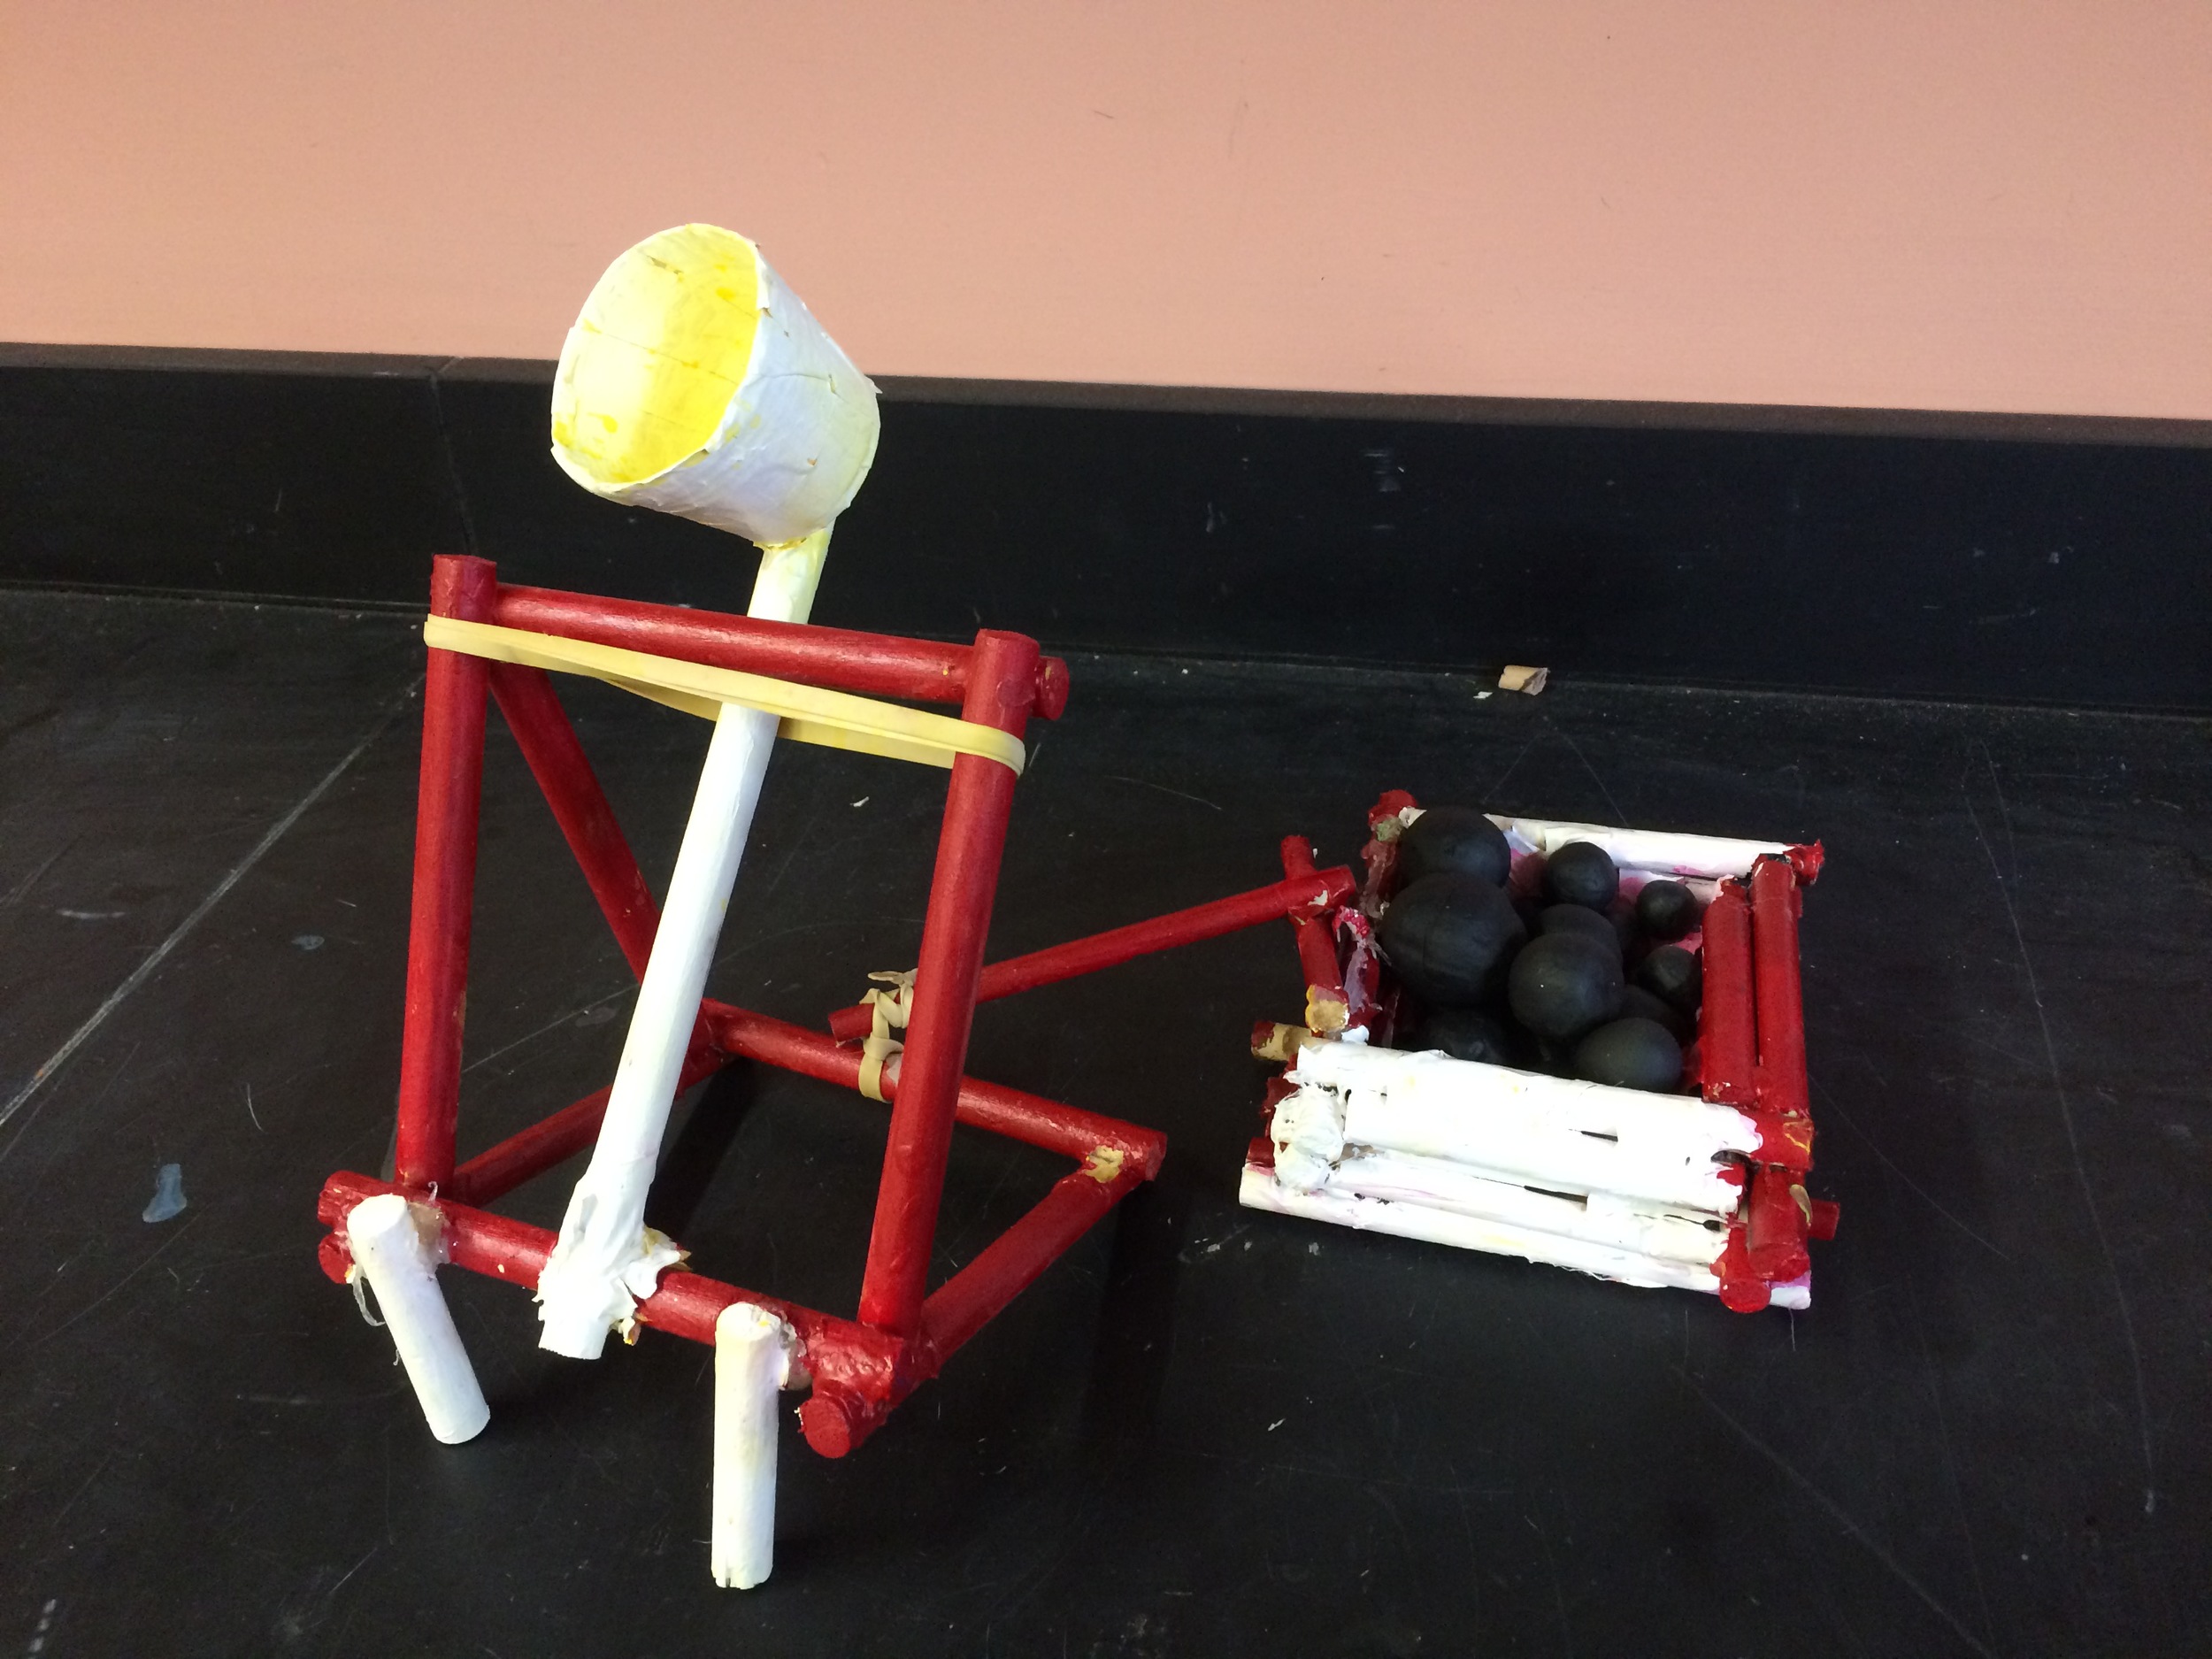
Brief Description
Seven week unit in which students learn different types of measurement and scientific methodology by building a catapult and using it to design an experiment.
Unit Overview
Students are introduced to different types of measurement and develop ability to design an experiment by performing the Jump Lab and Gummi Bear Experiment.
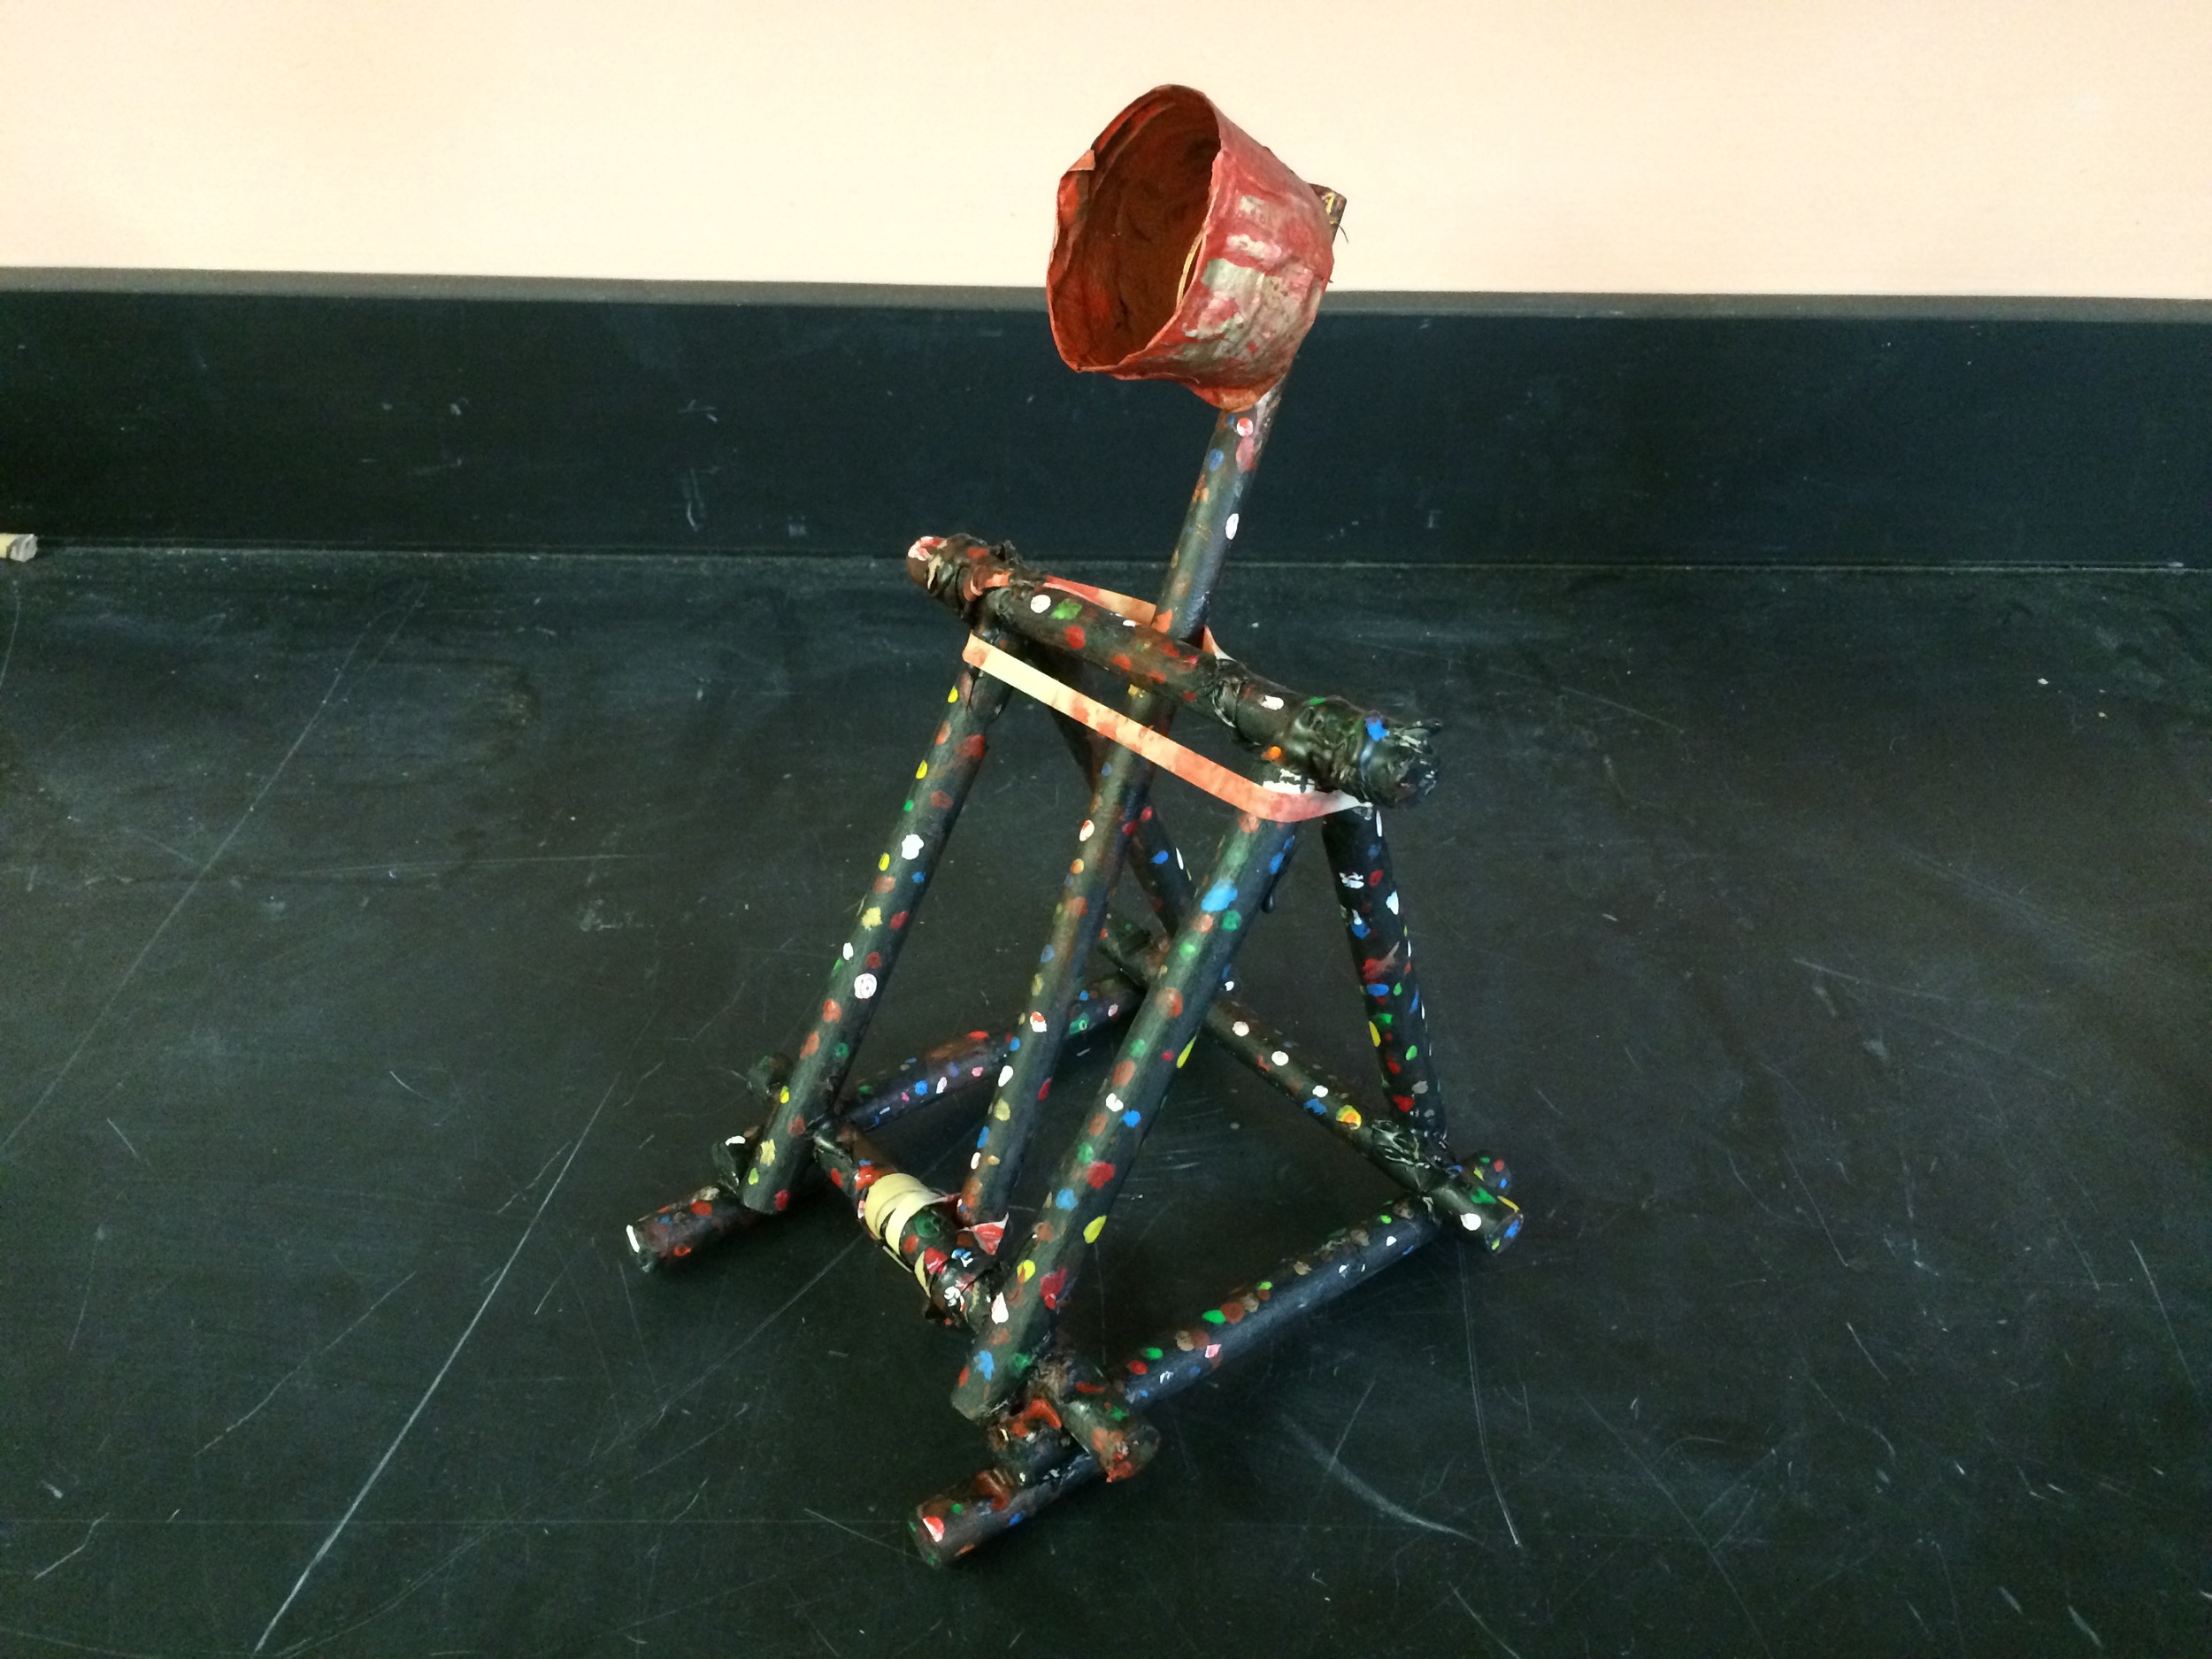
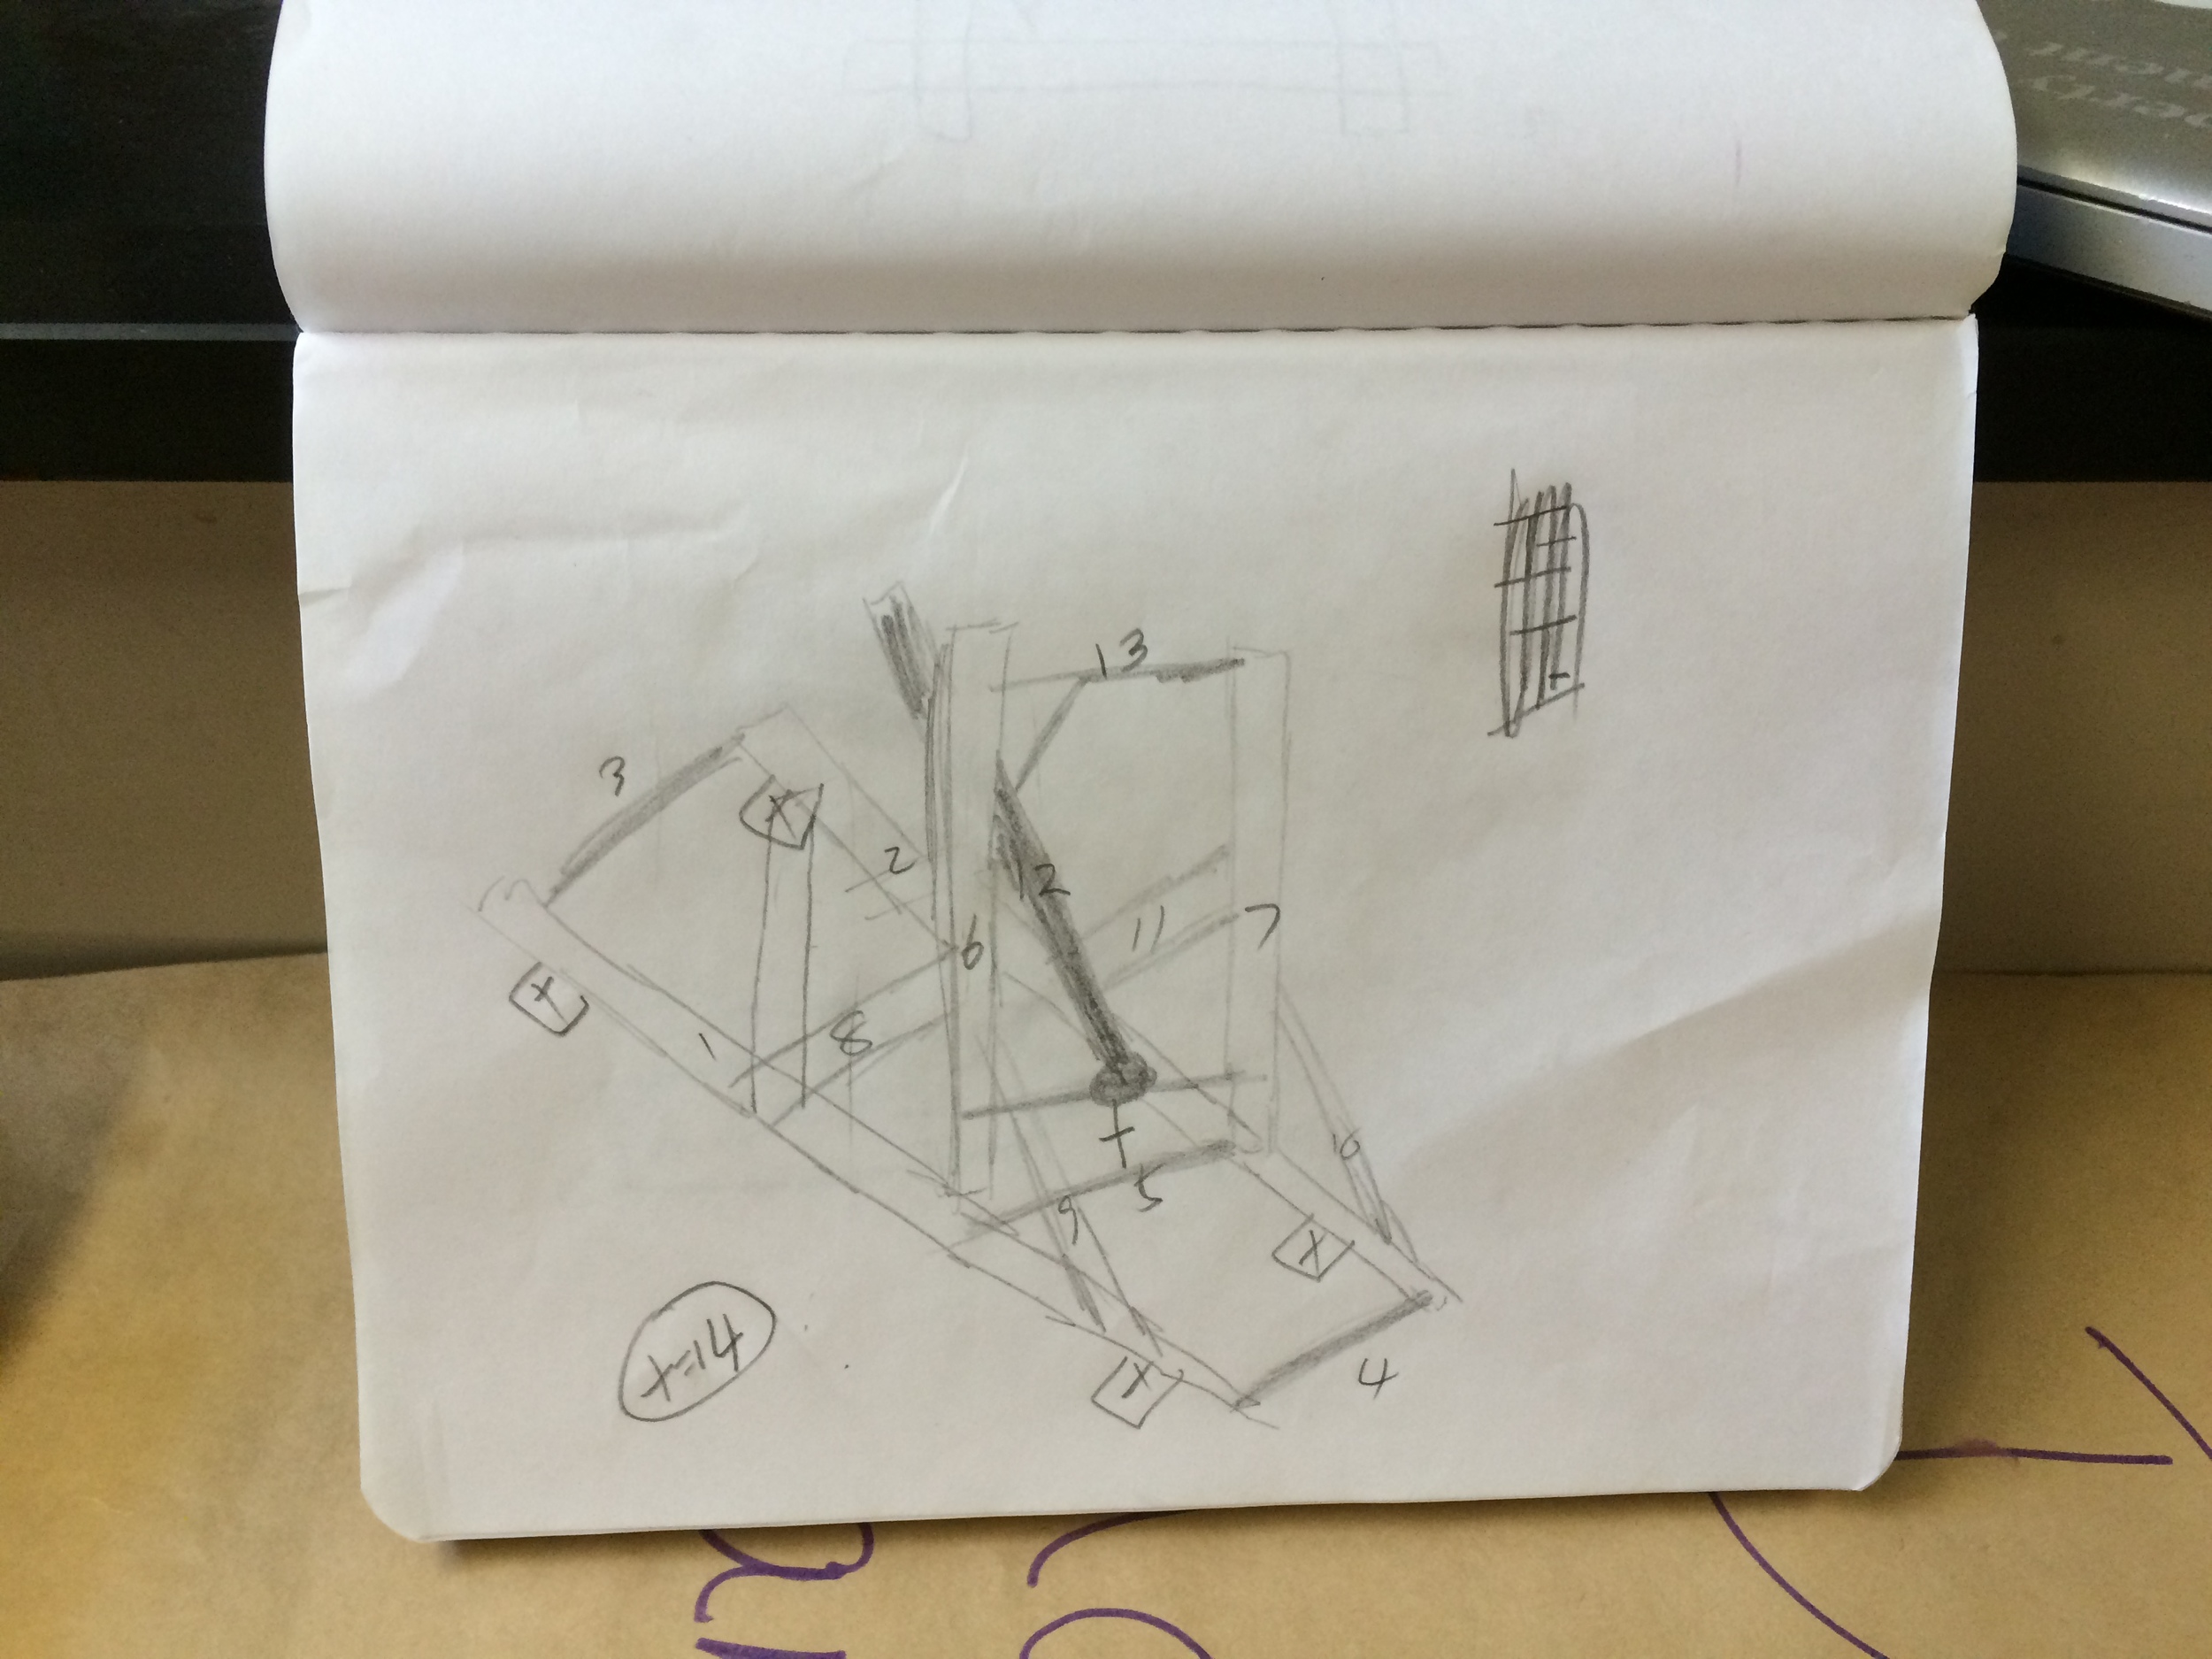
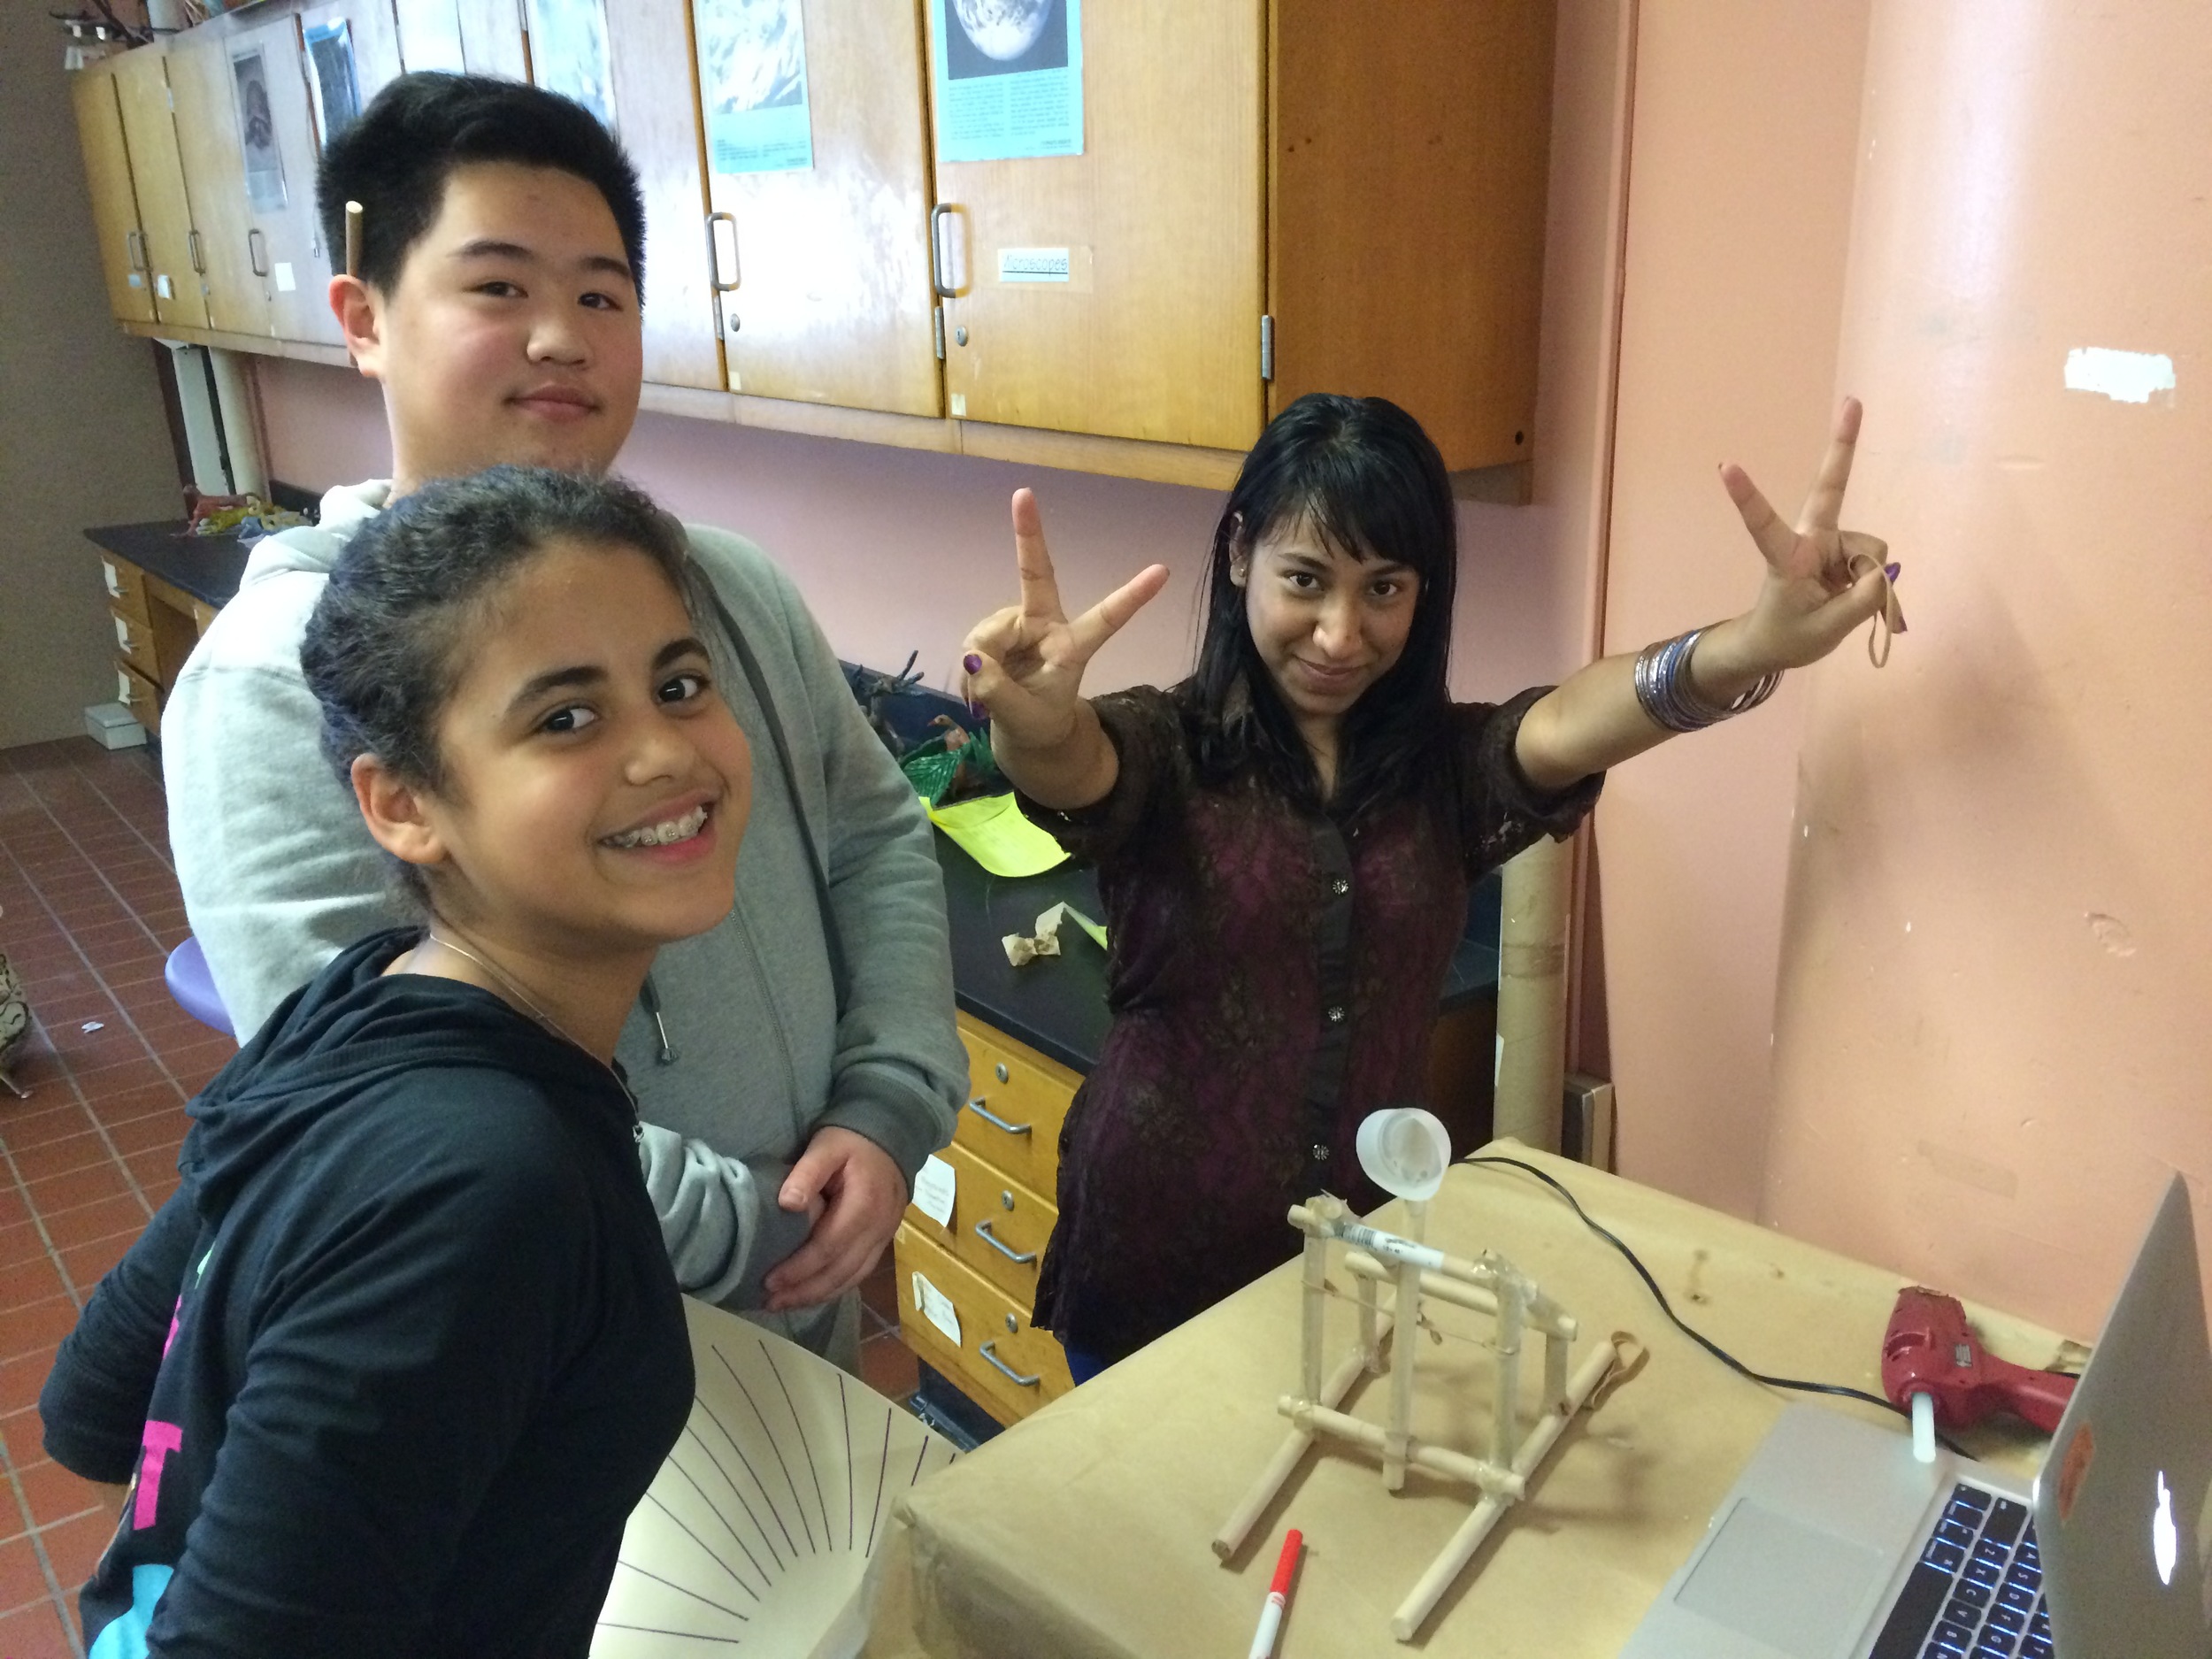
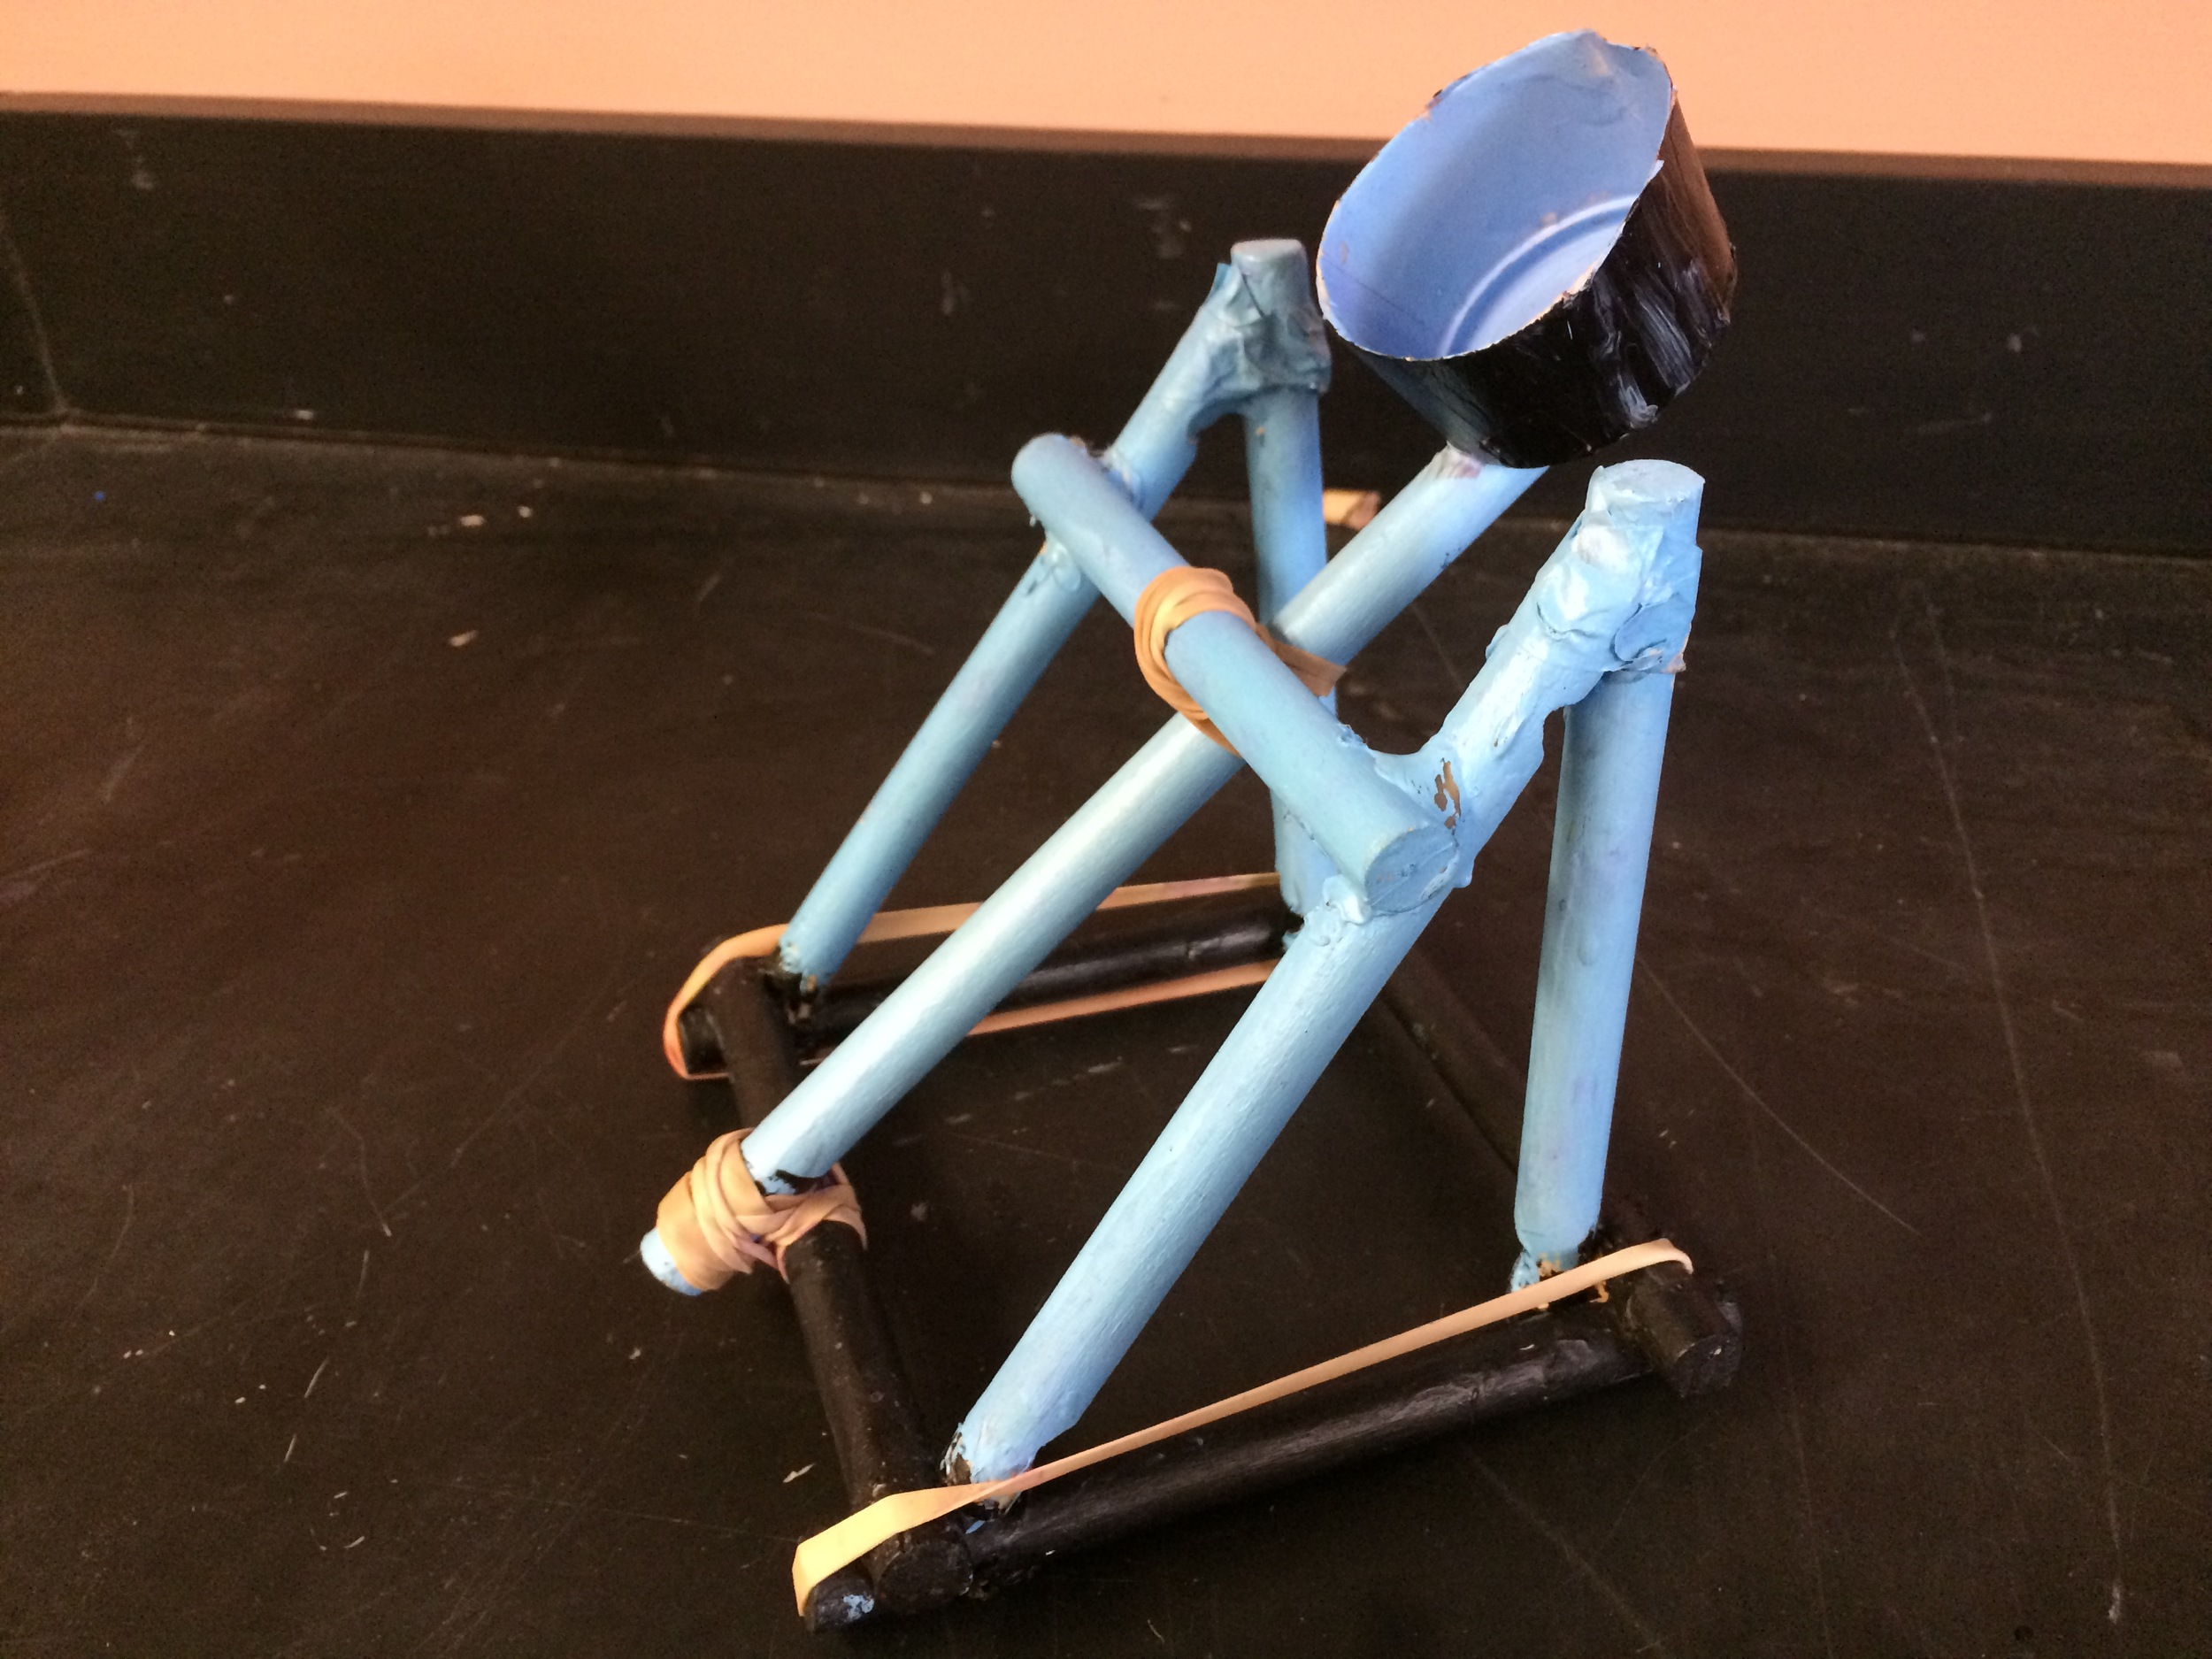
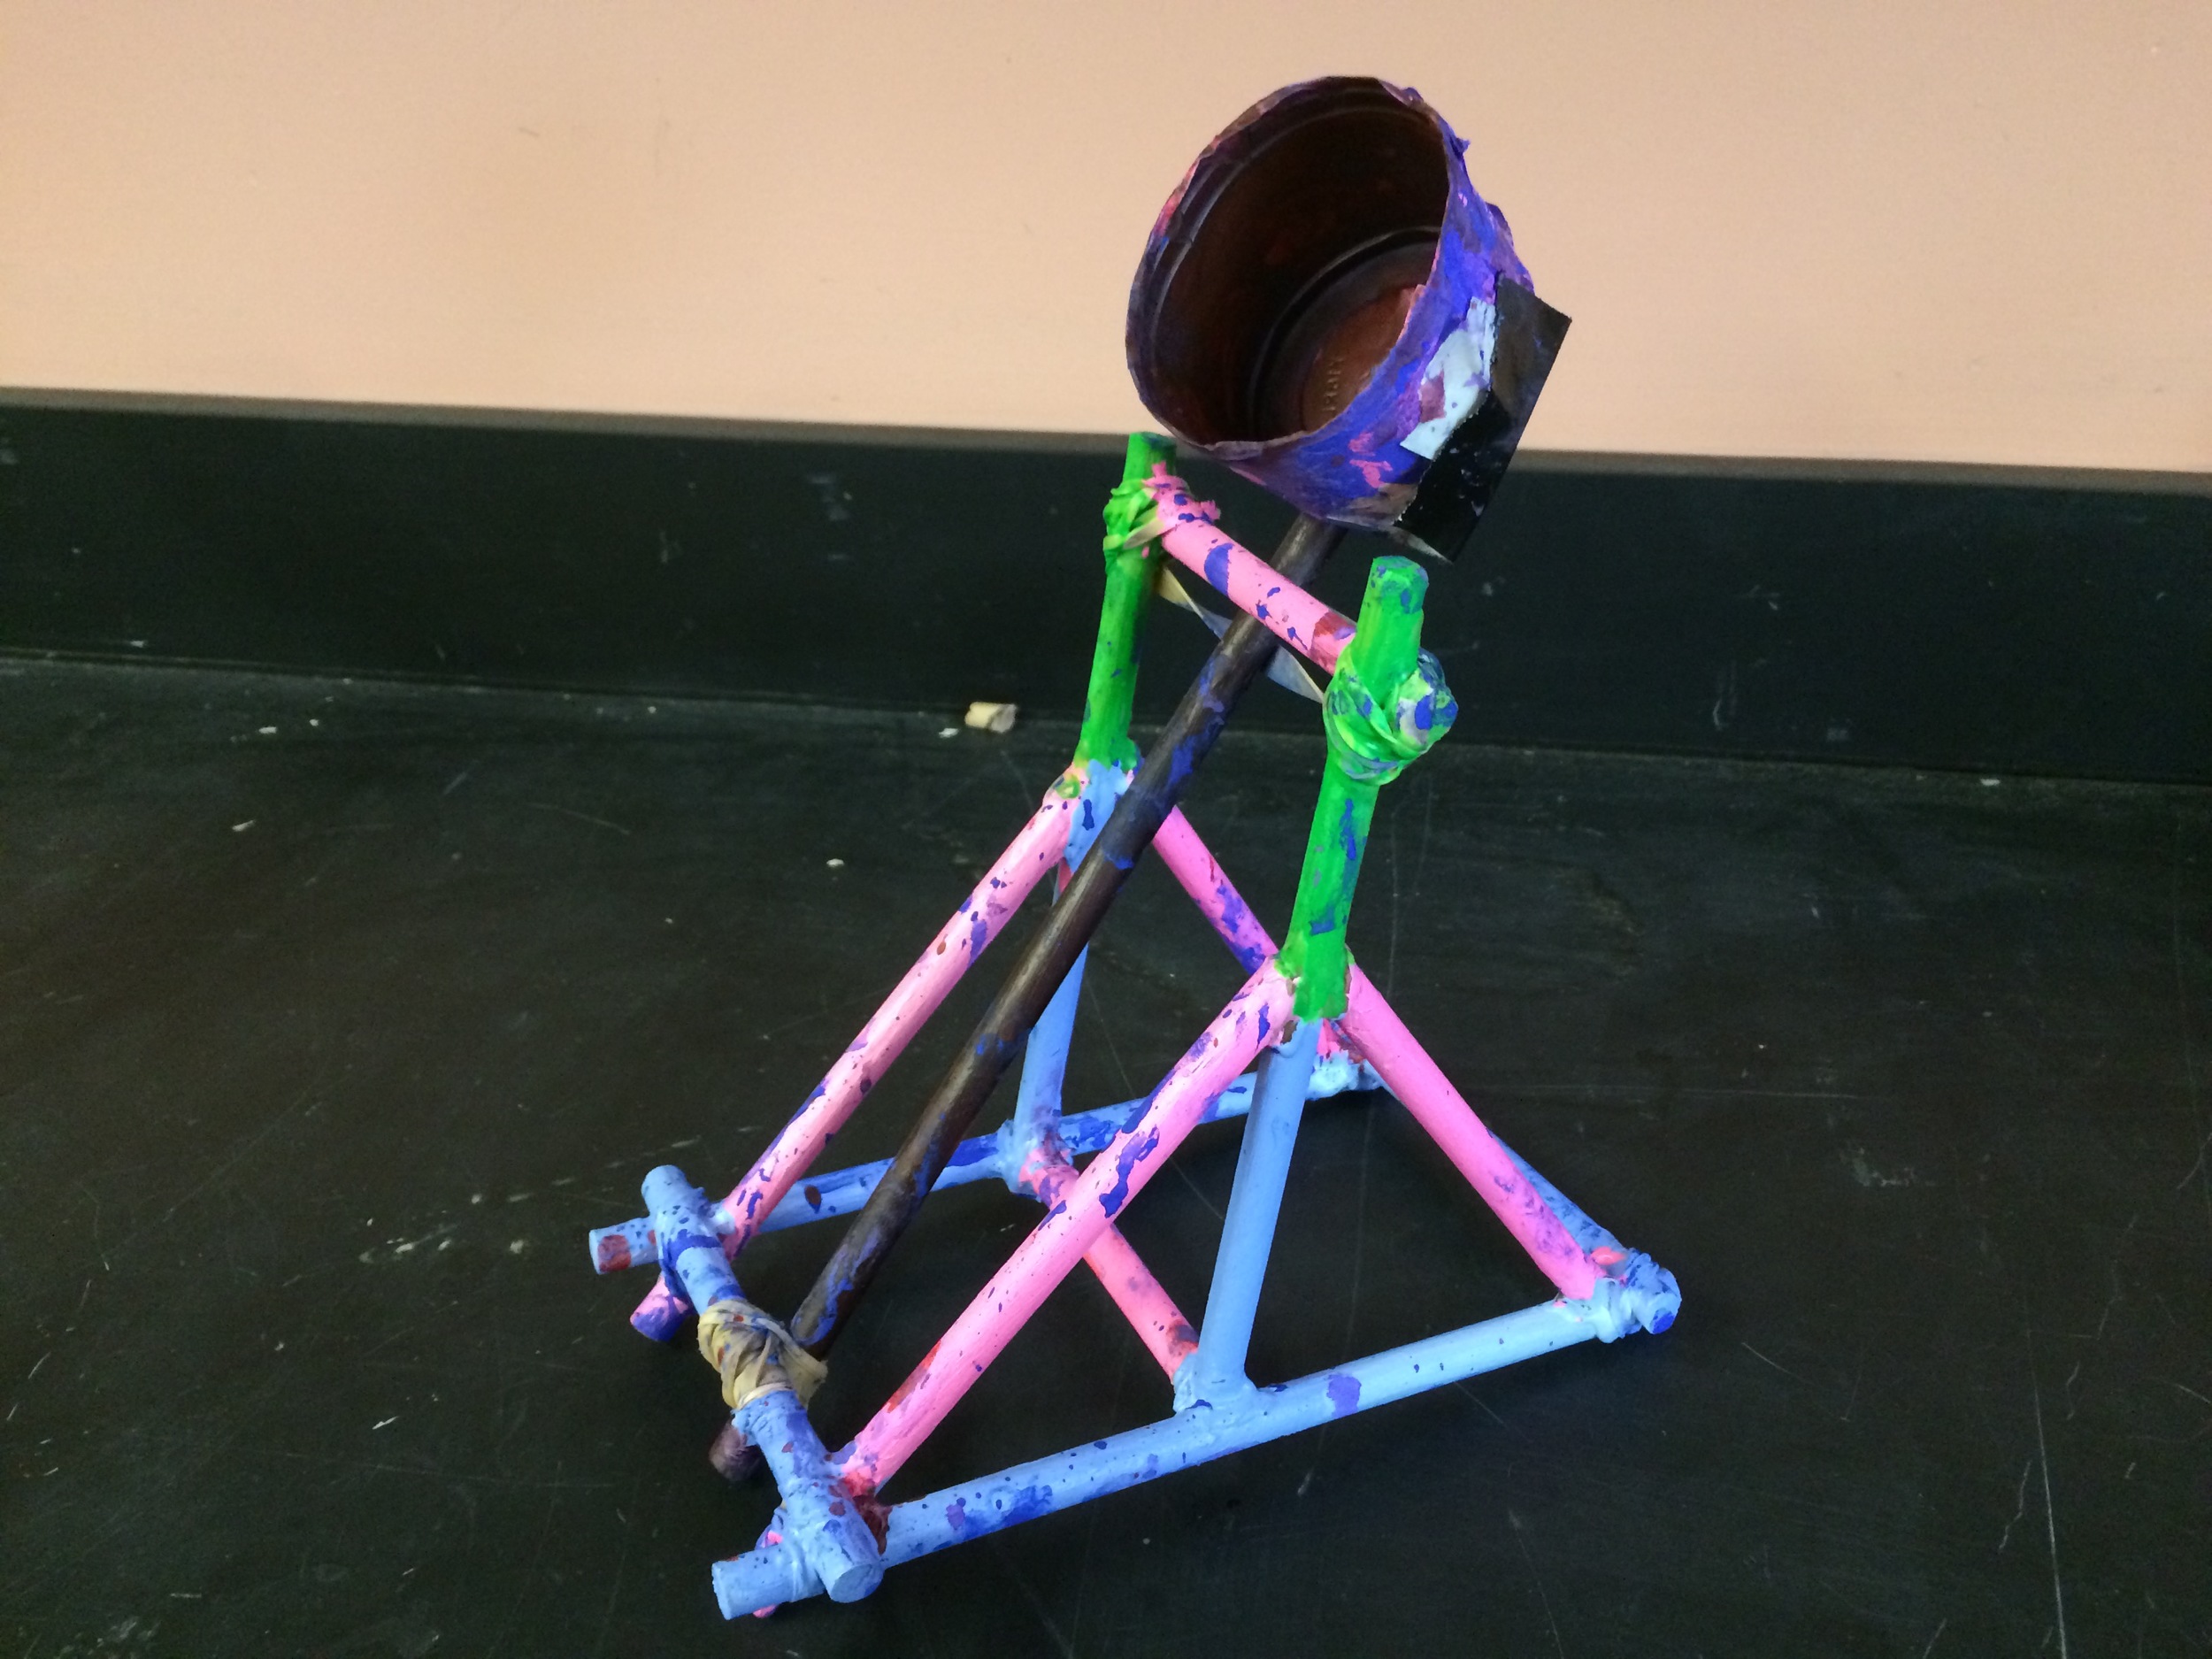
Students design and build a catapult.
Students create stop-motion video of the catapult building process.
On an asynchronous schedule, groups design and conduct an experiment using their catapult, build an lab report website, and edit stop-motion video.
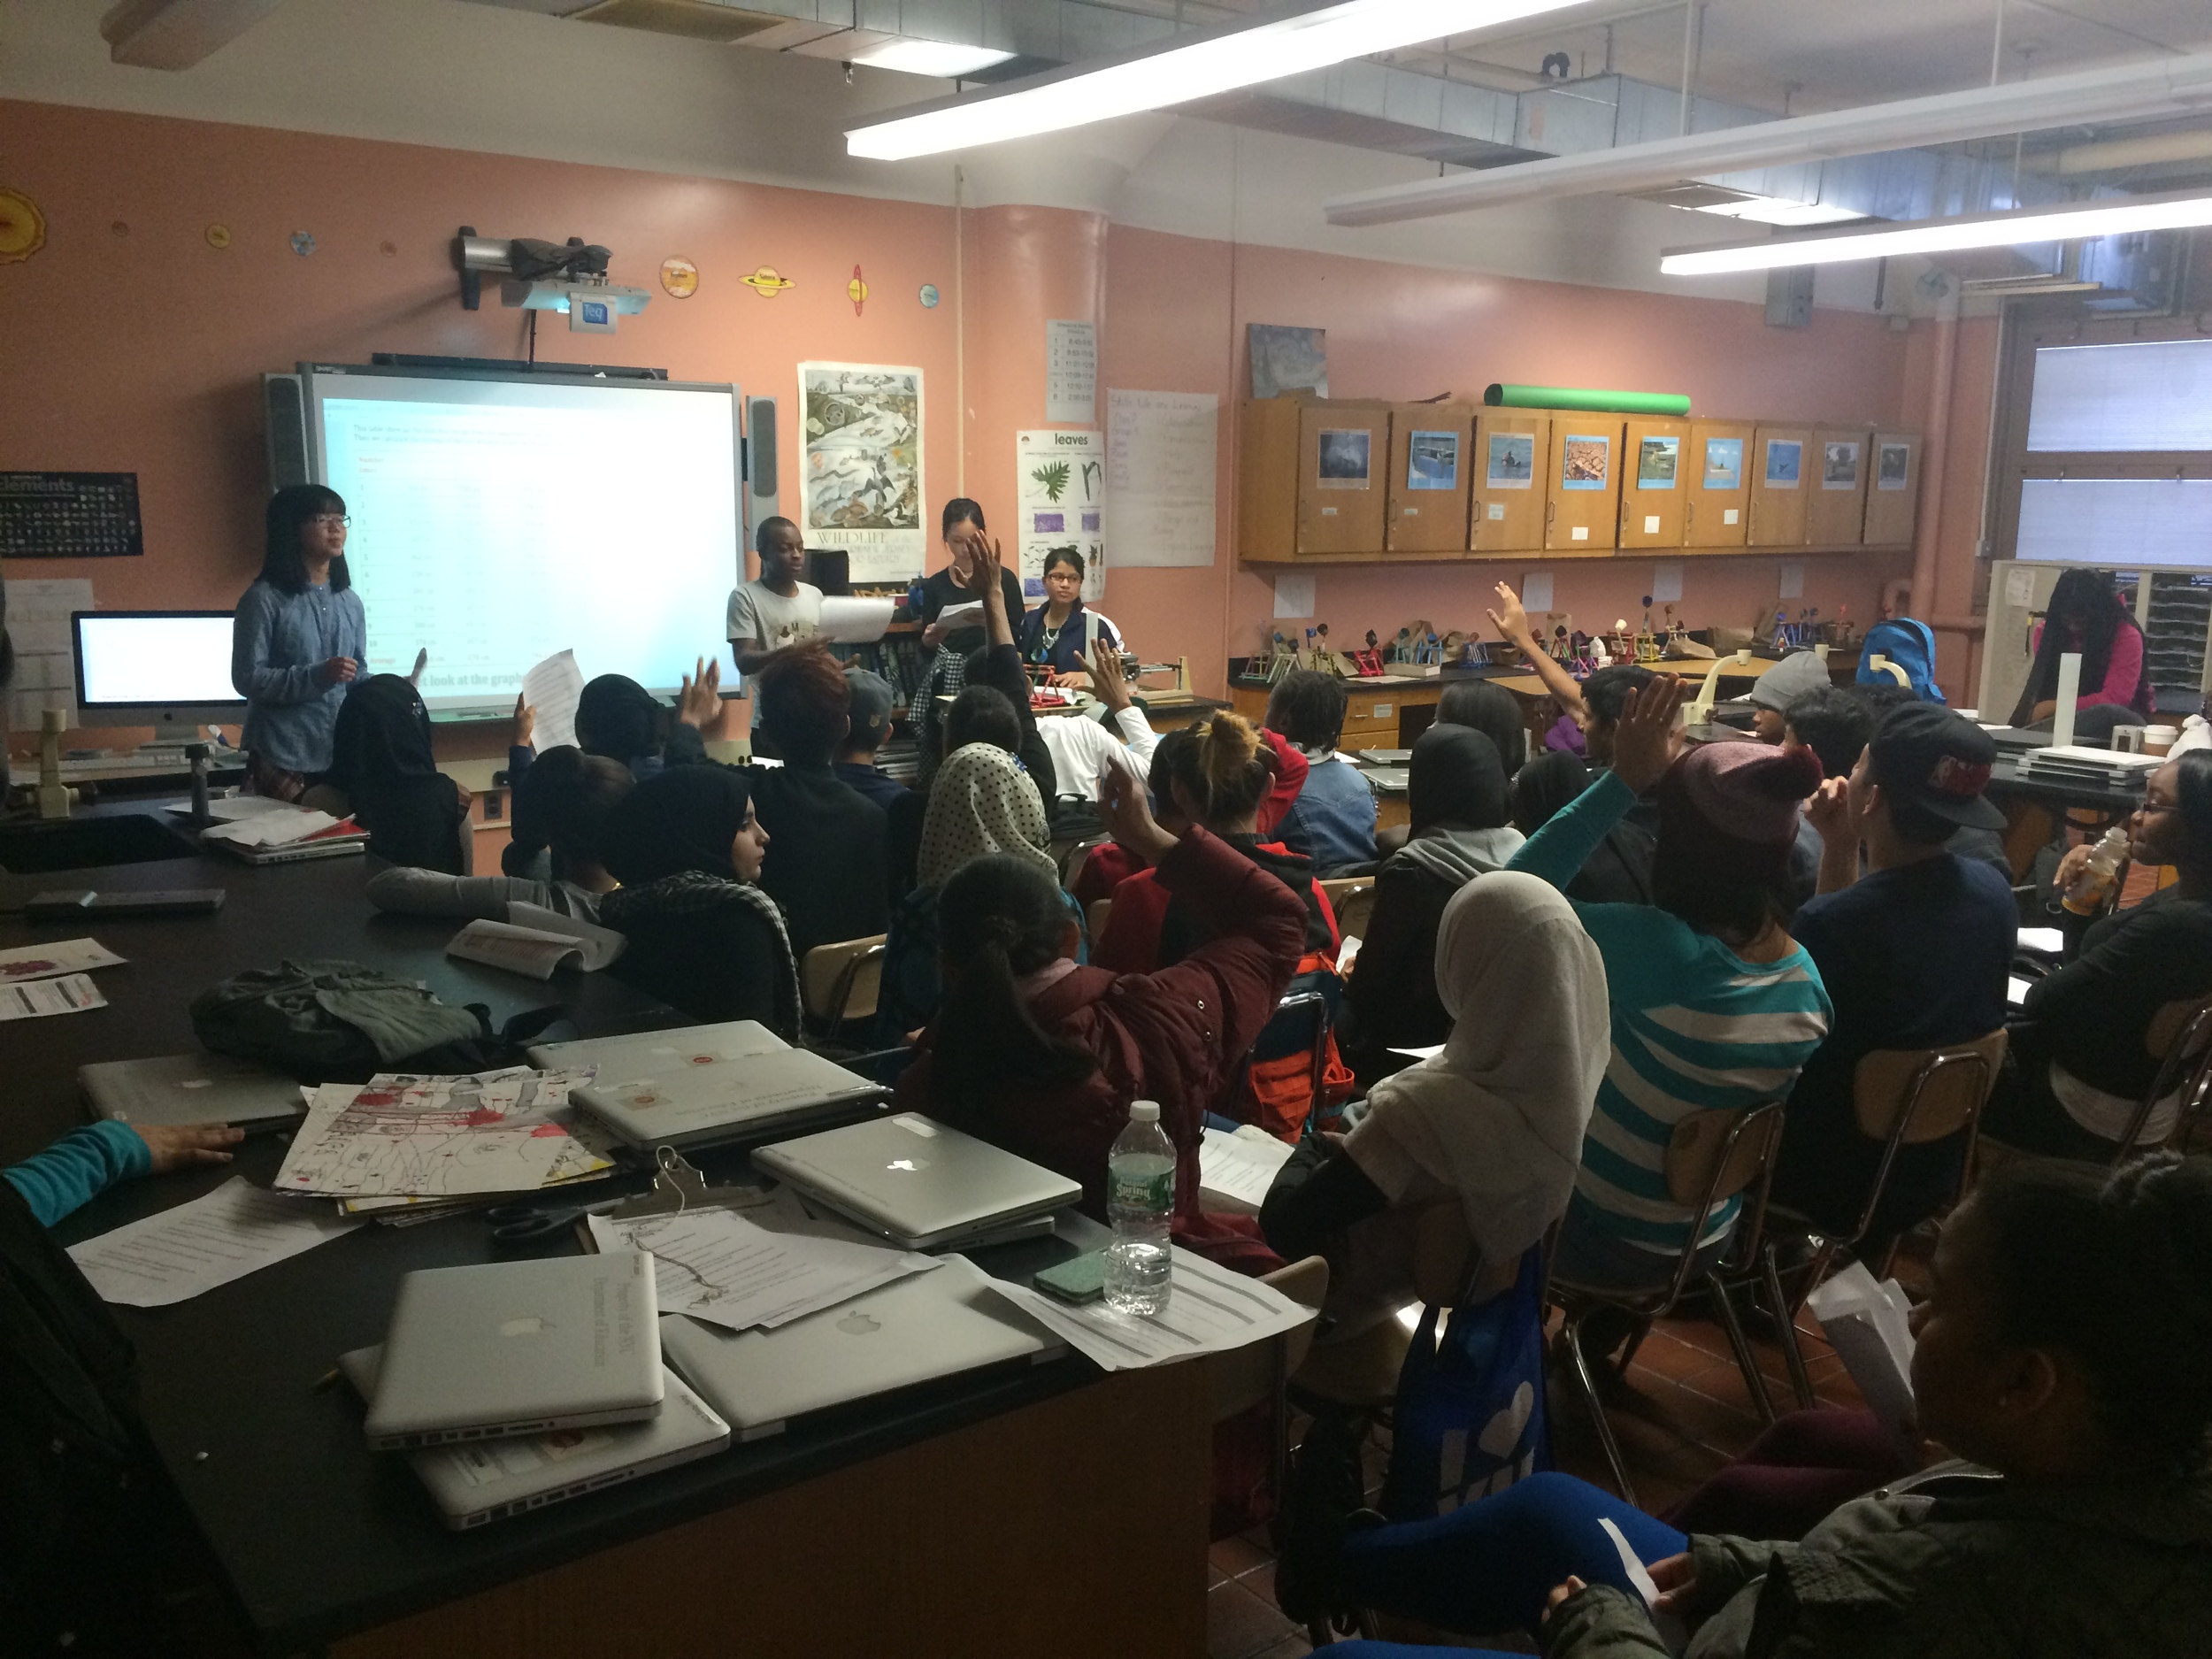
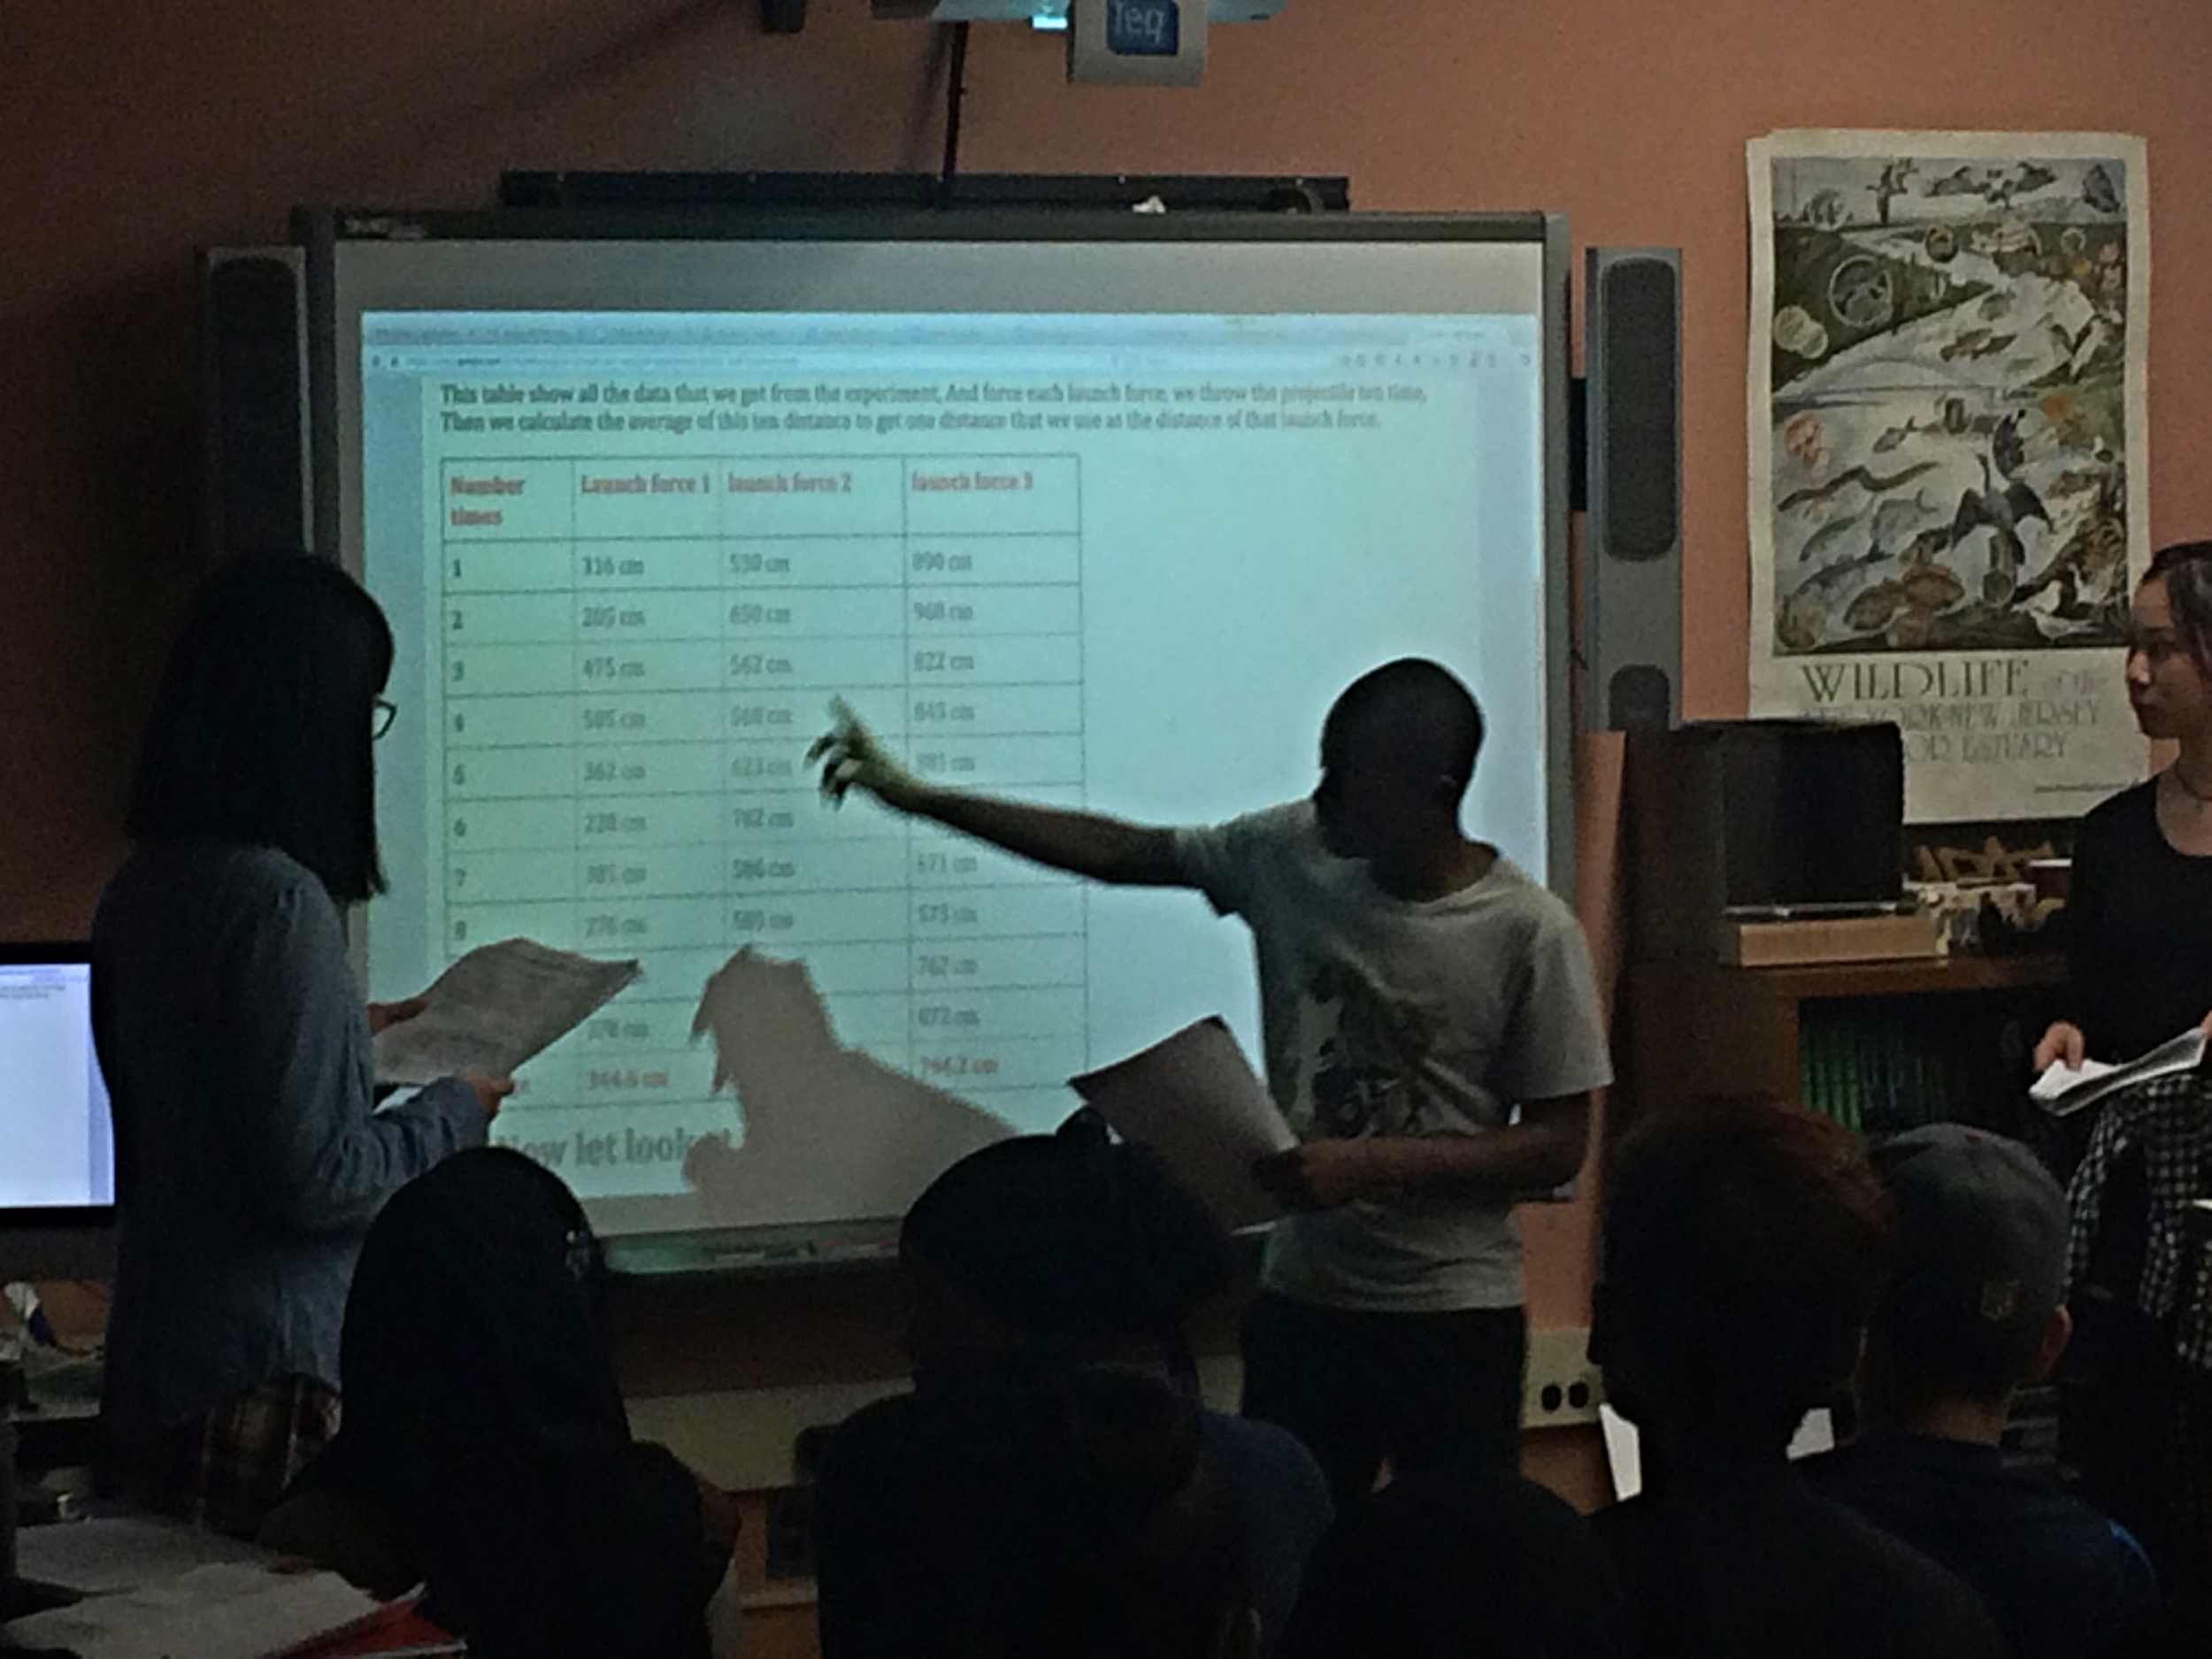
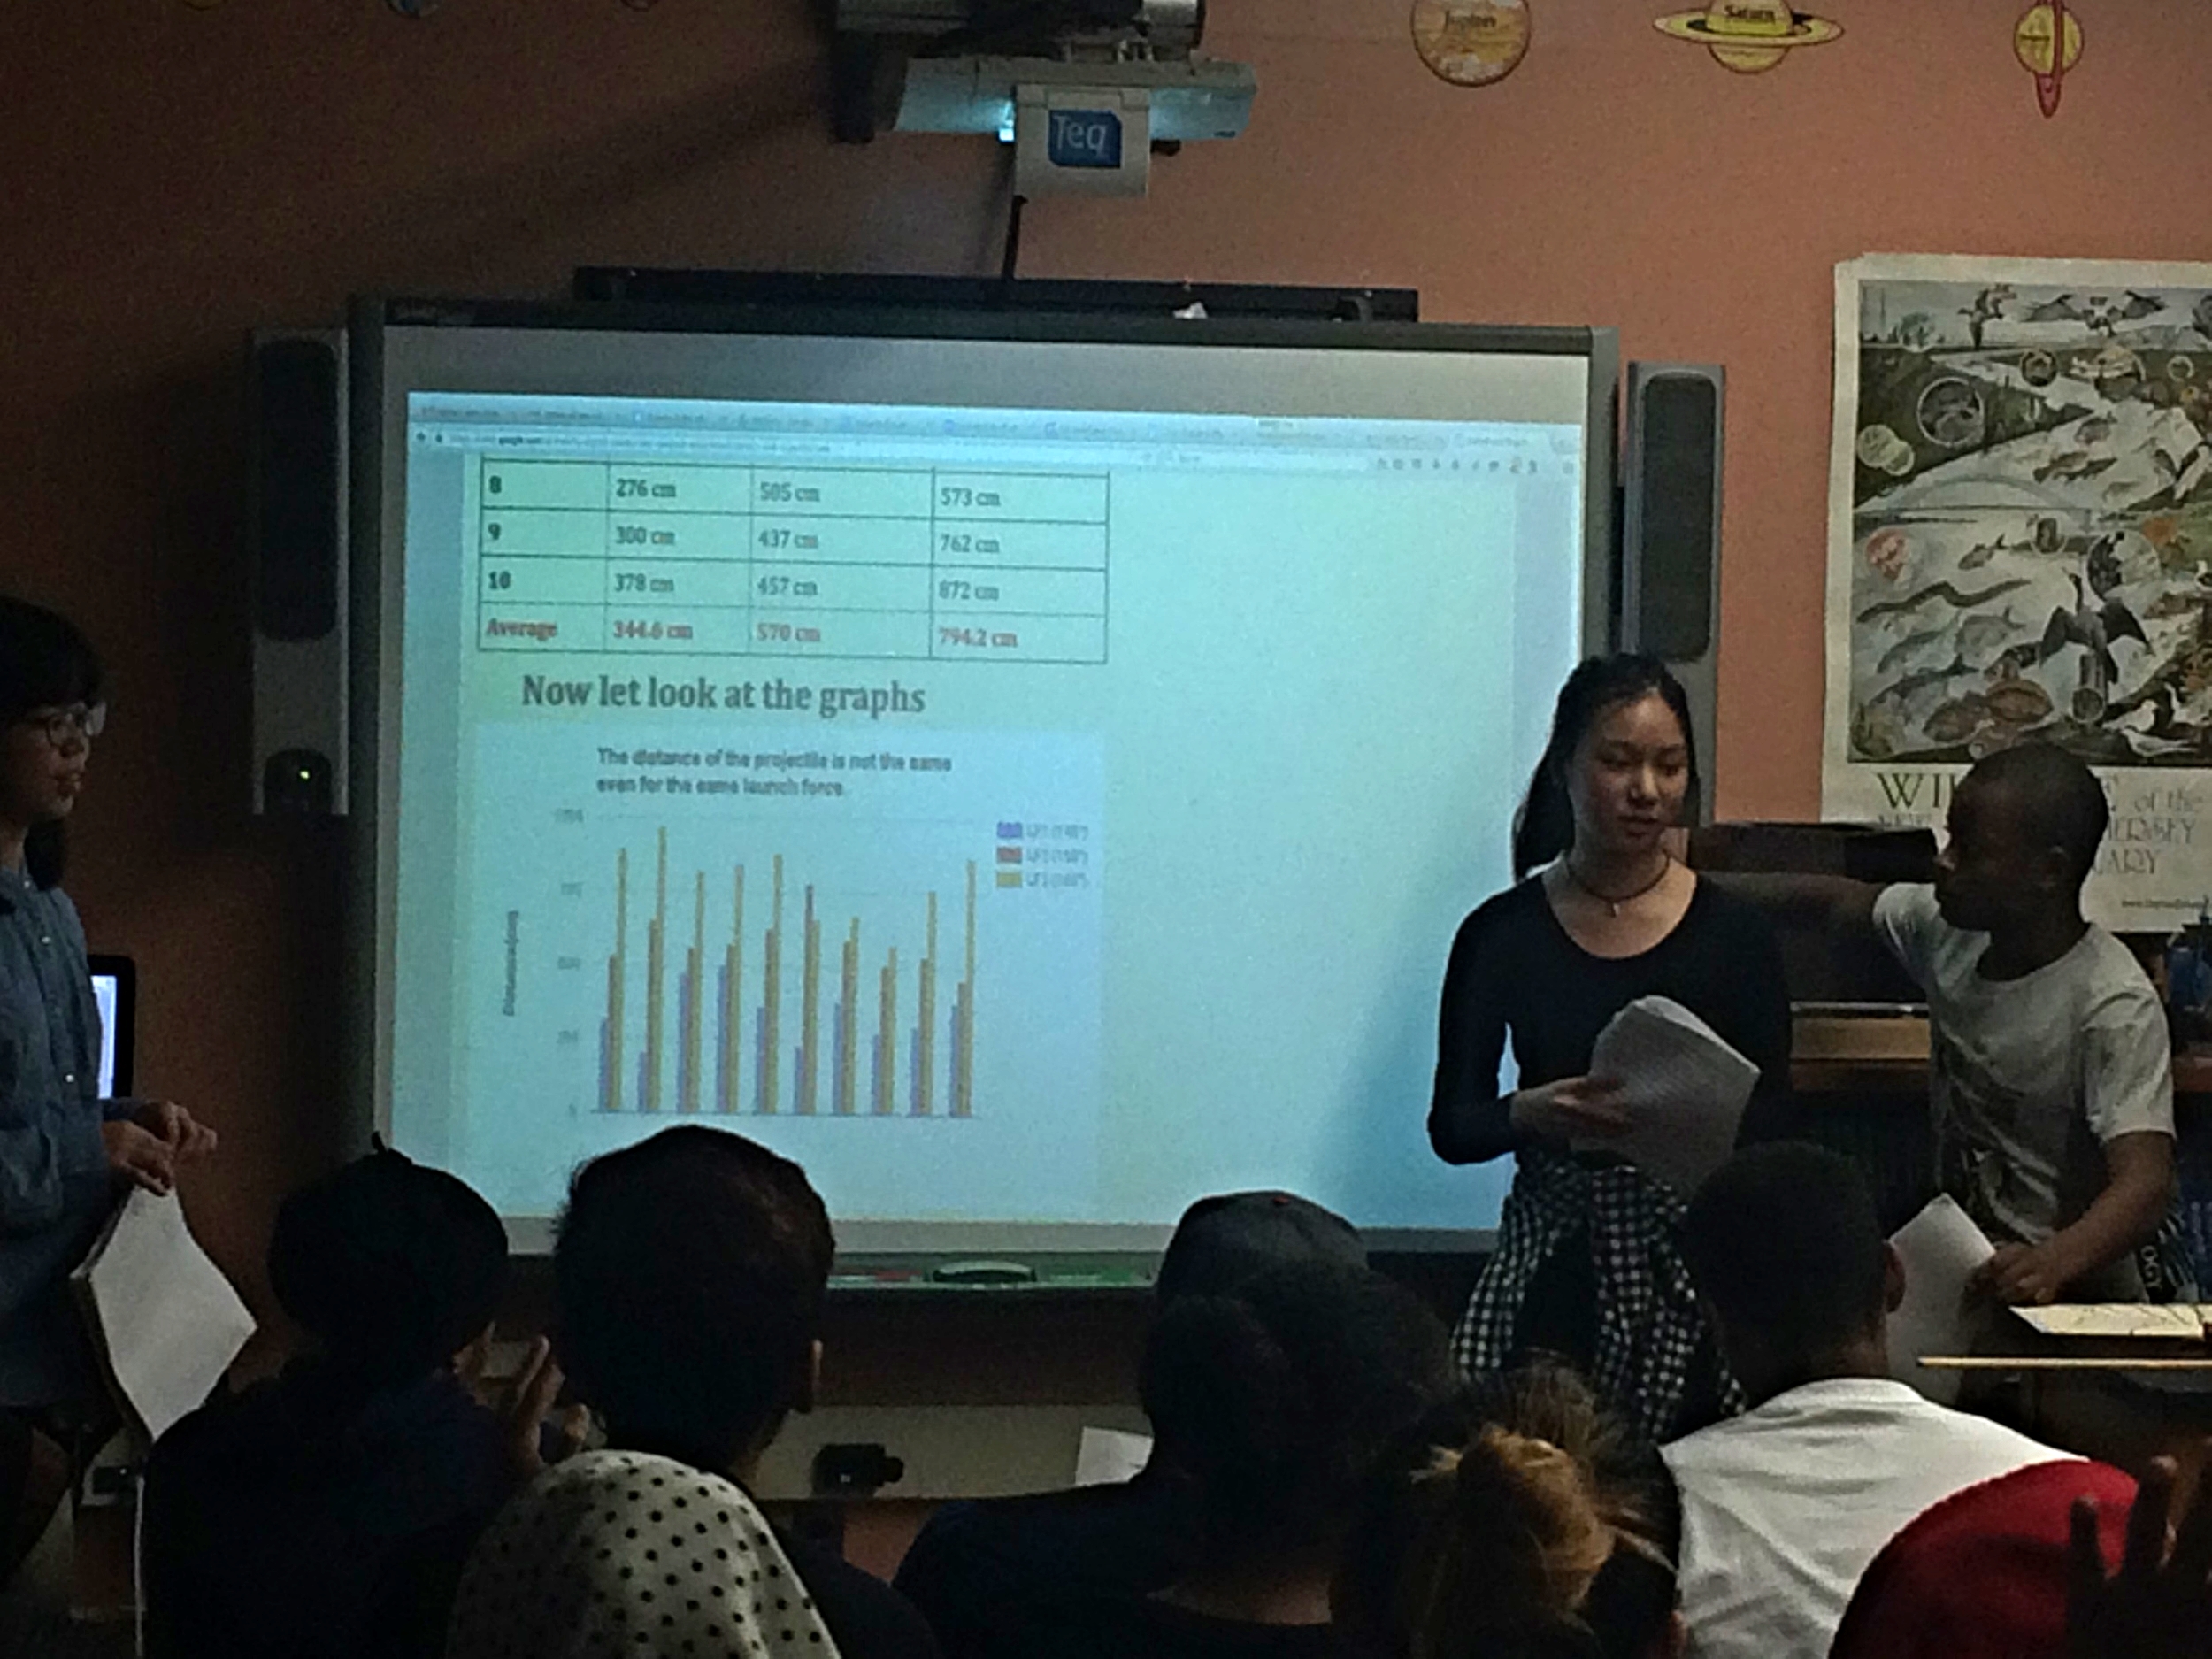
Groups present their experiment website once in front of a large audience, and later in small groups to the science class from another grade.
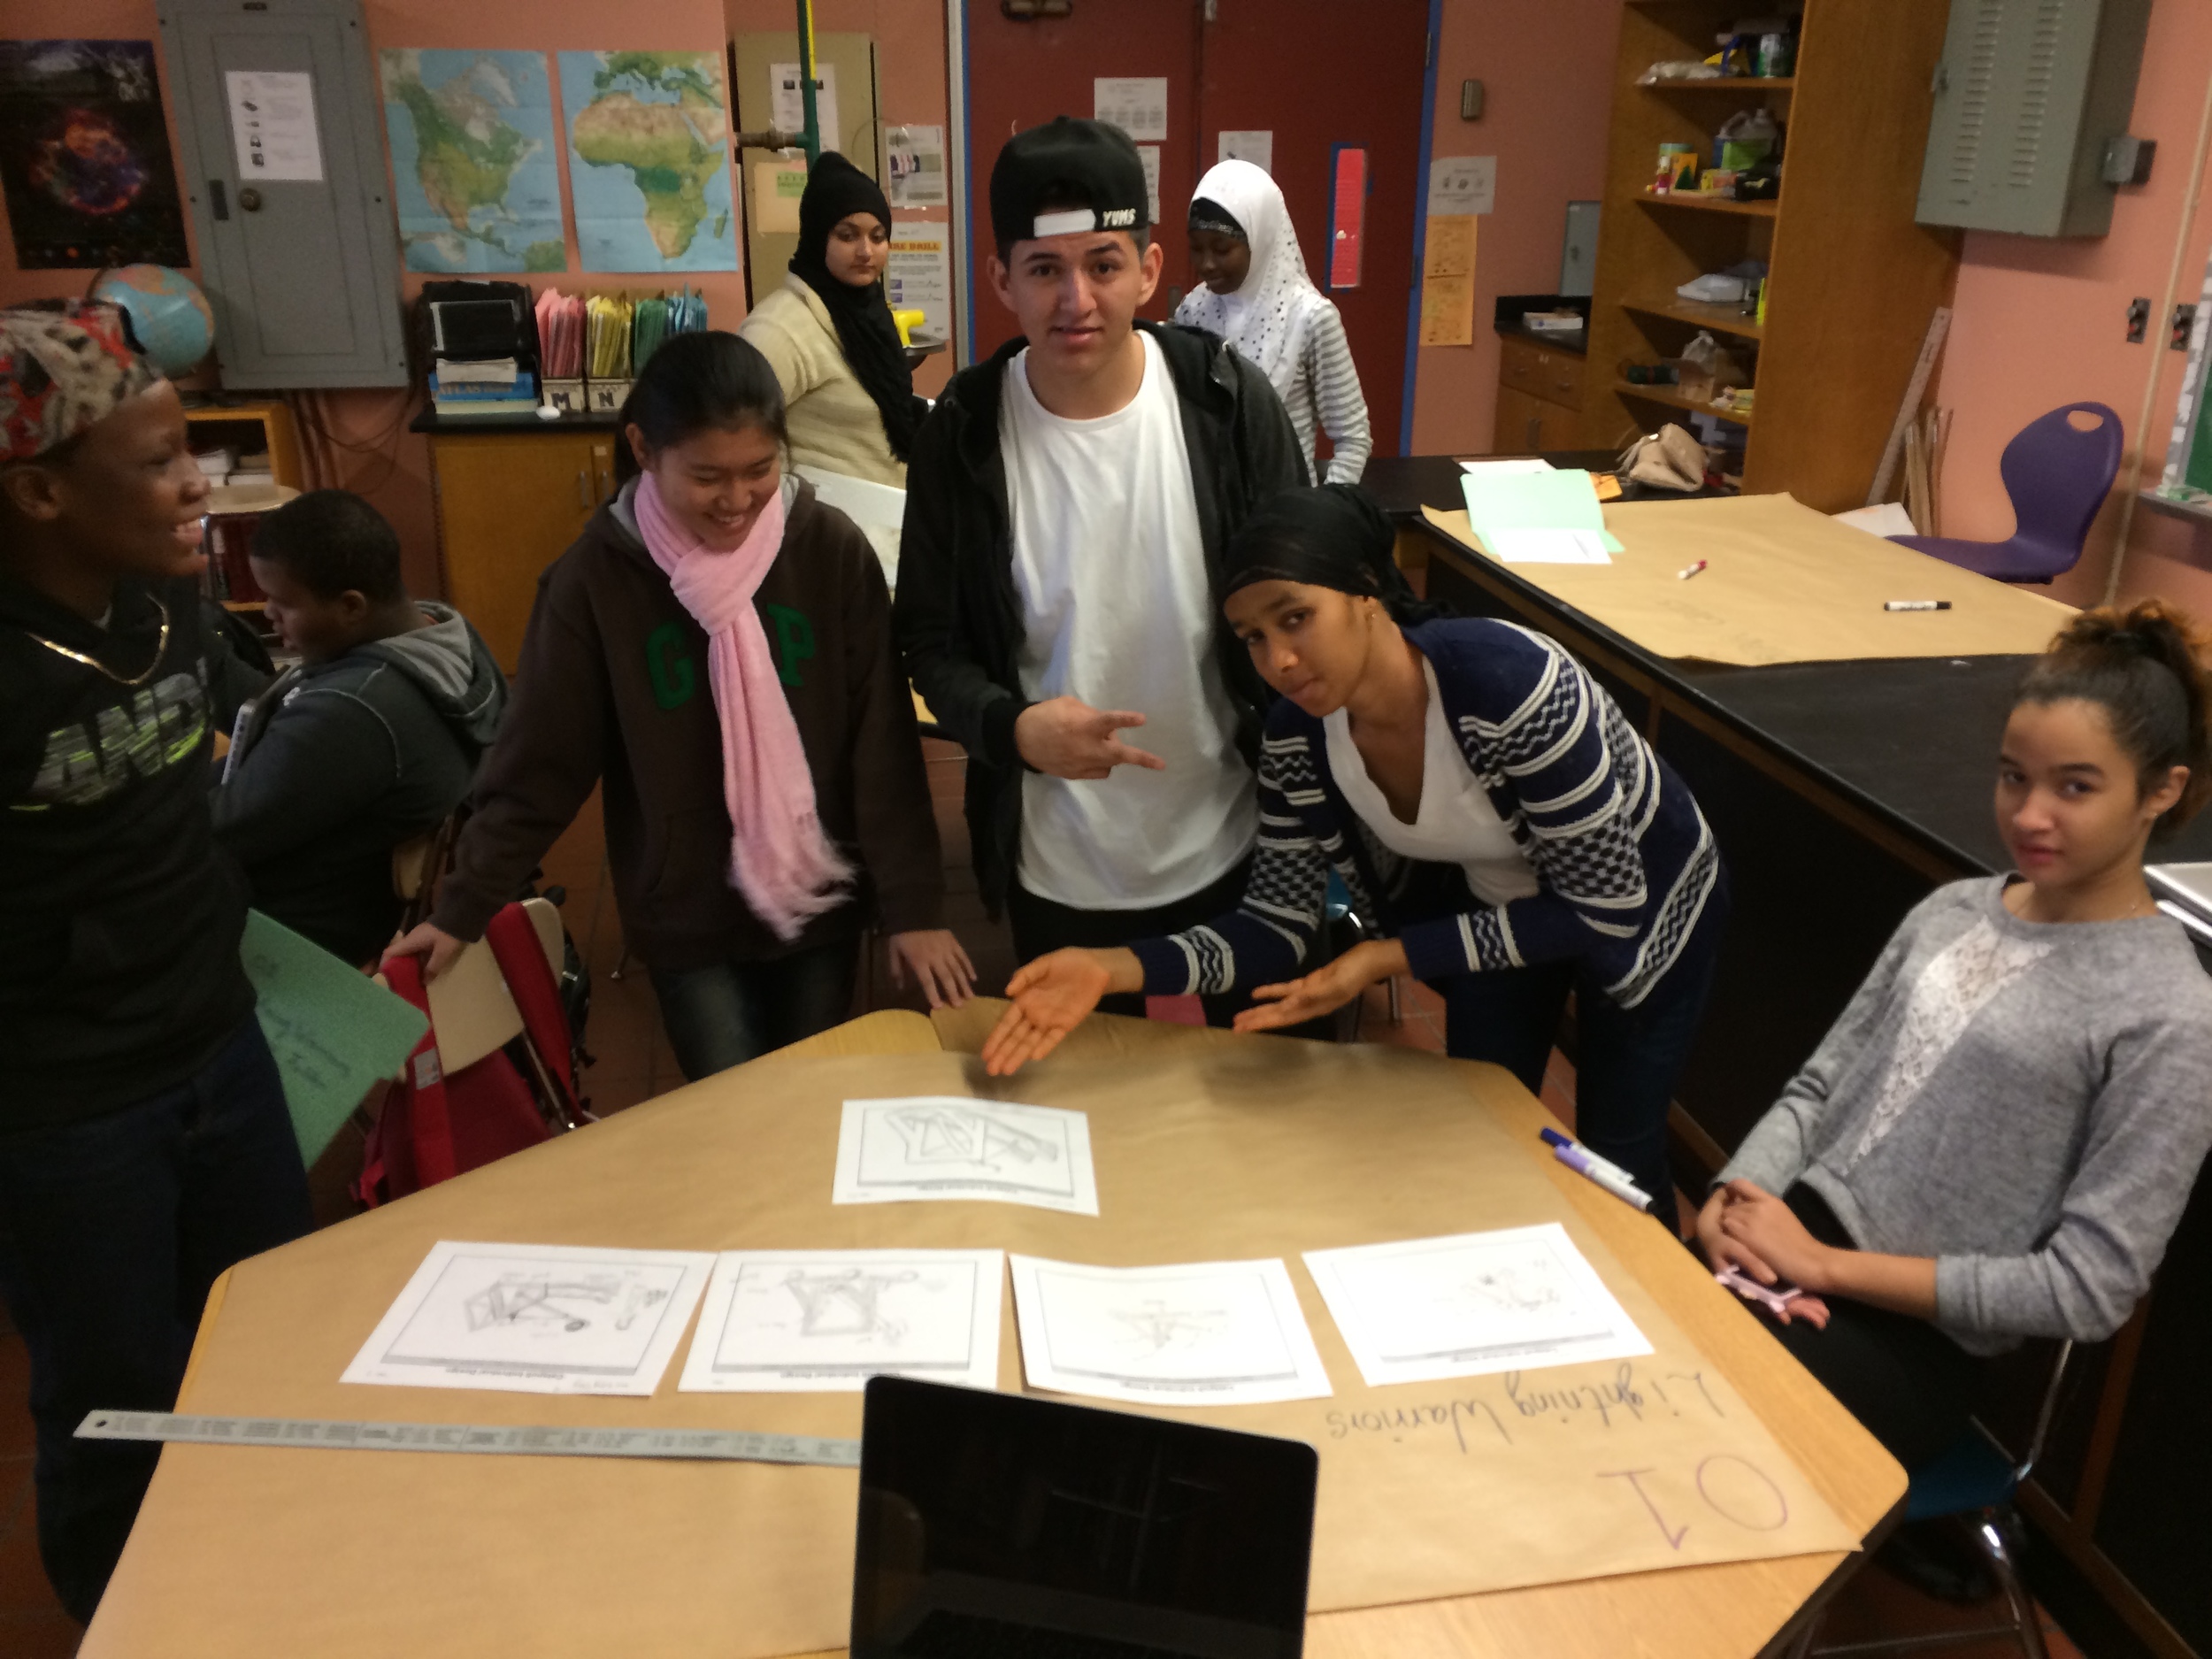
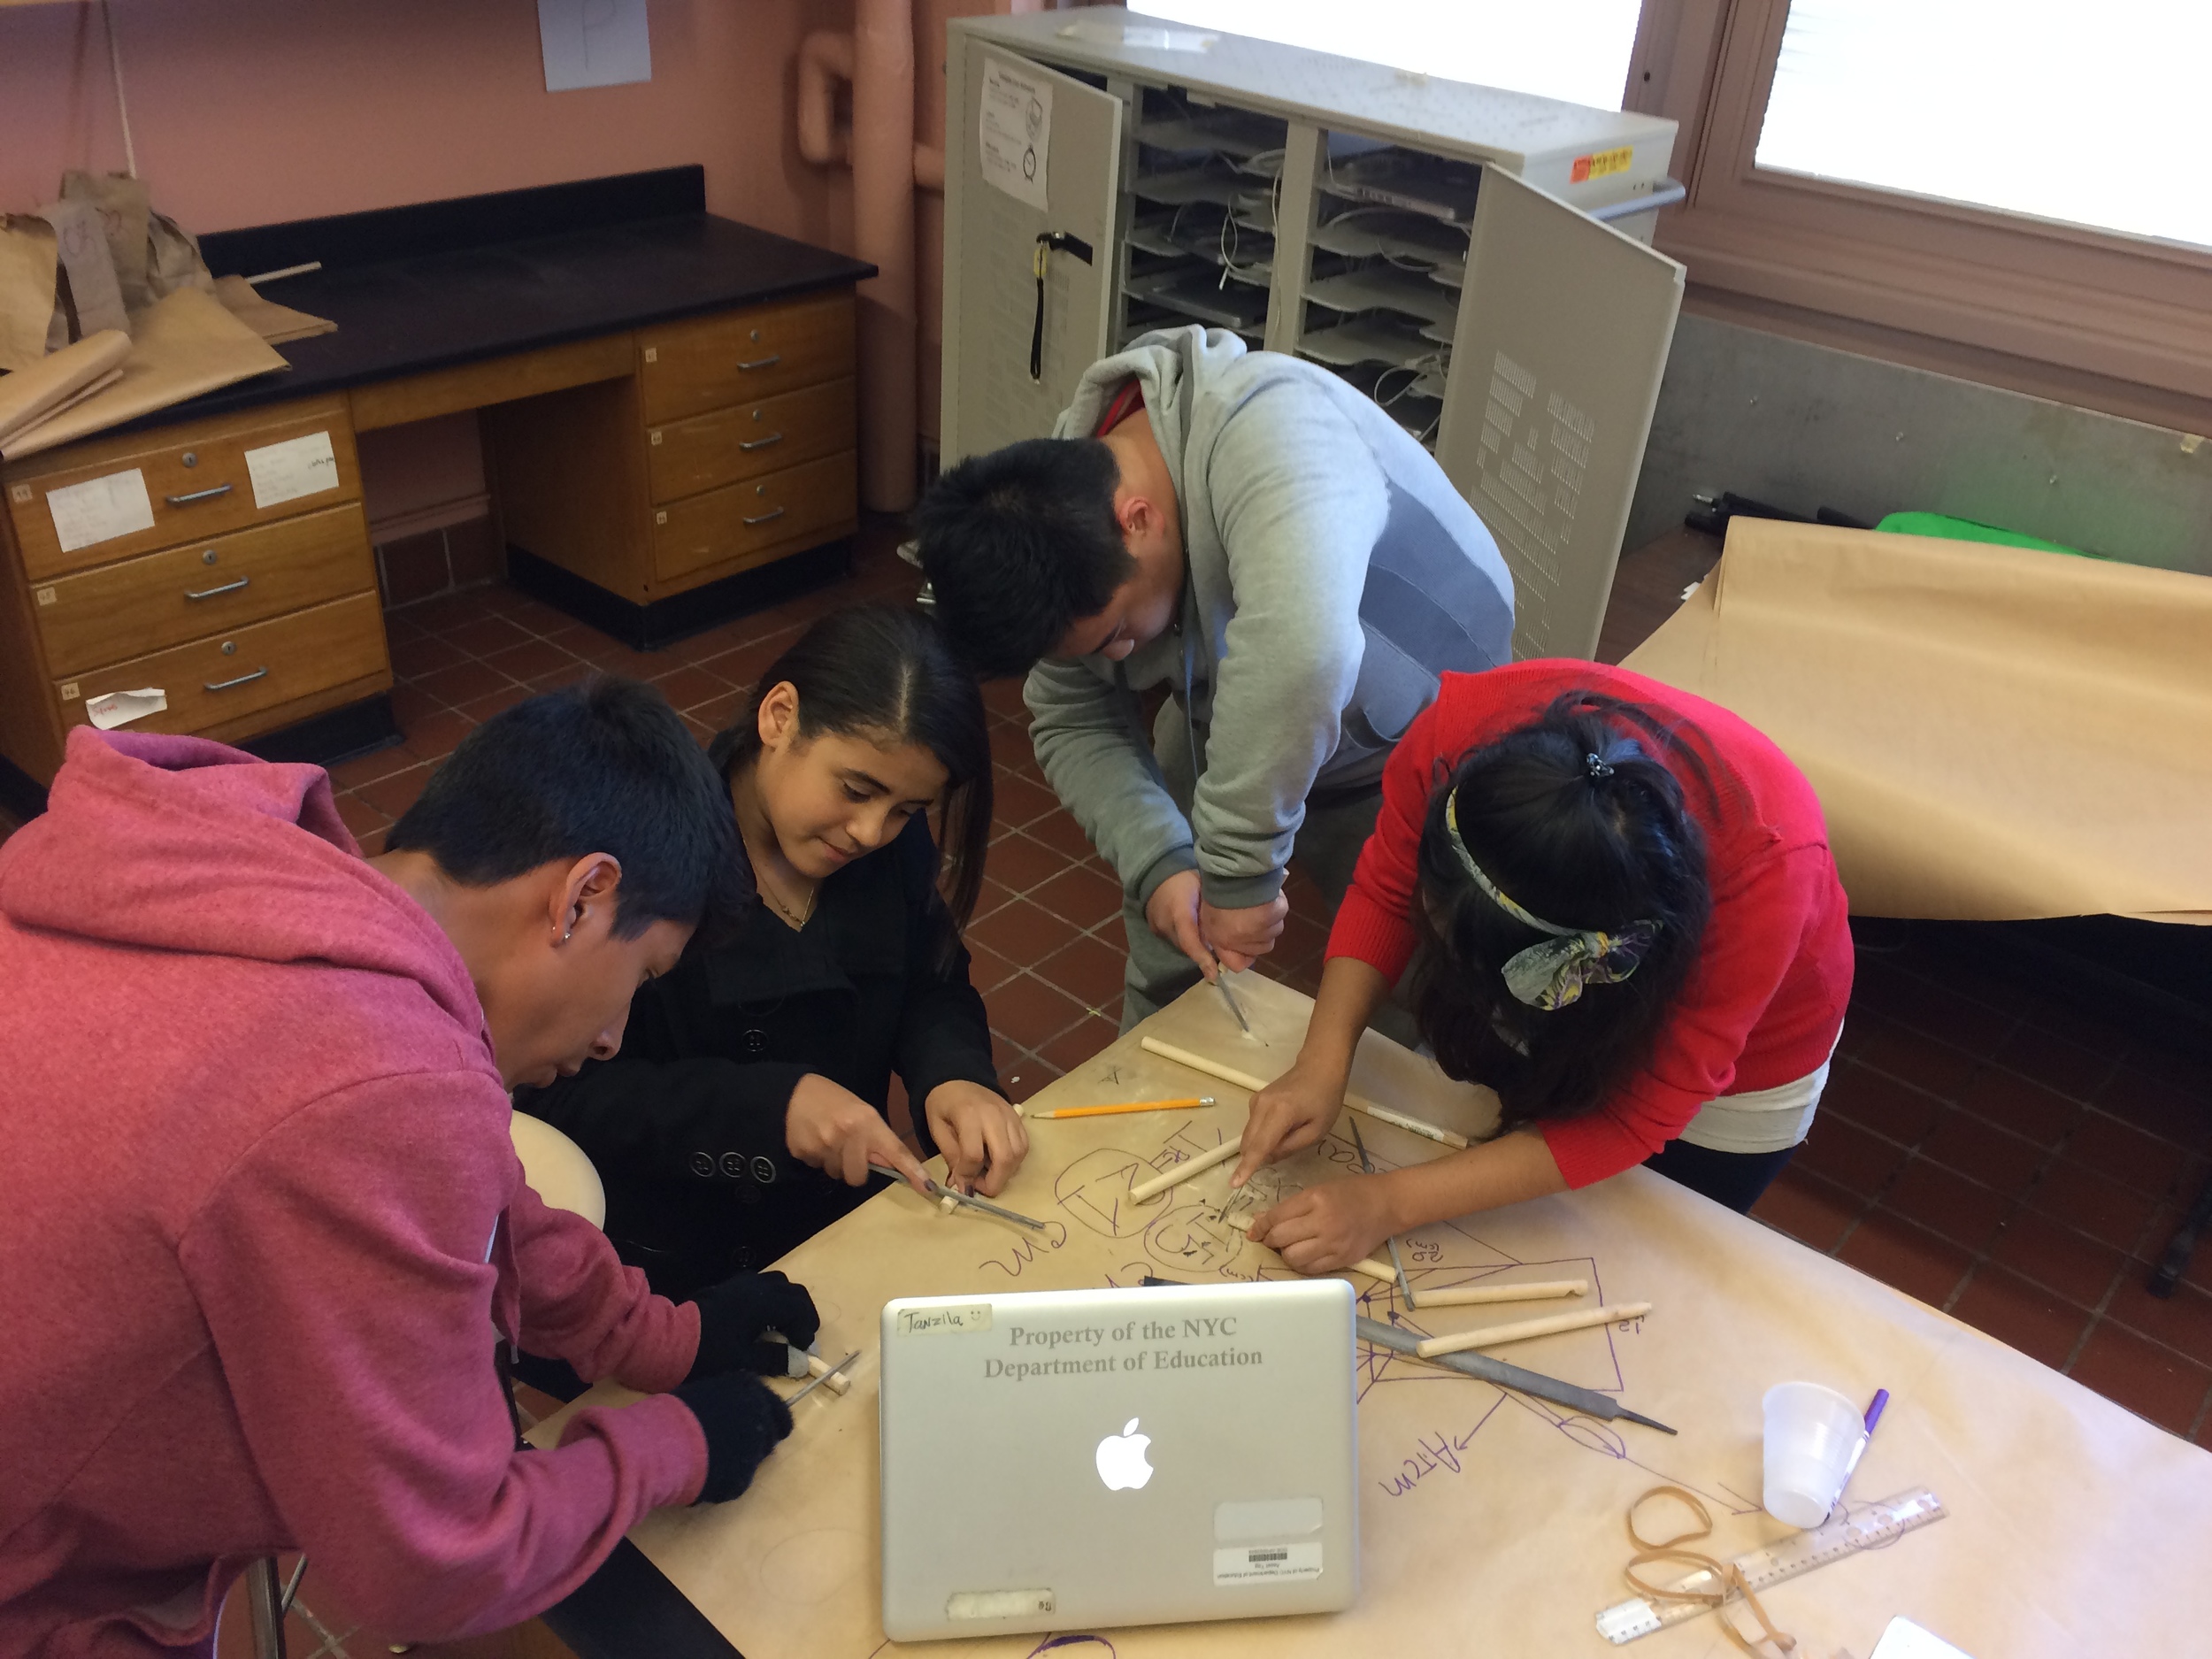
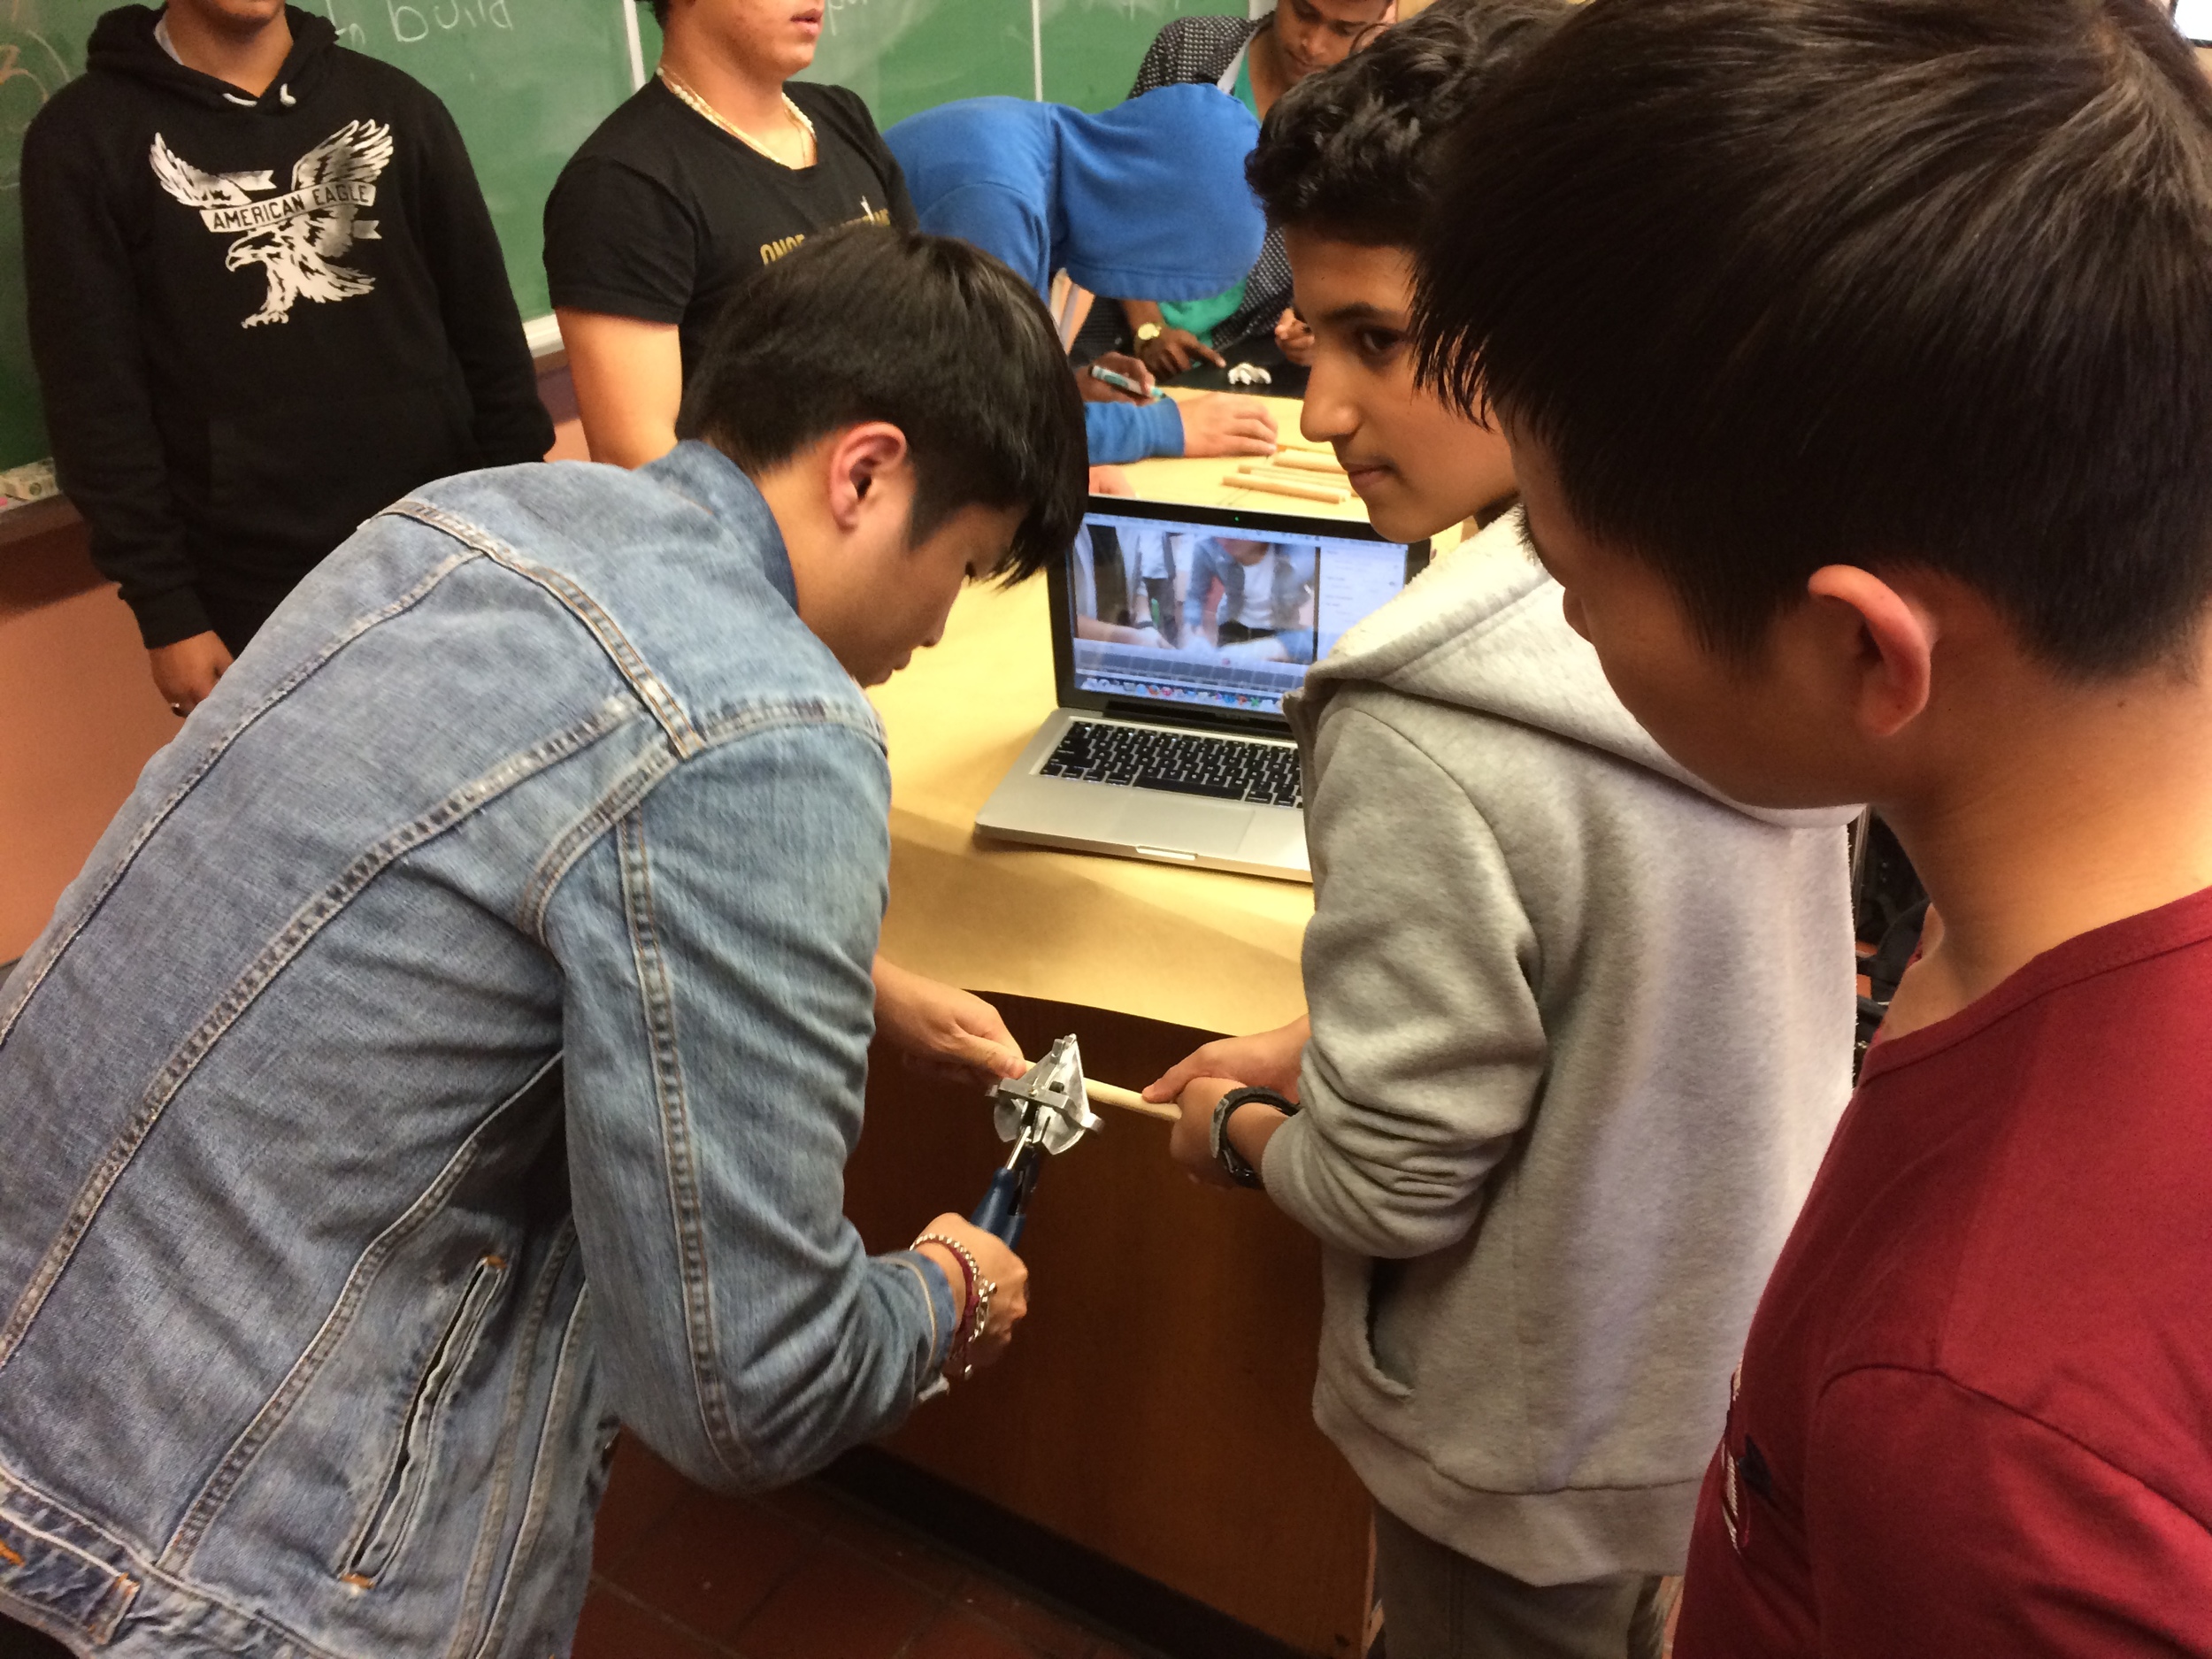
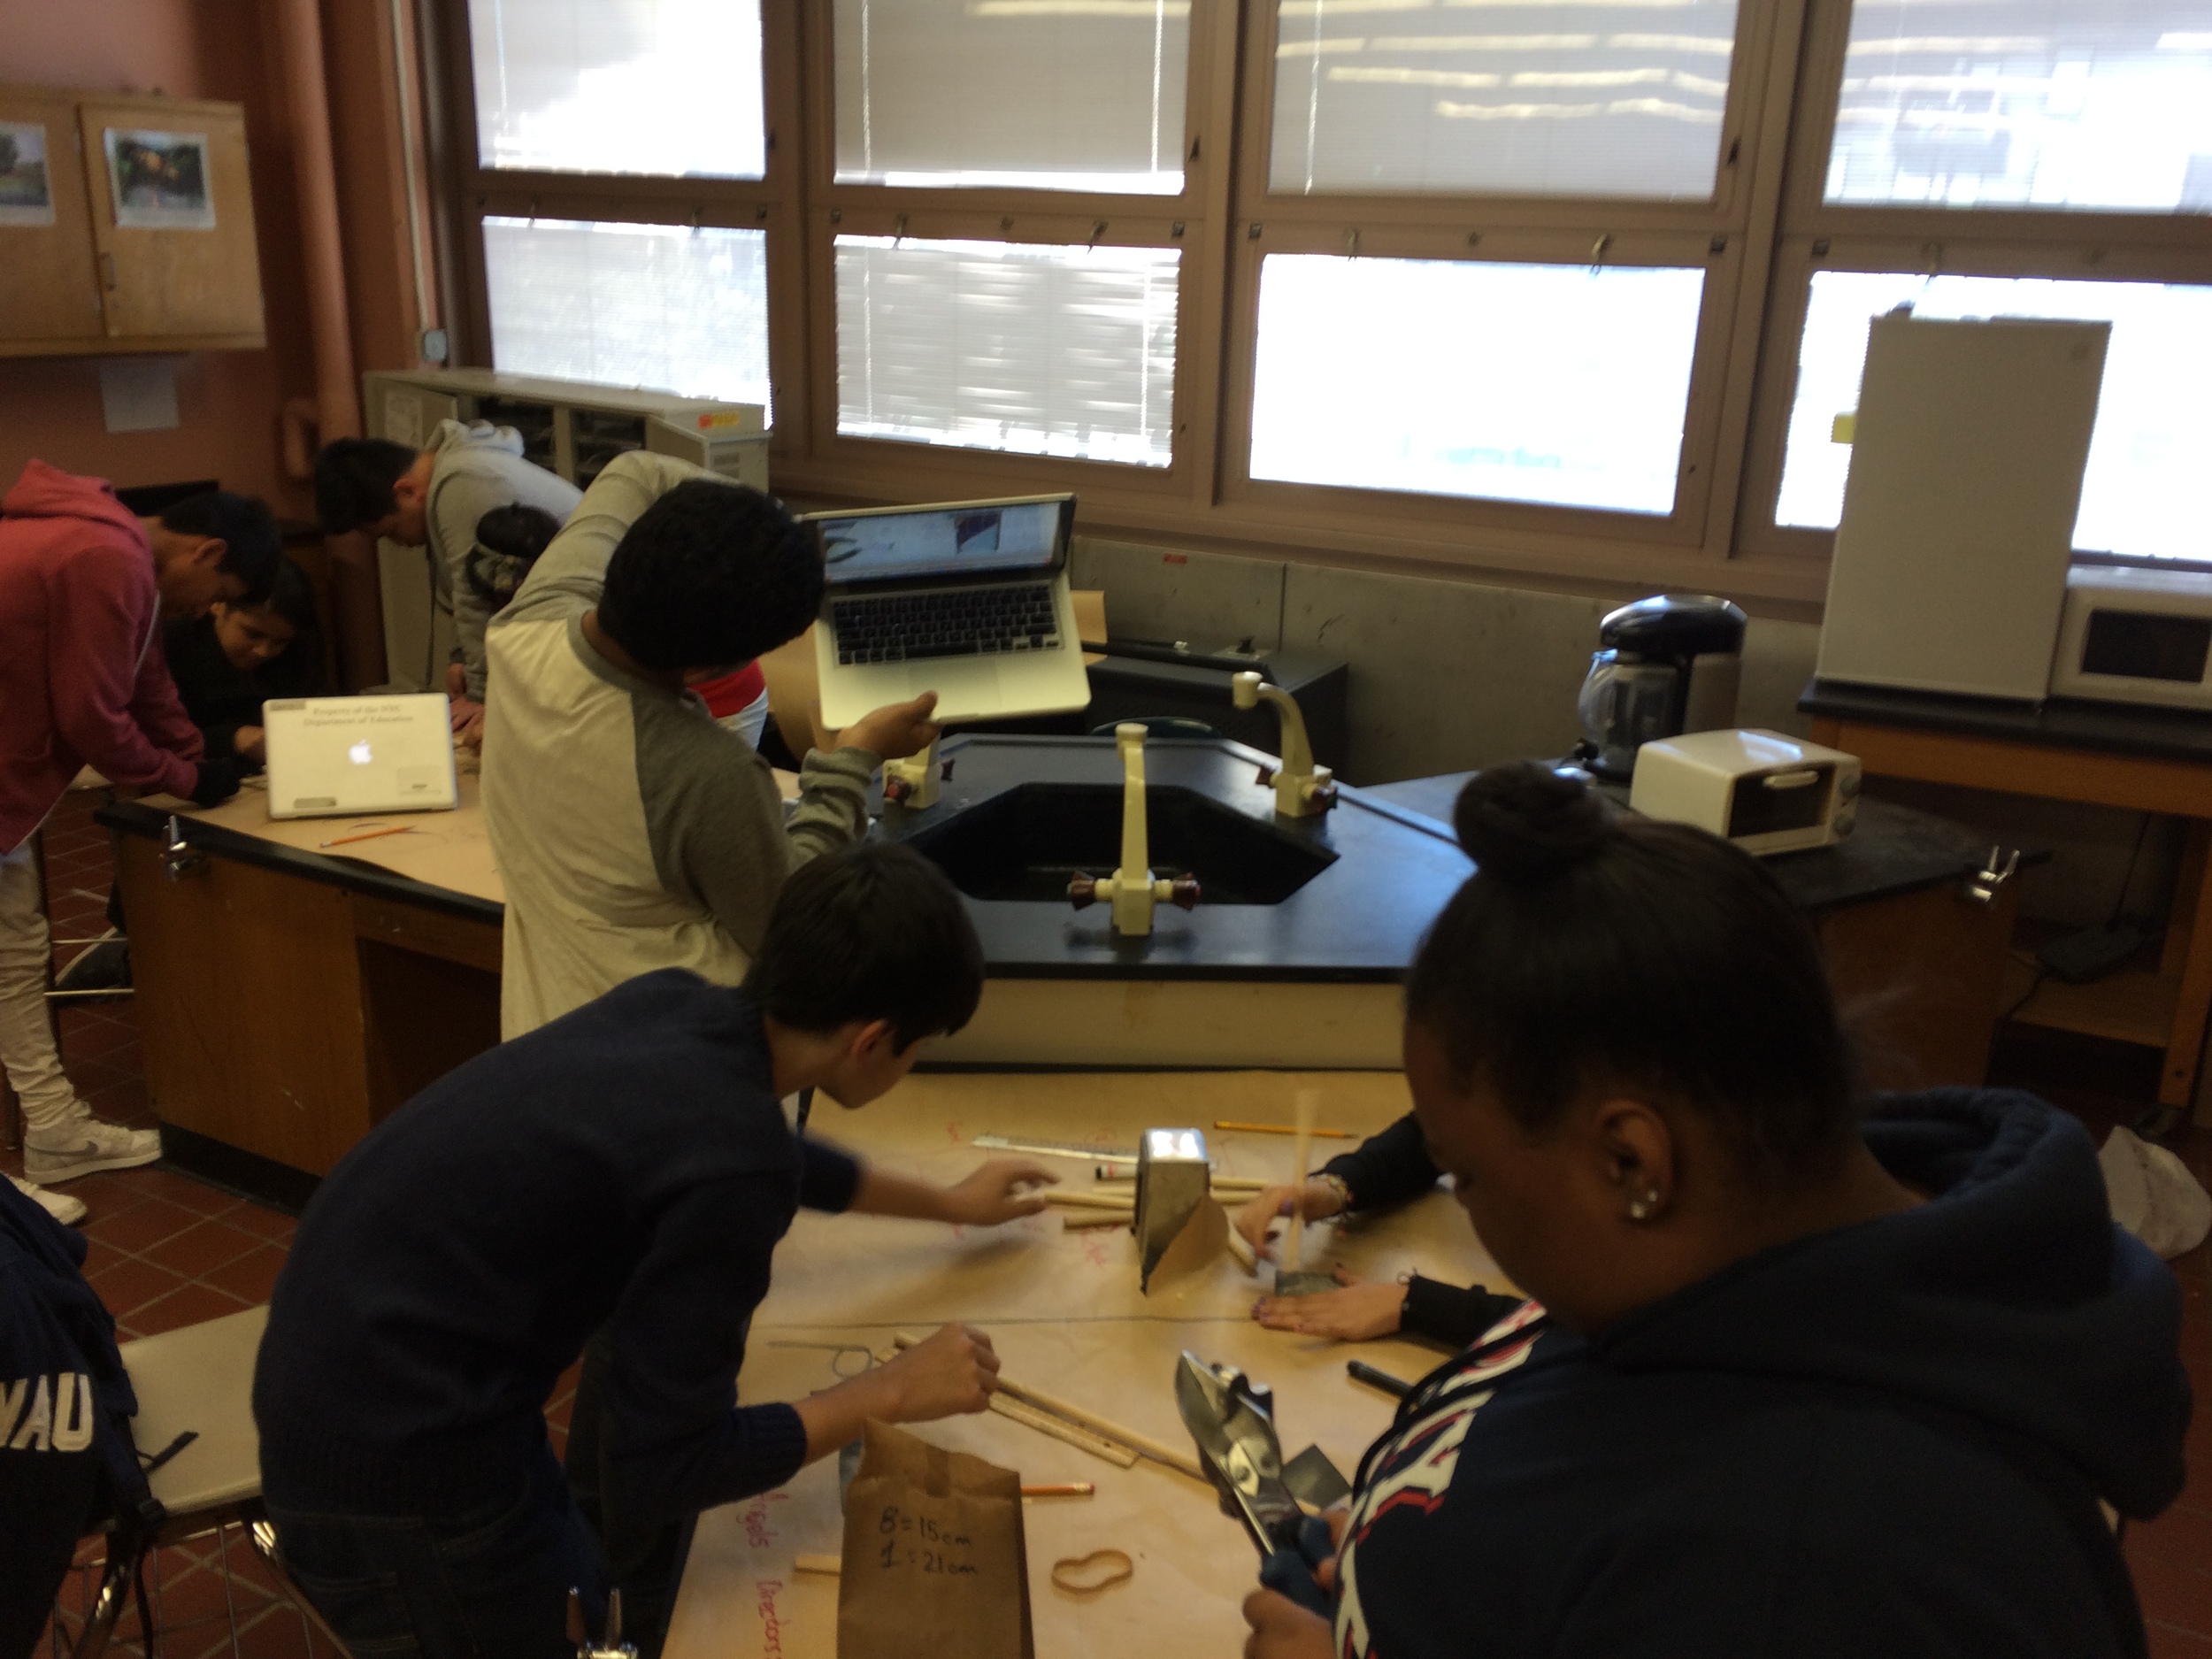
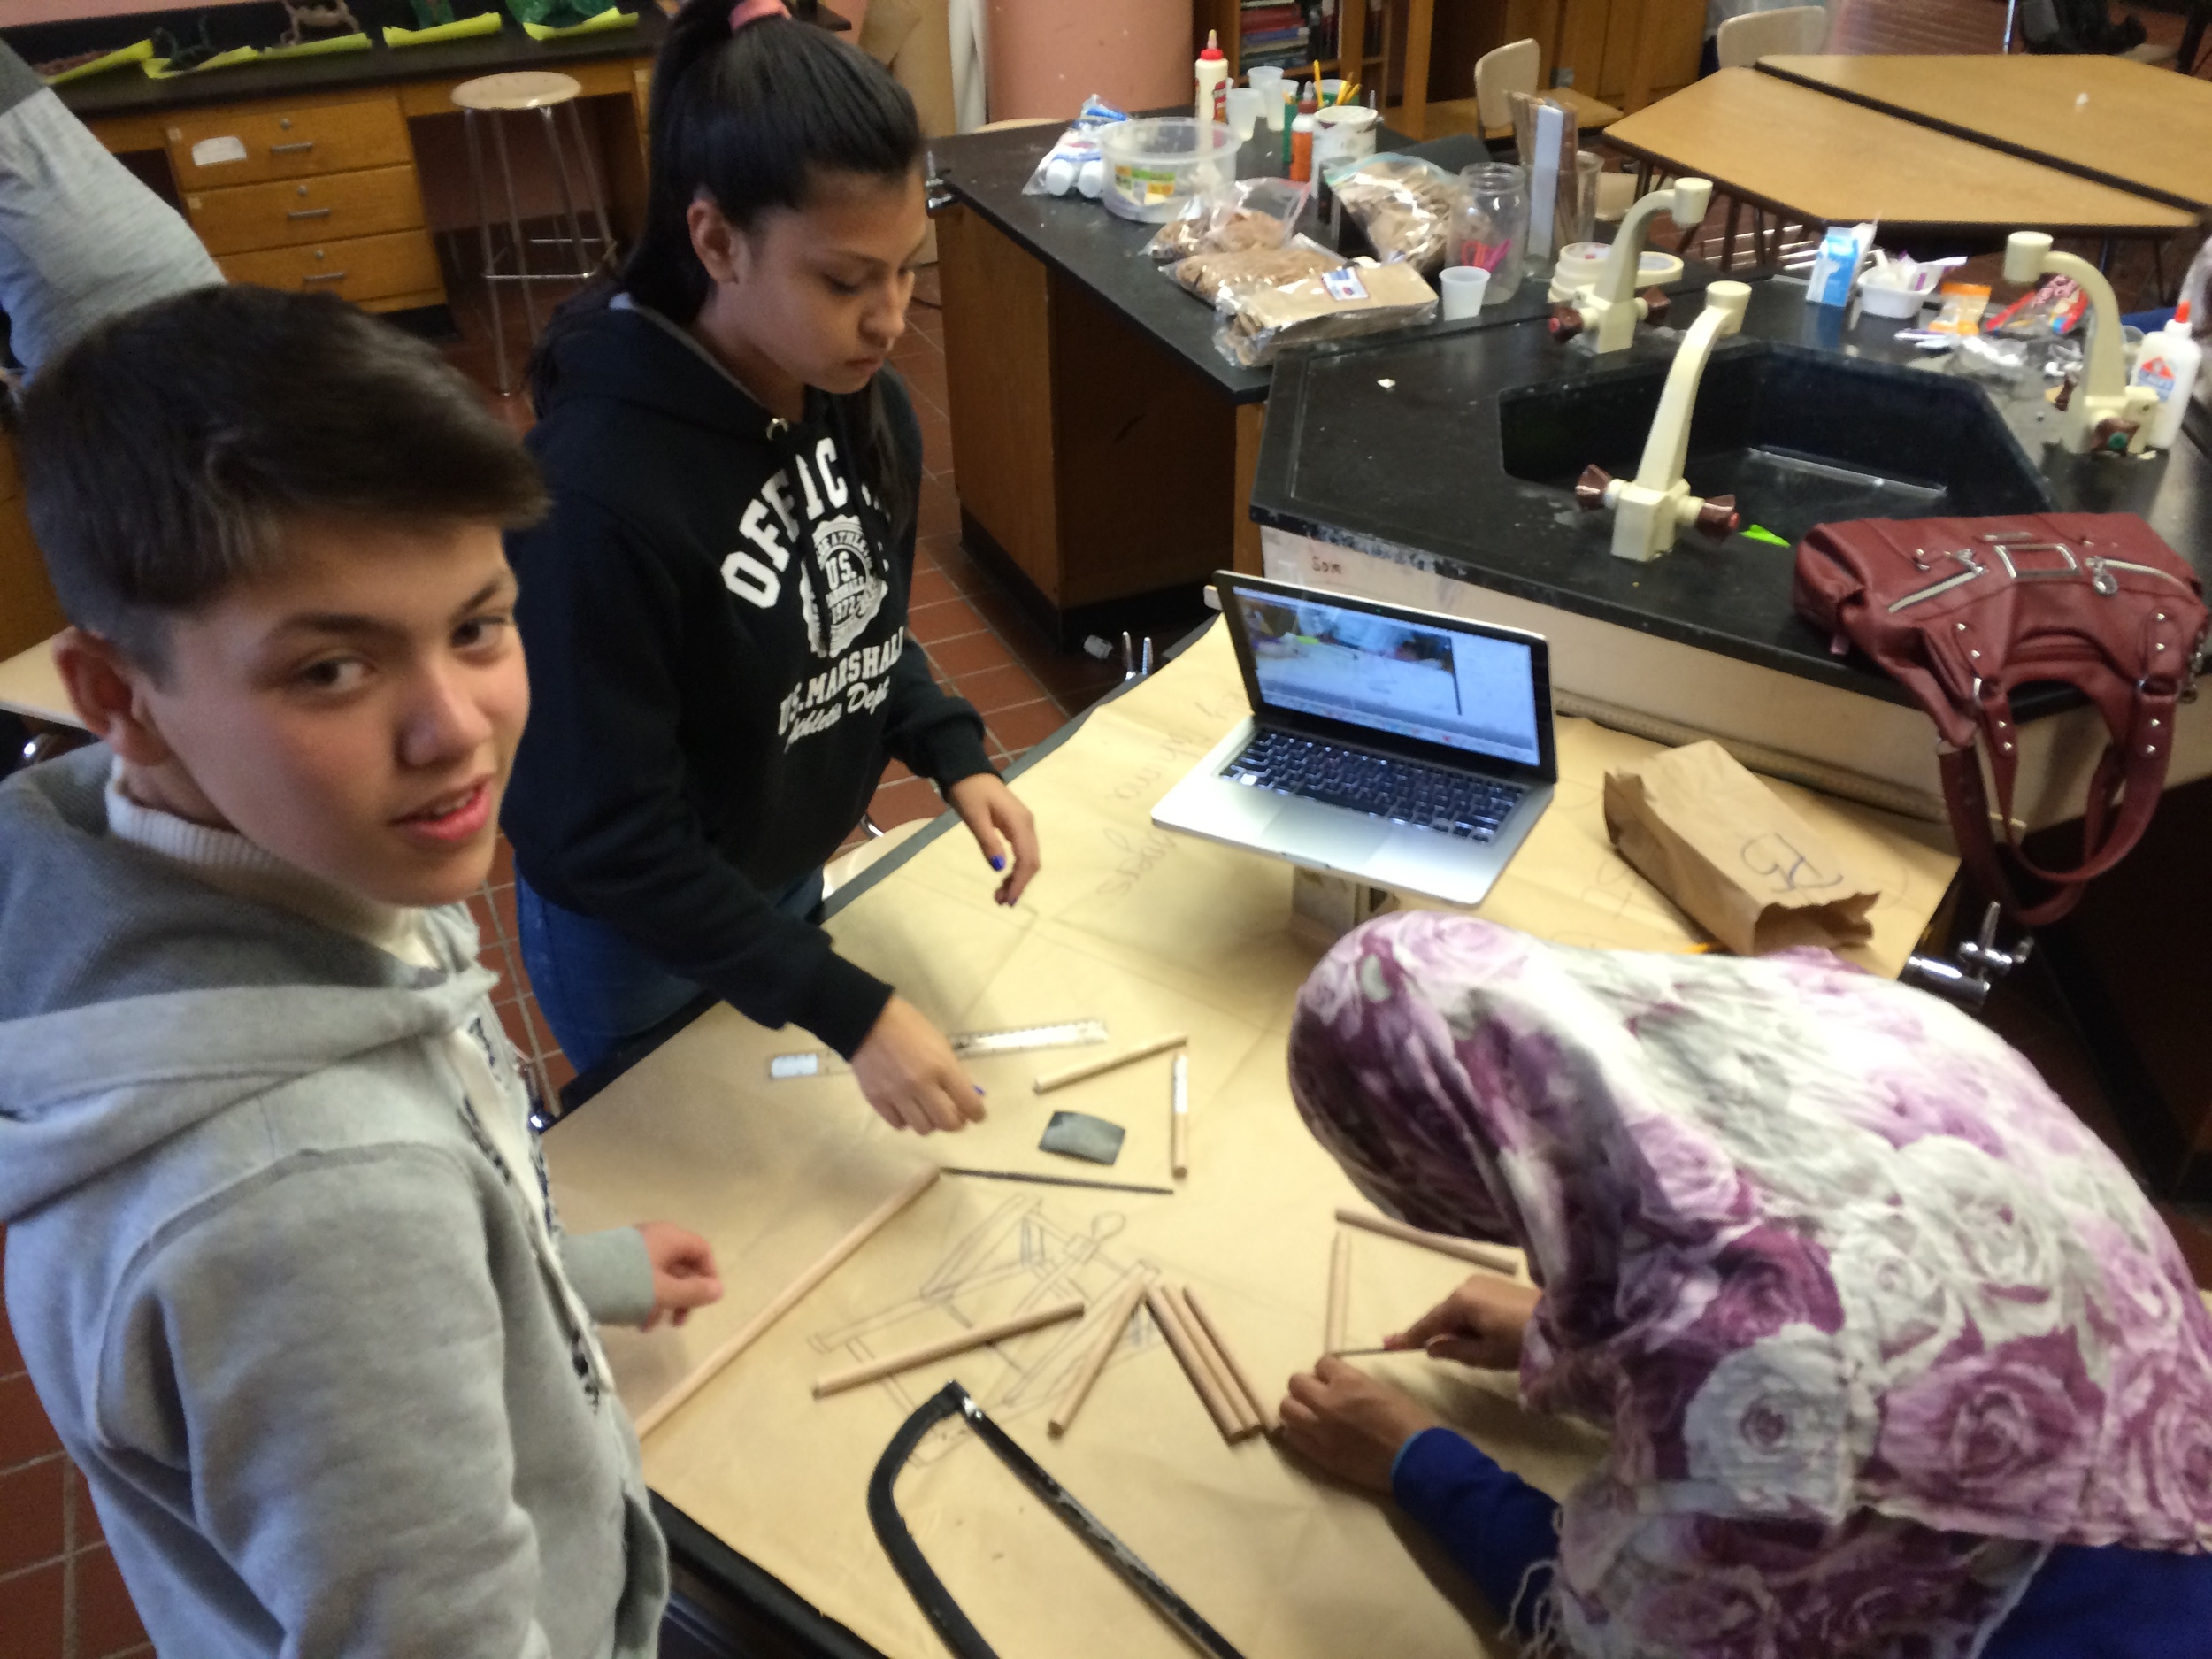
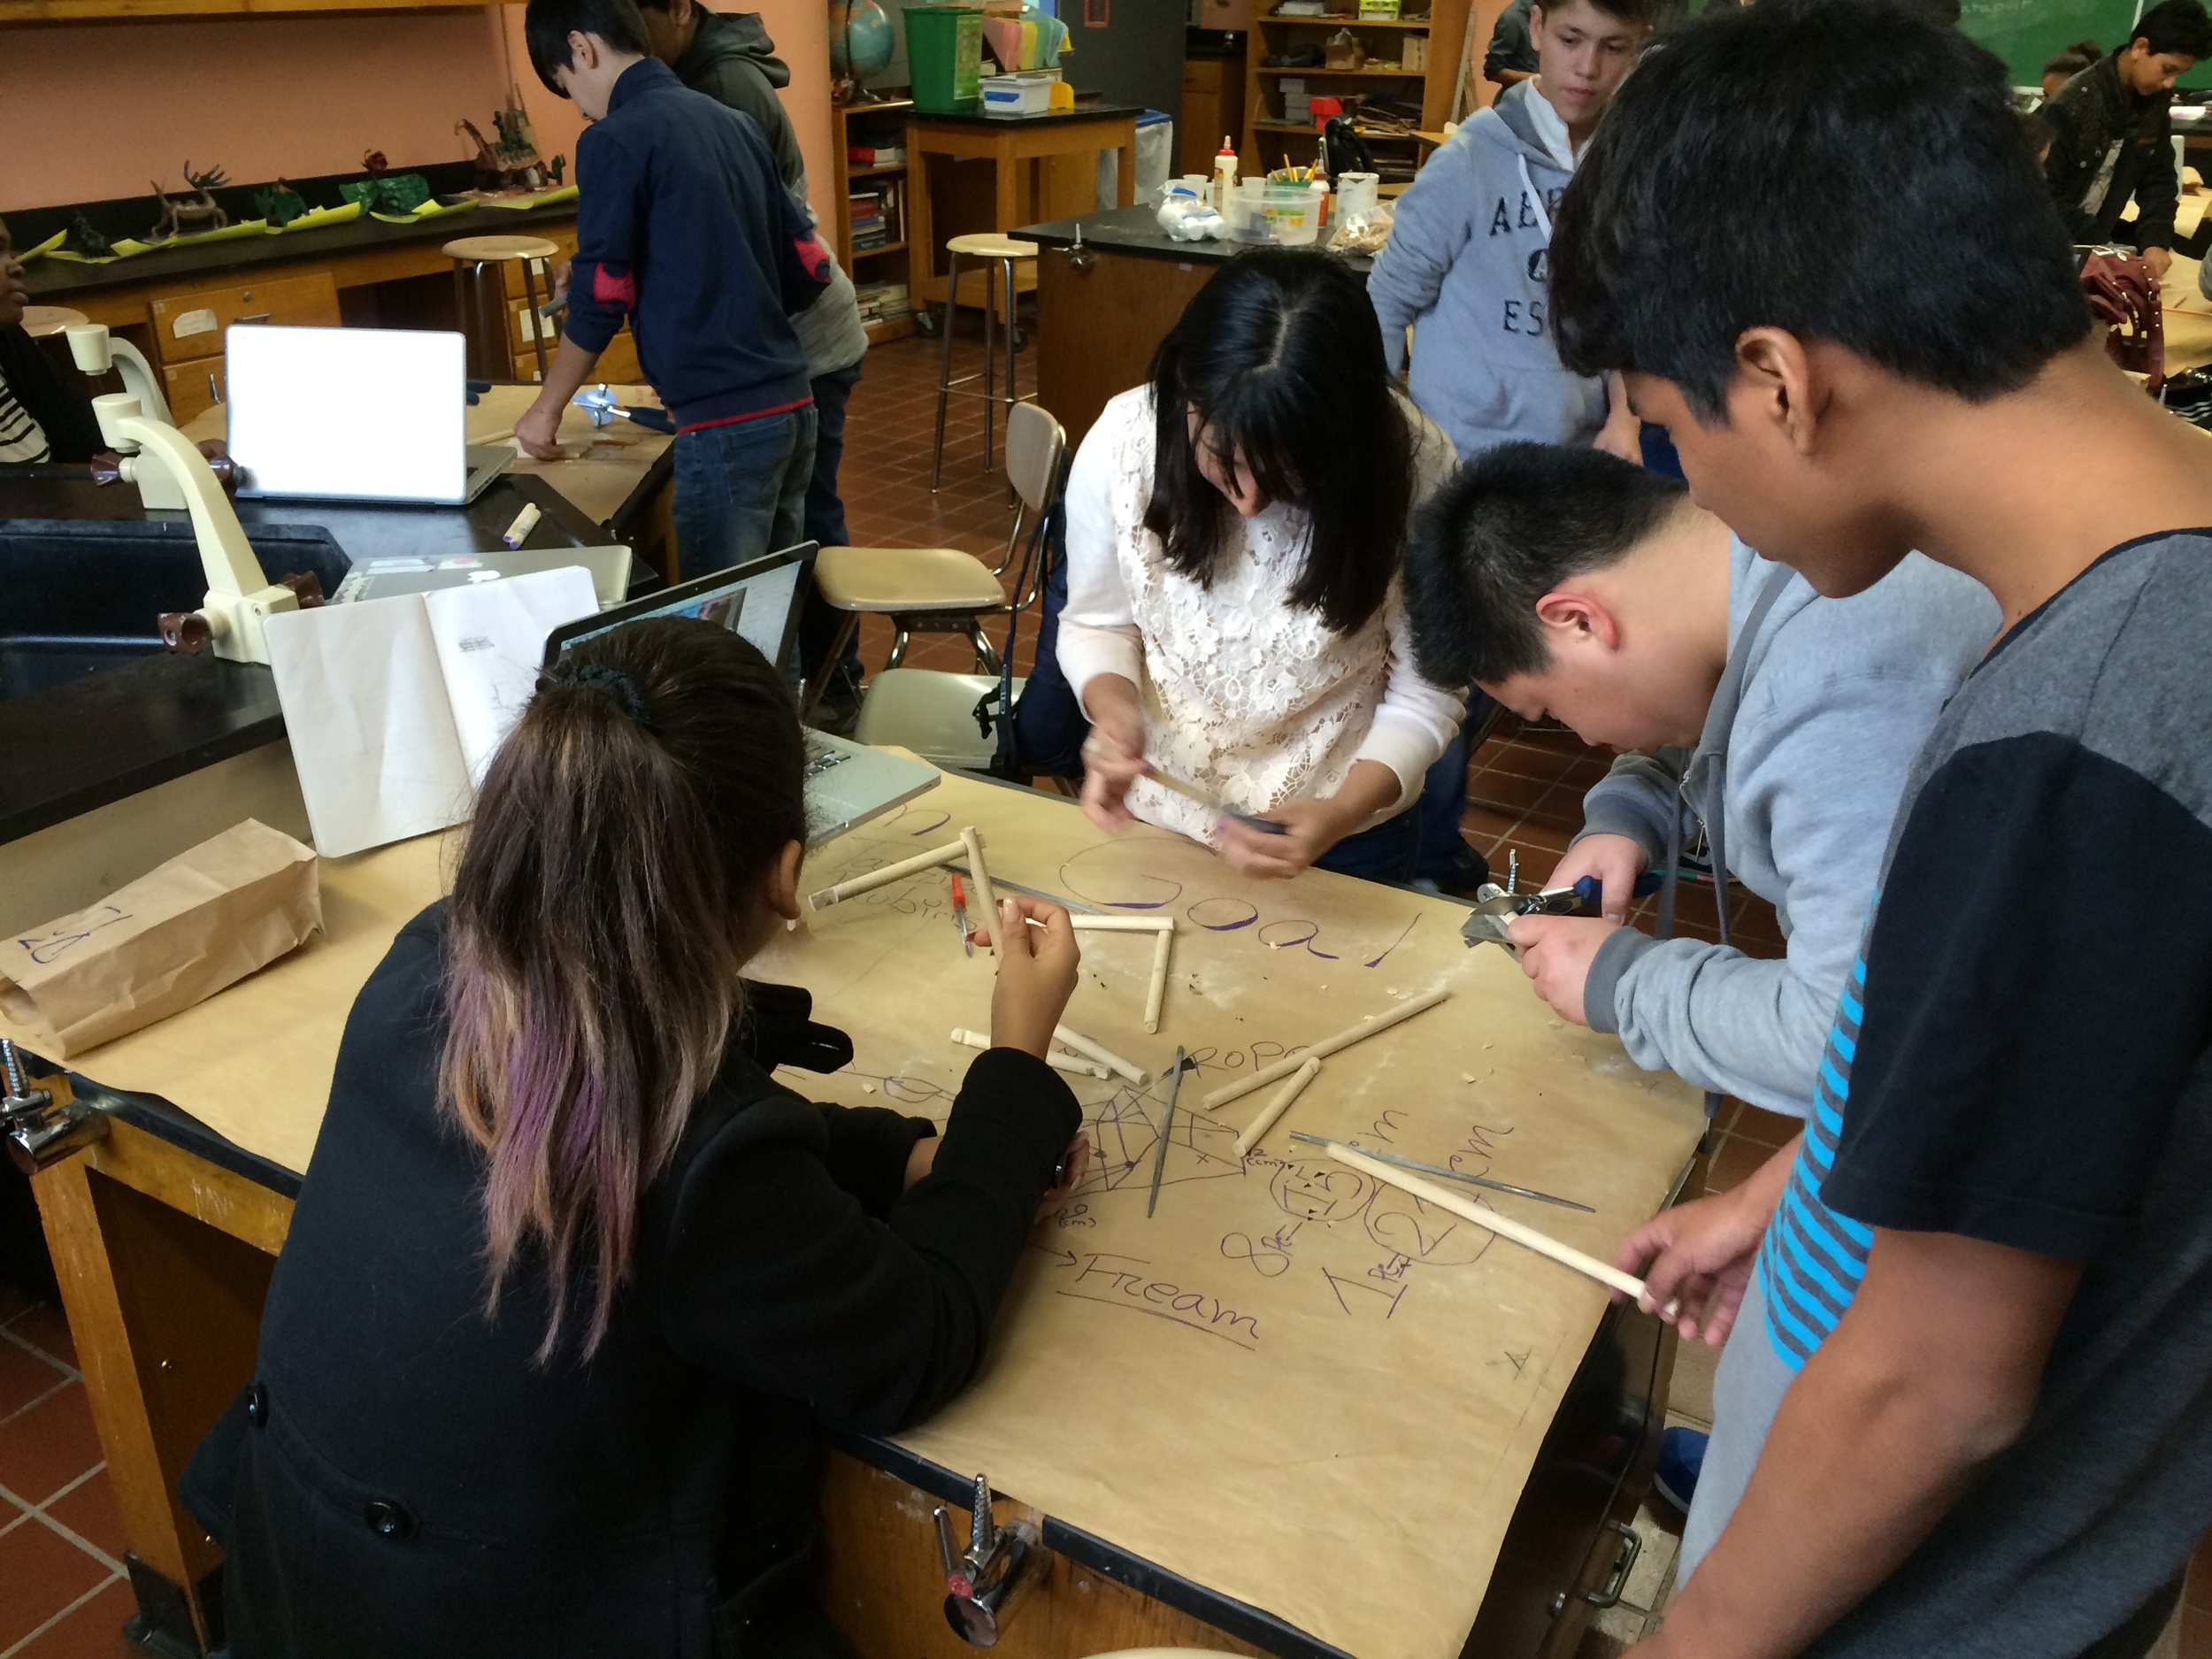
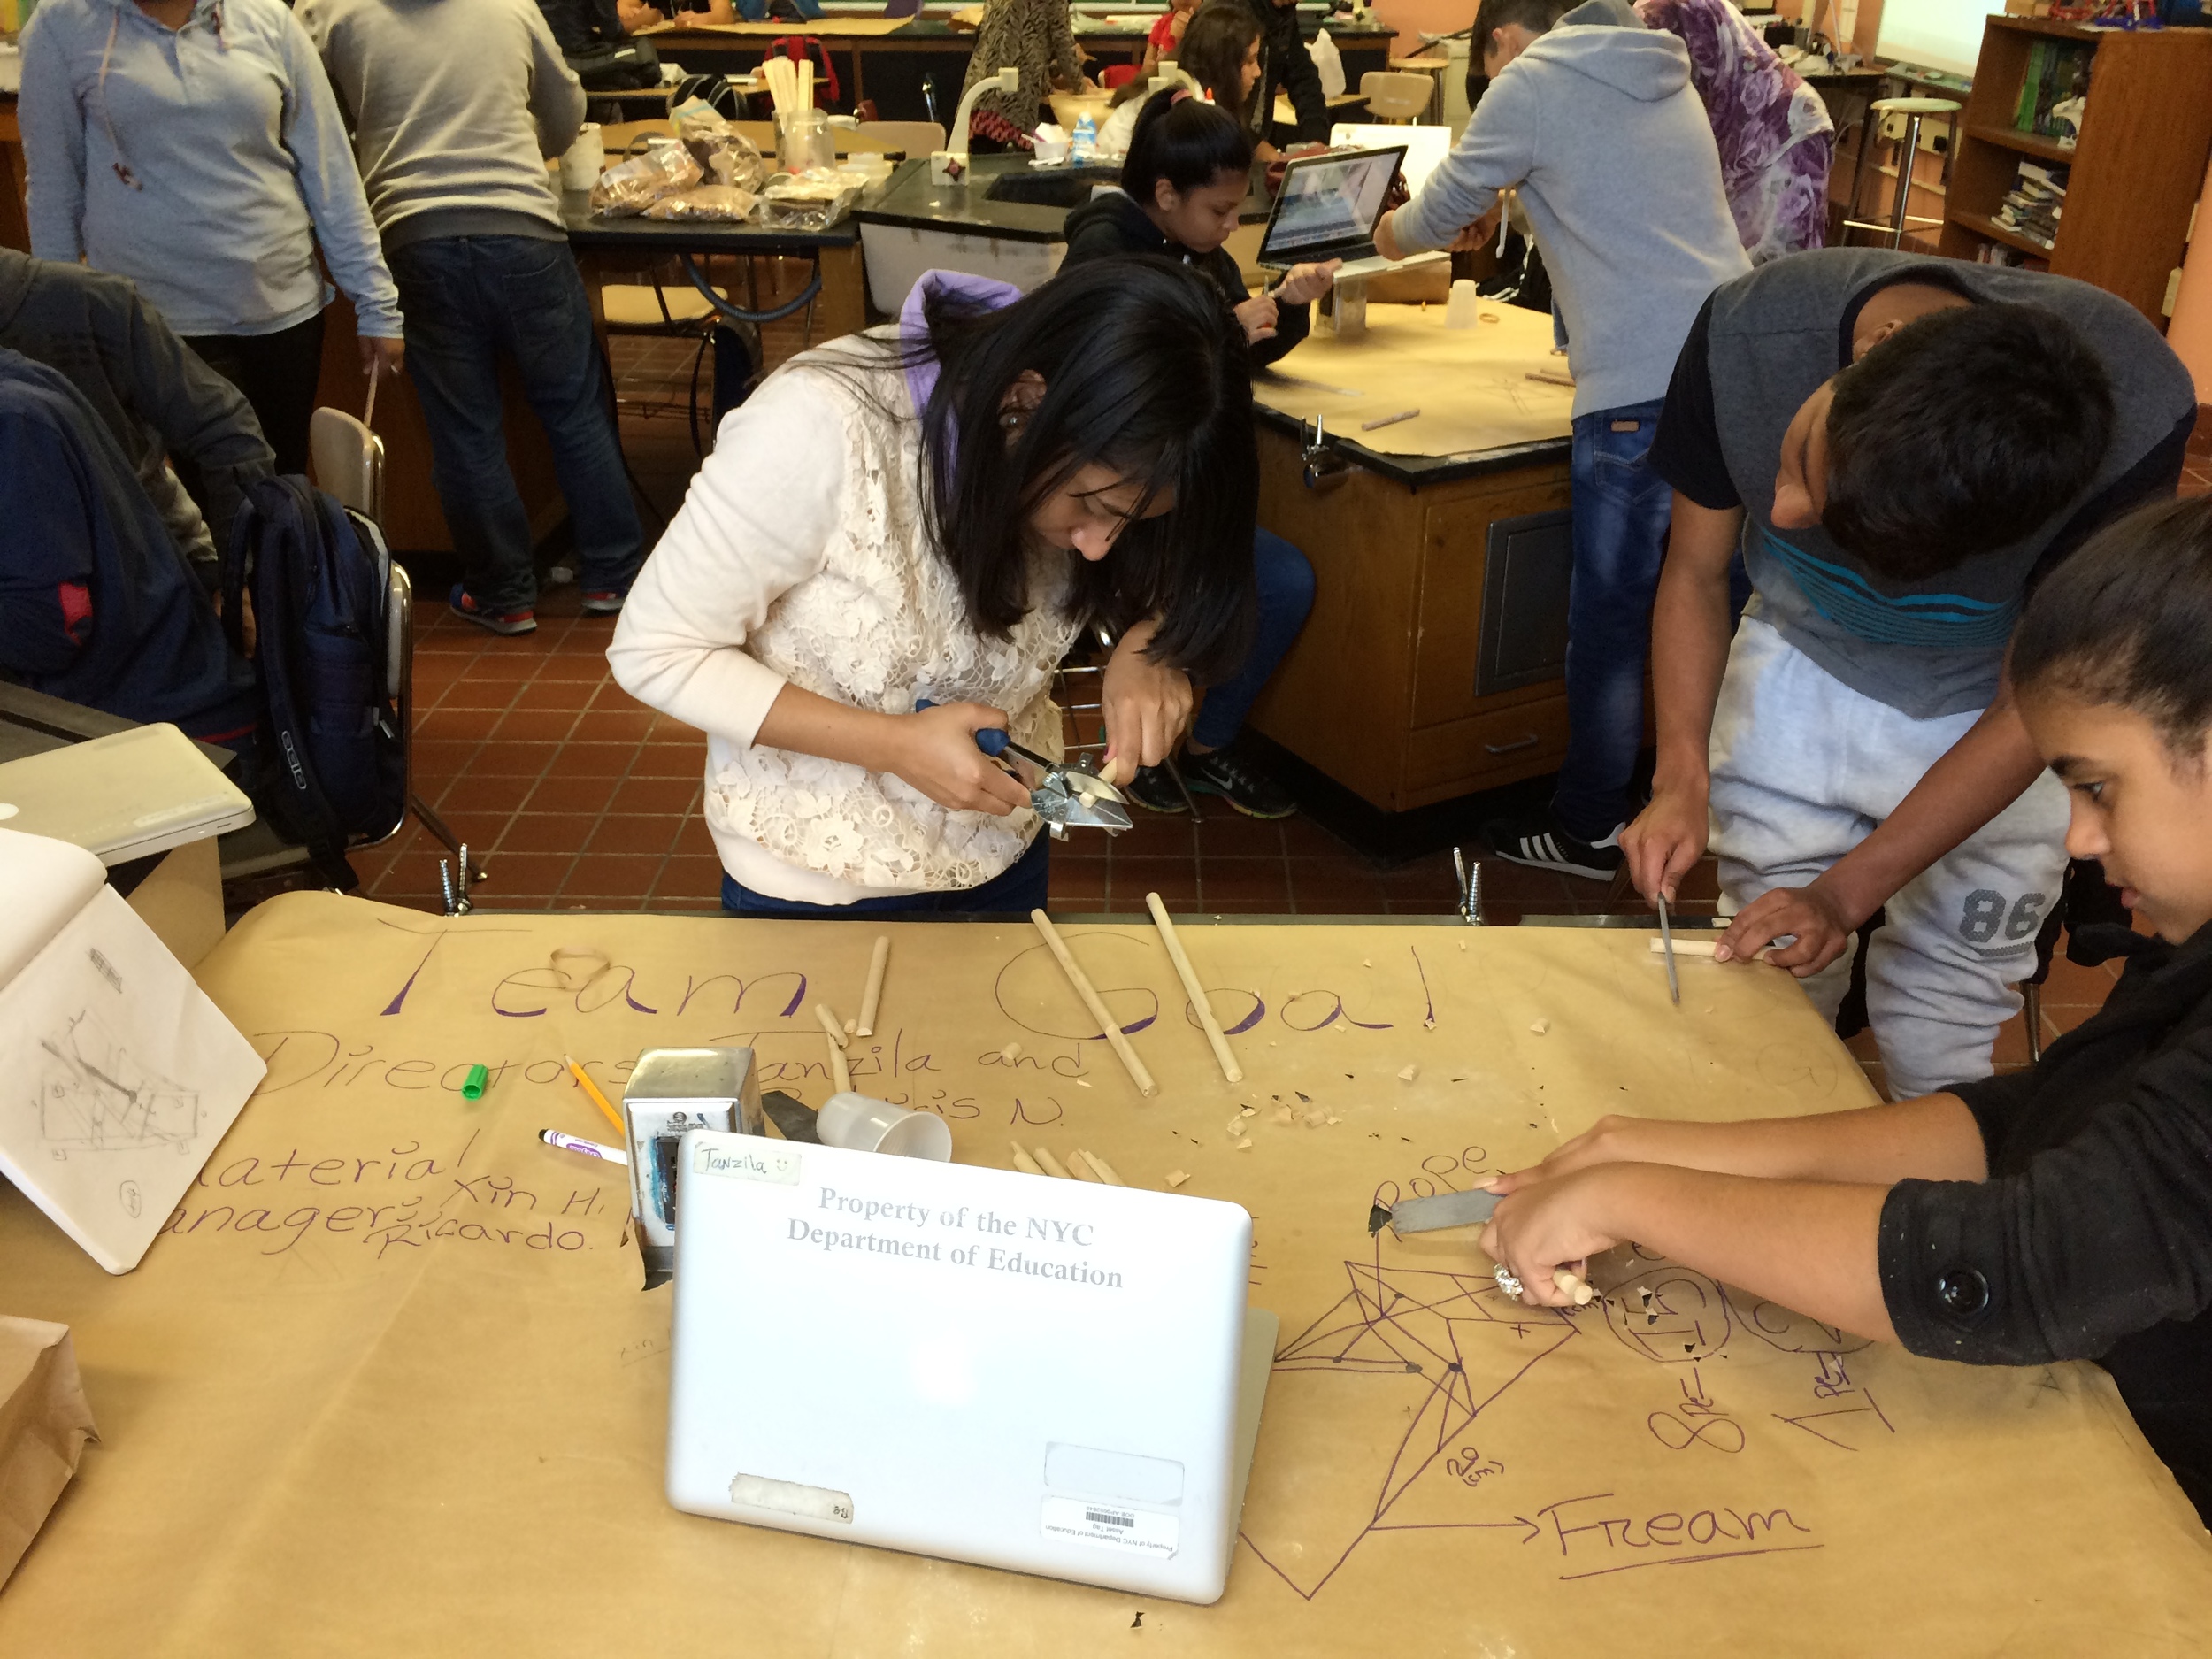
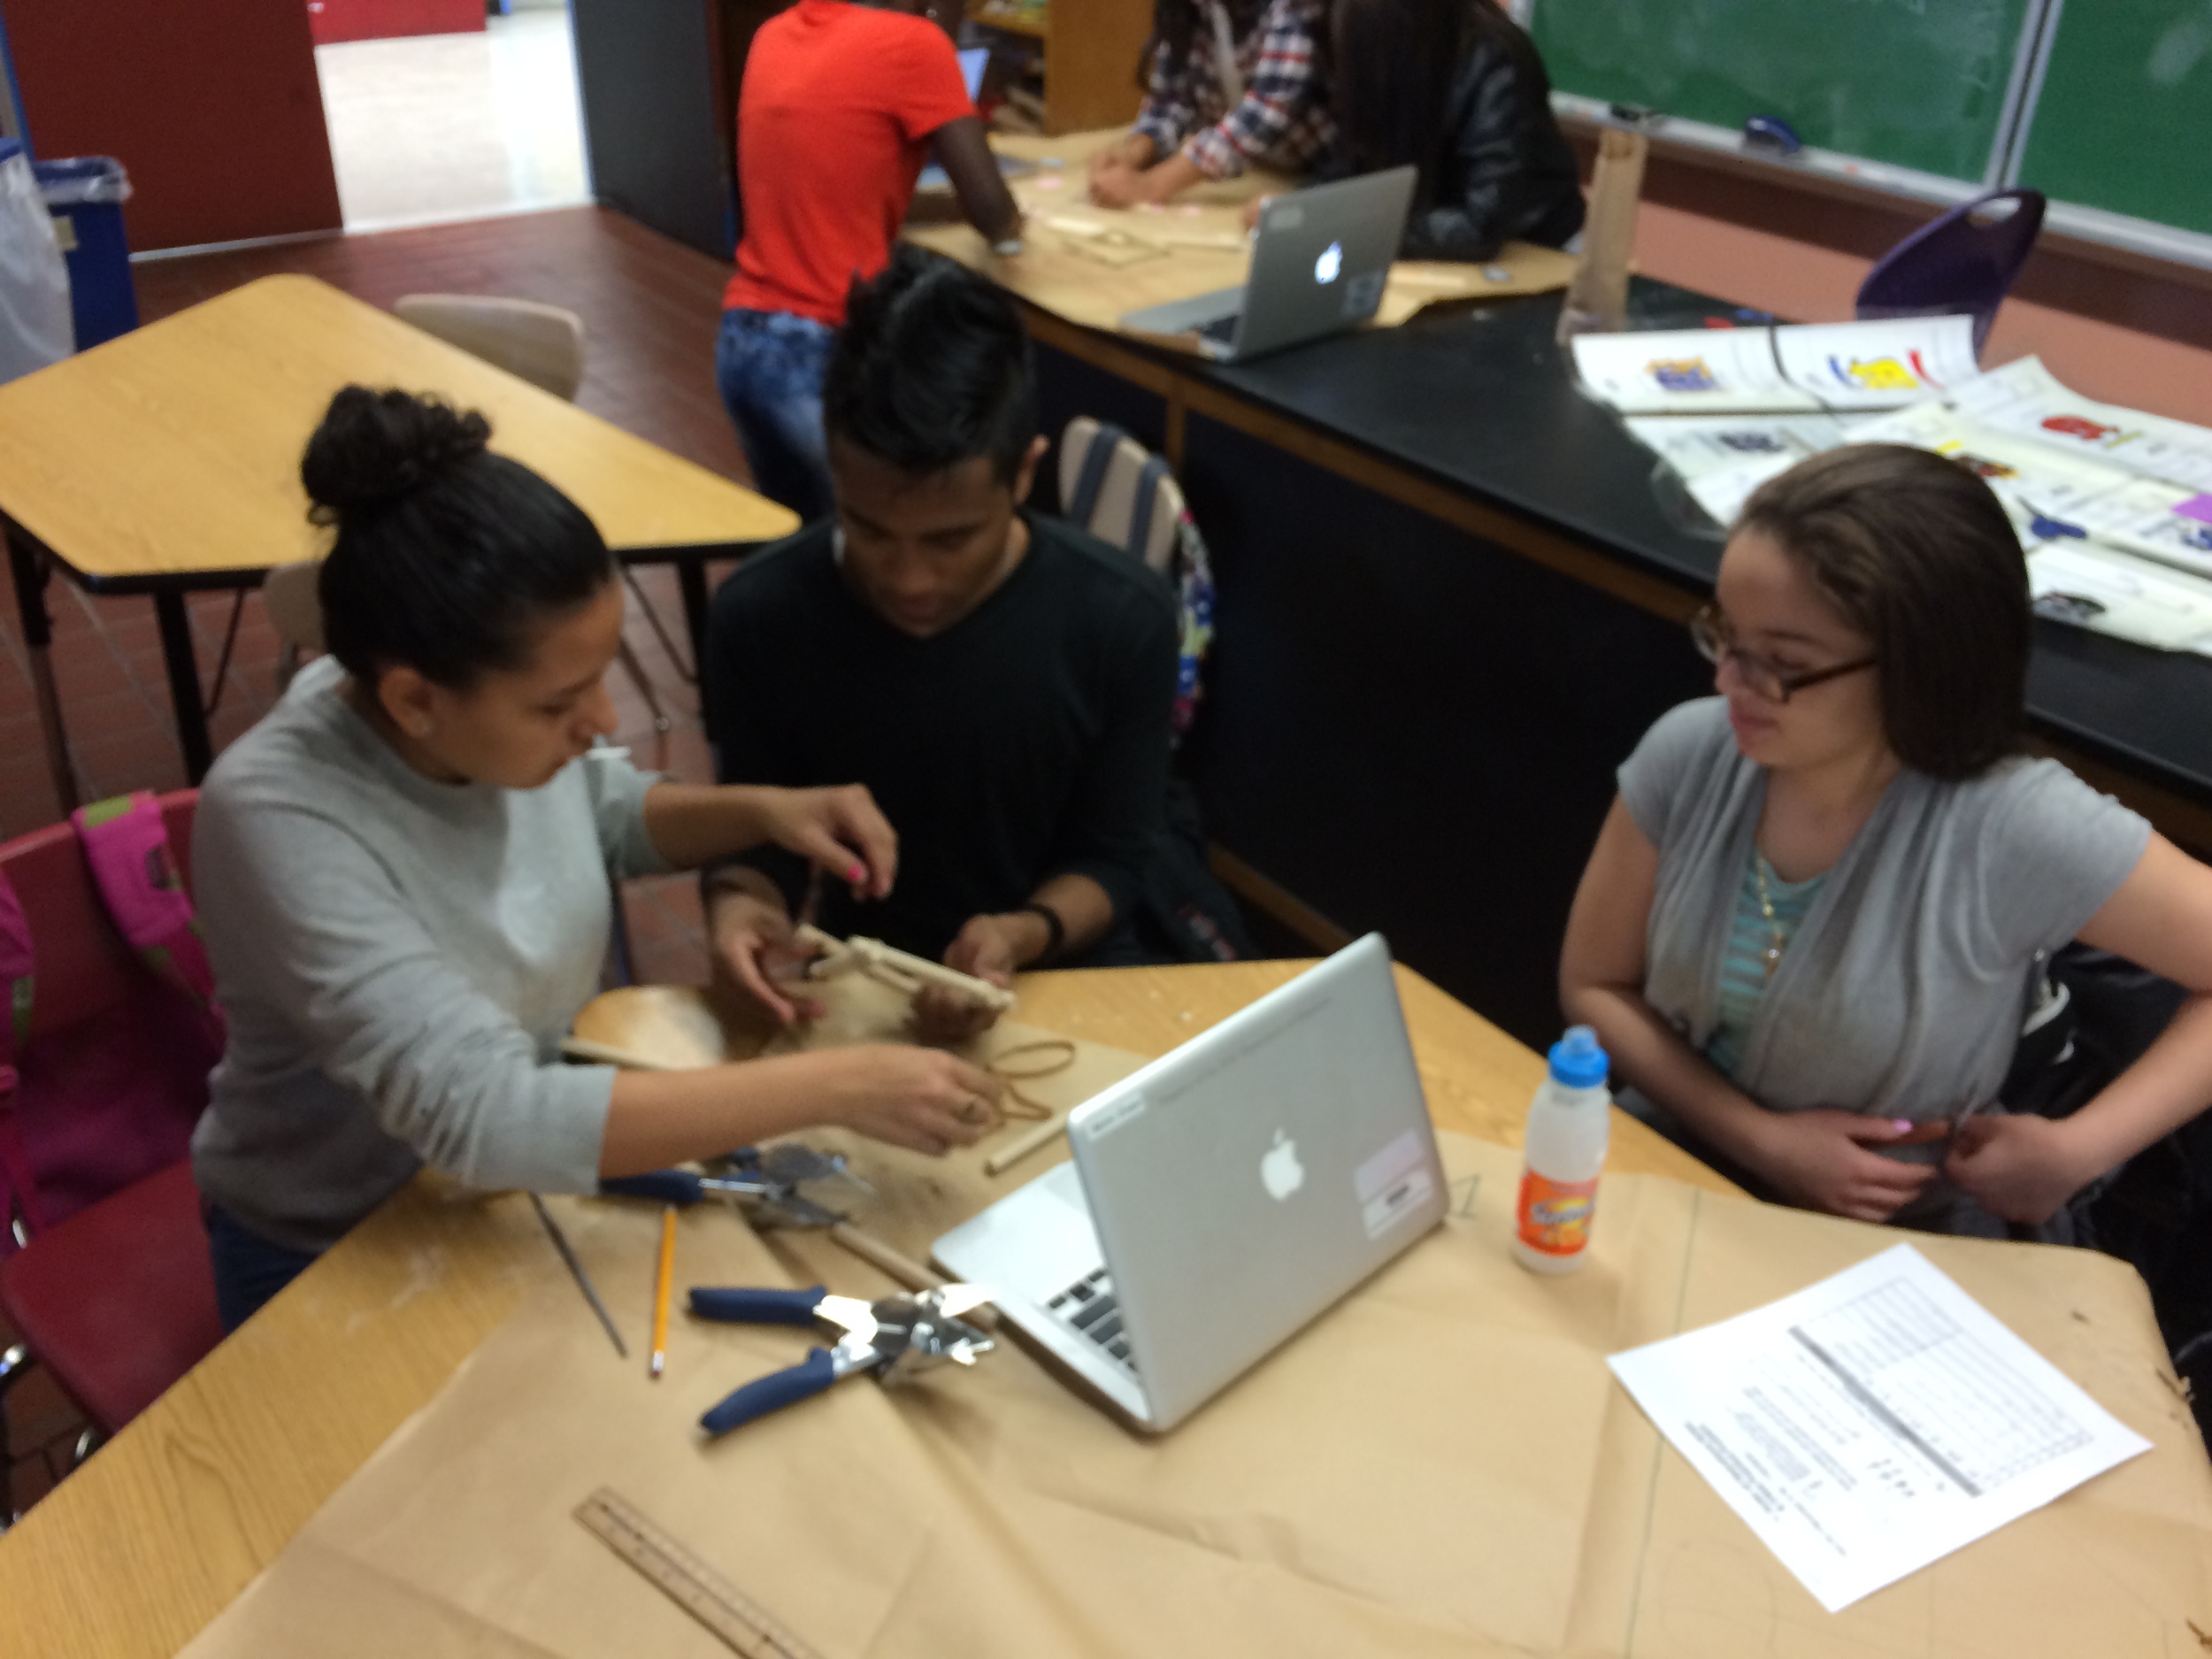
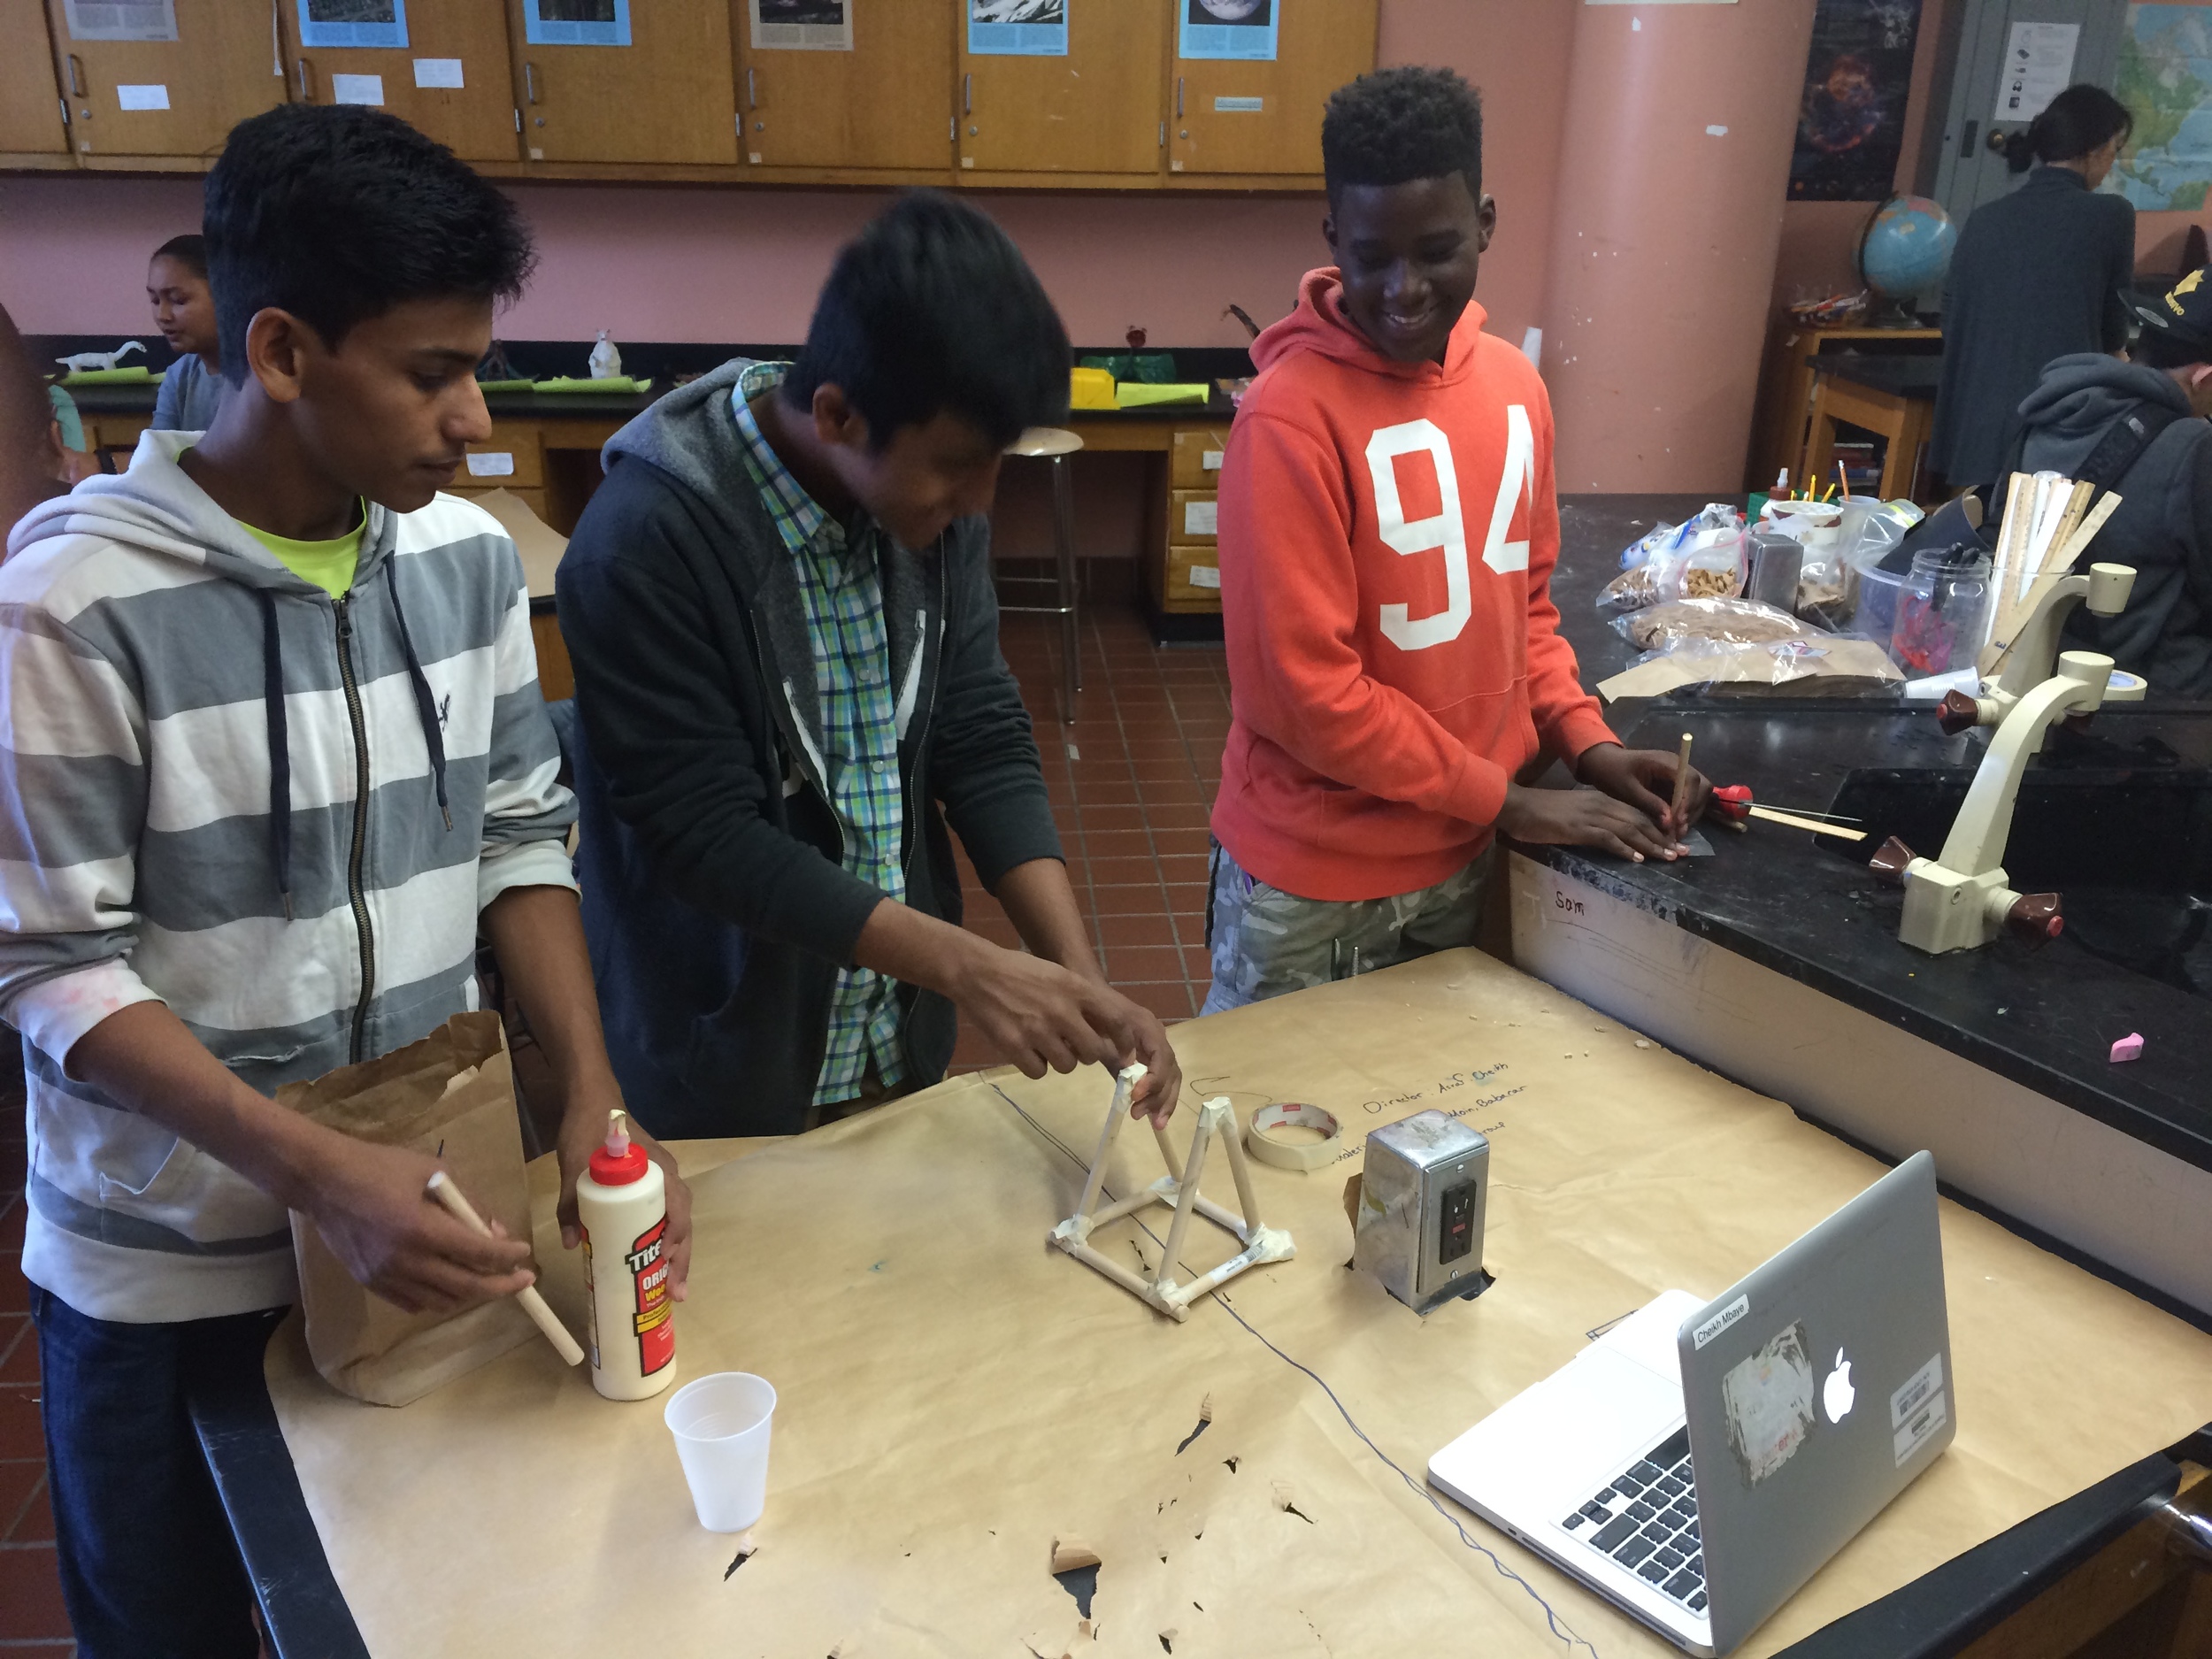
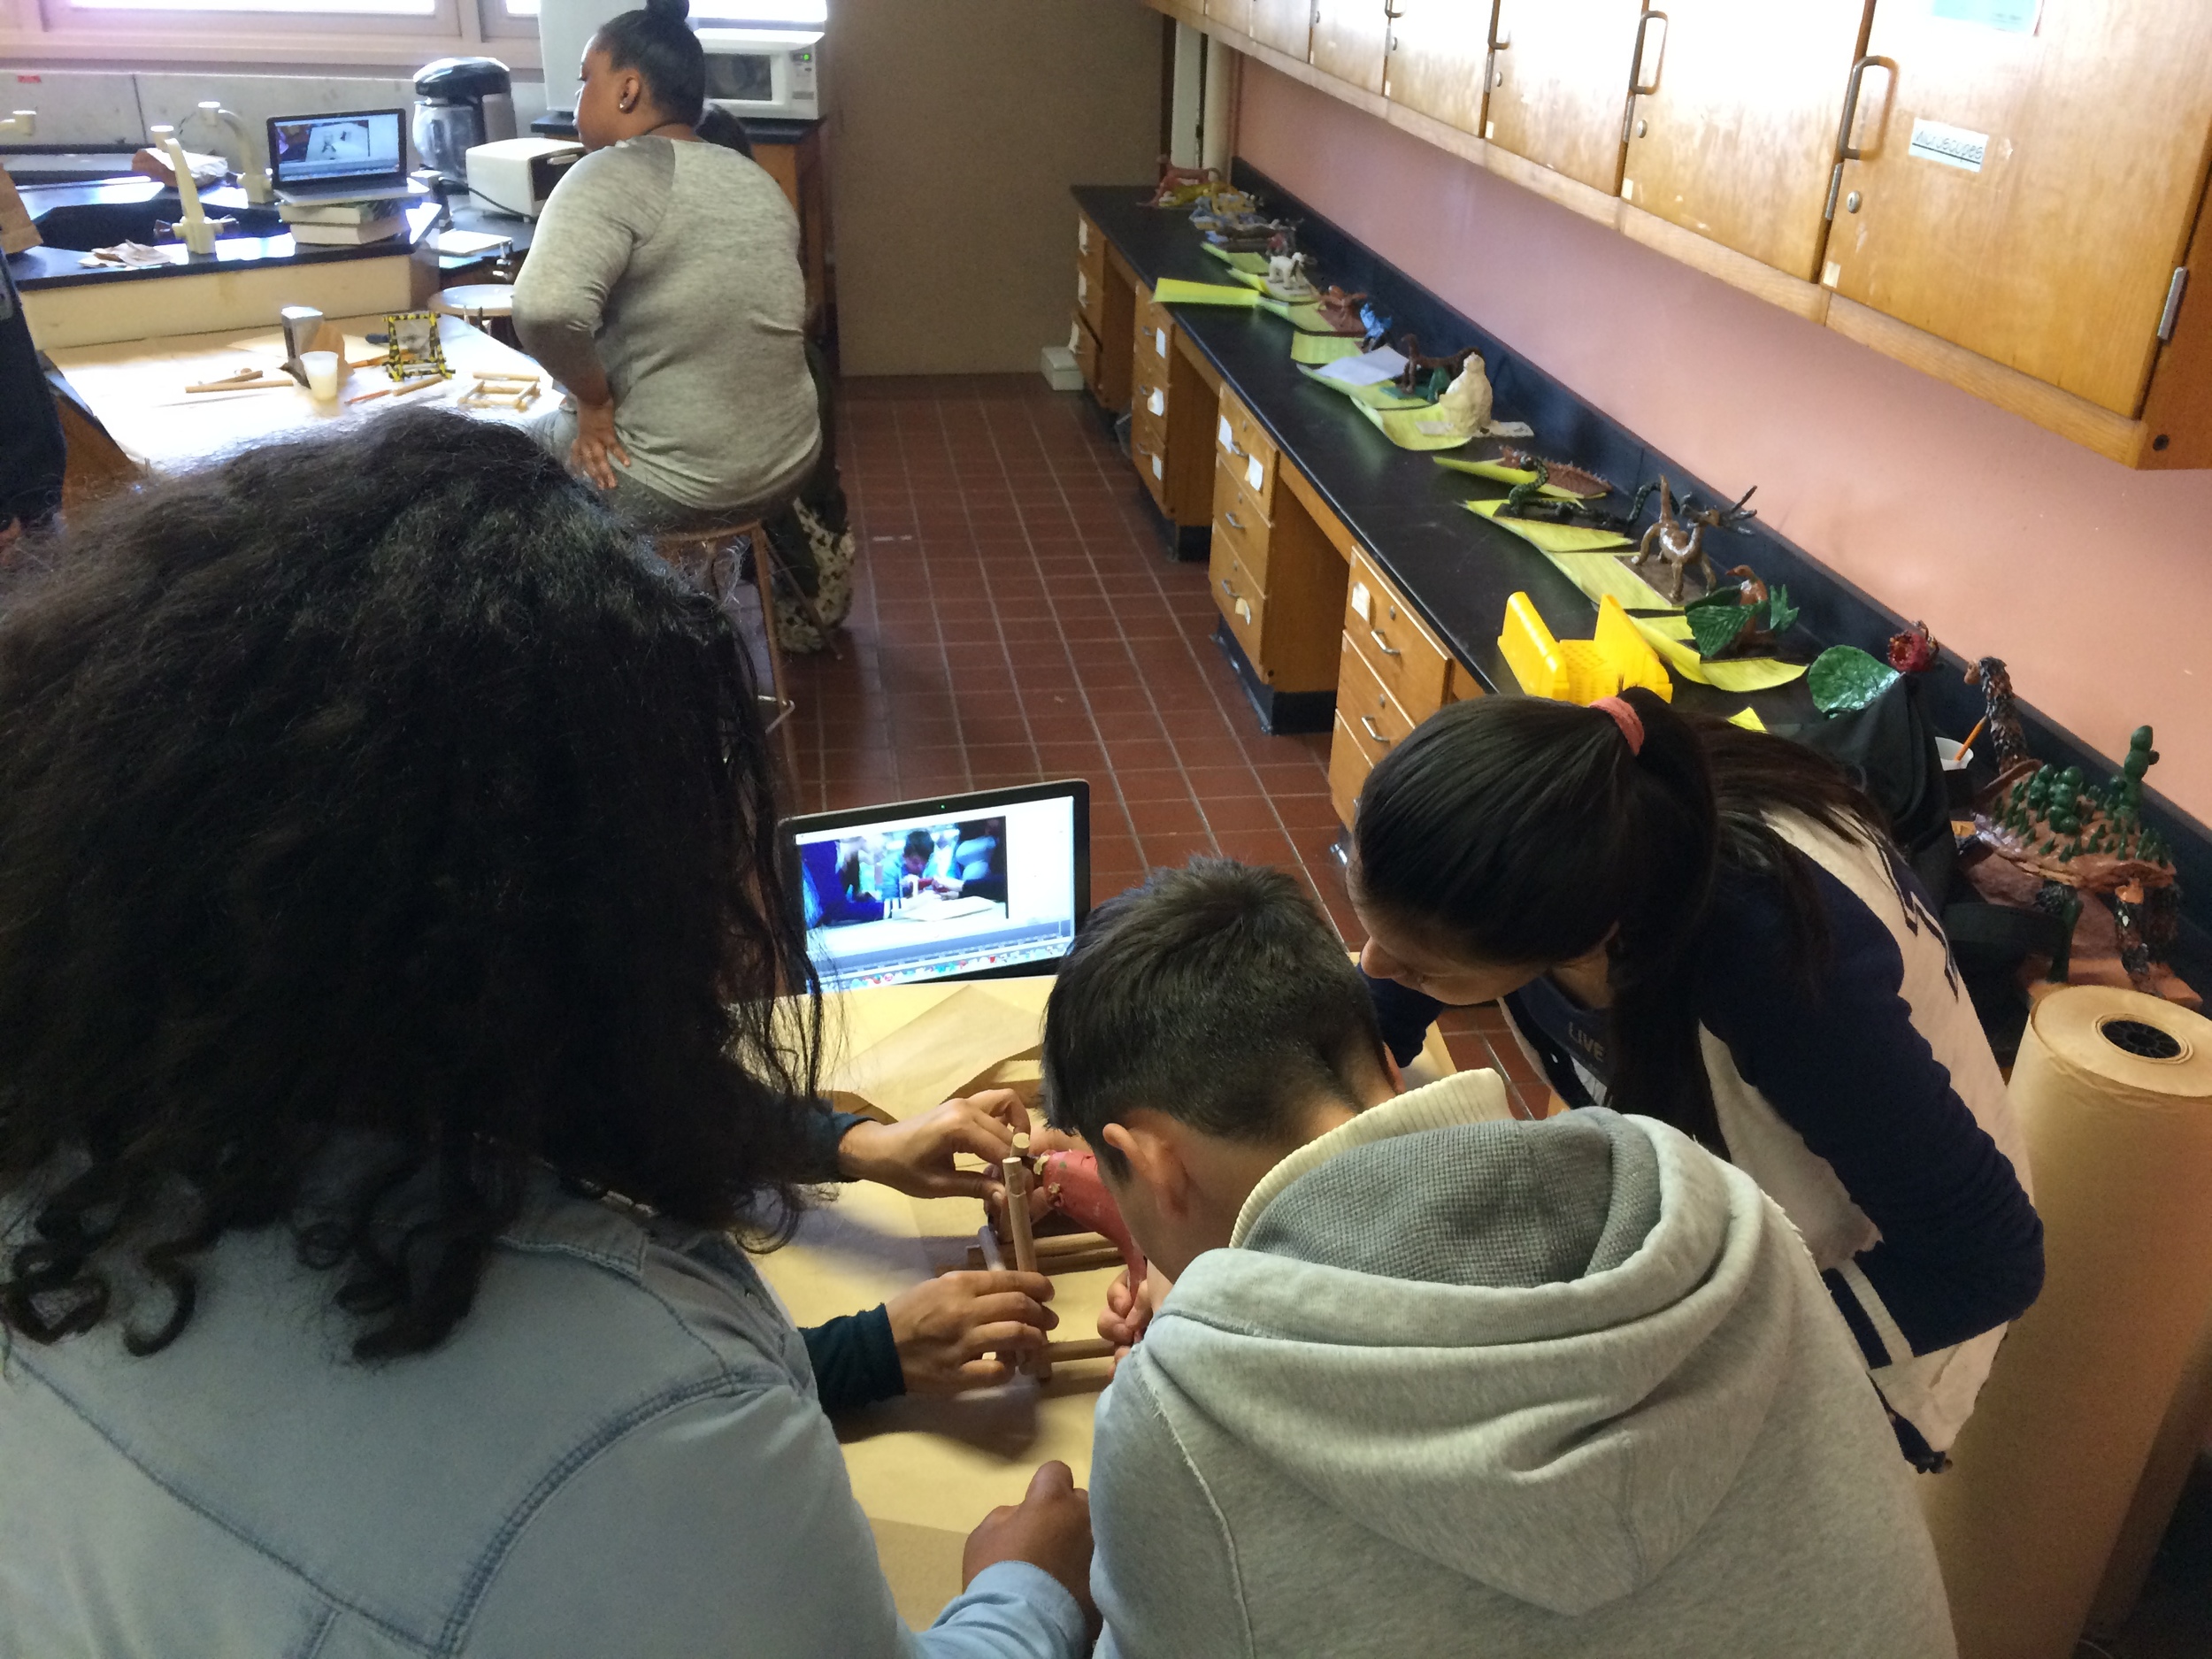
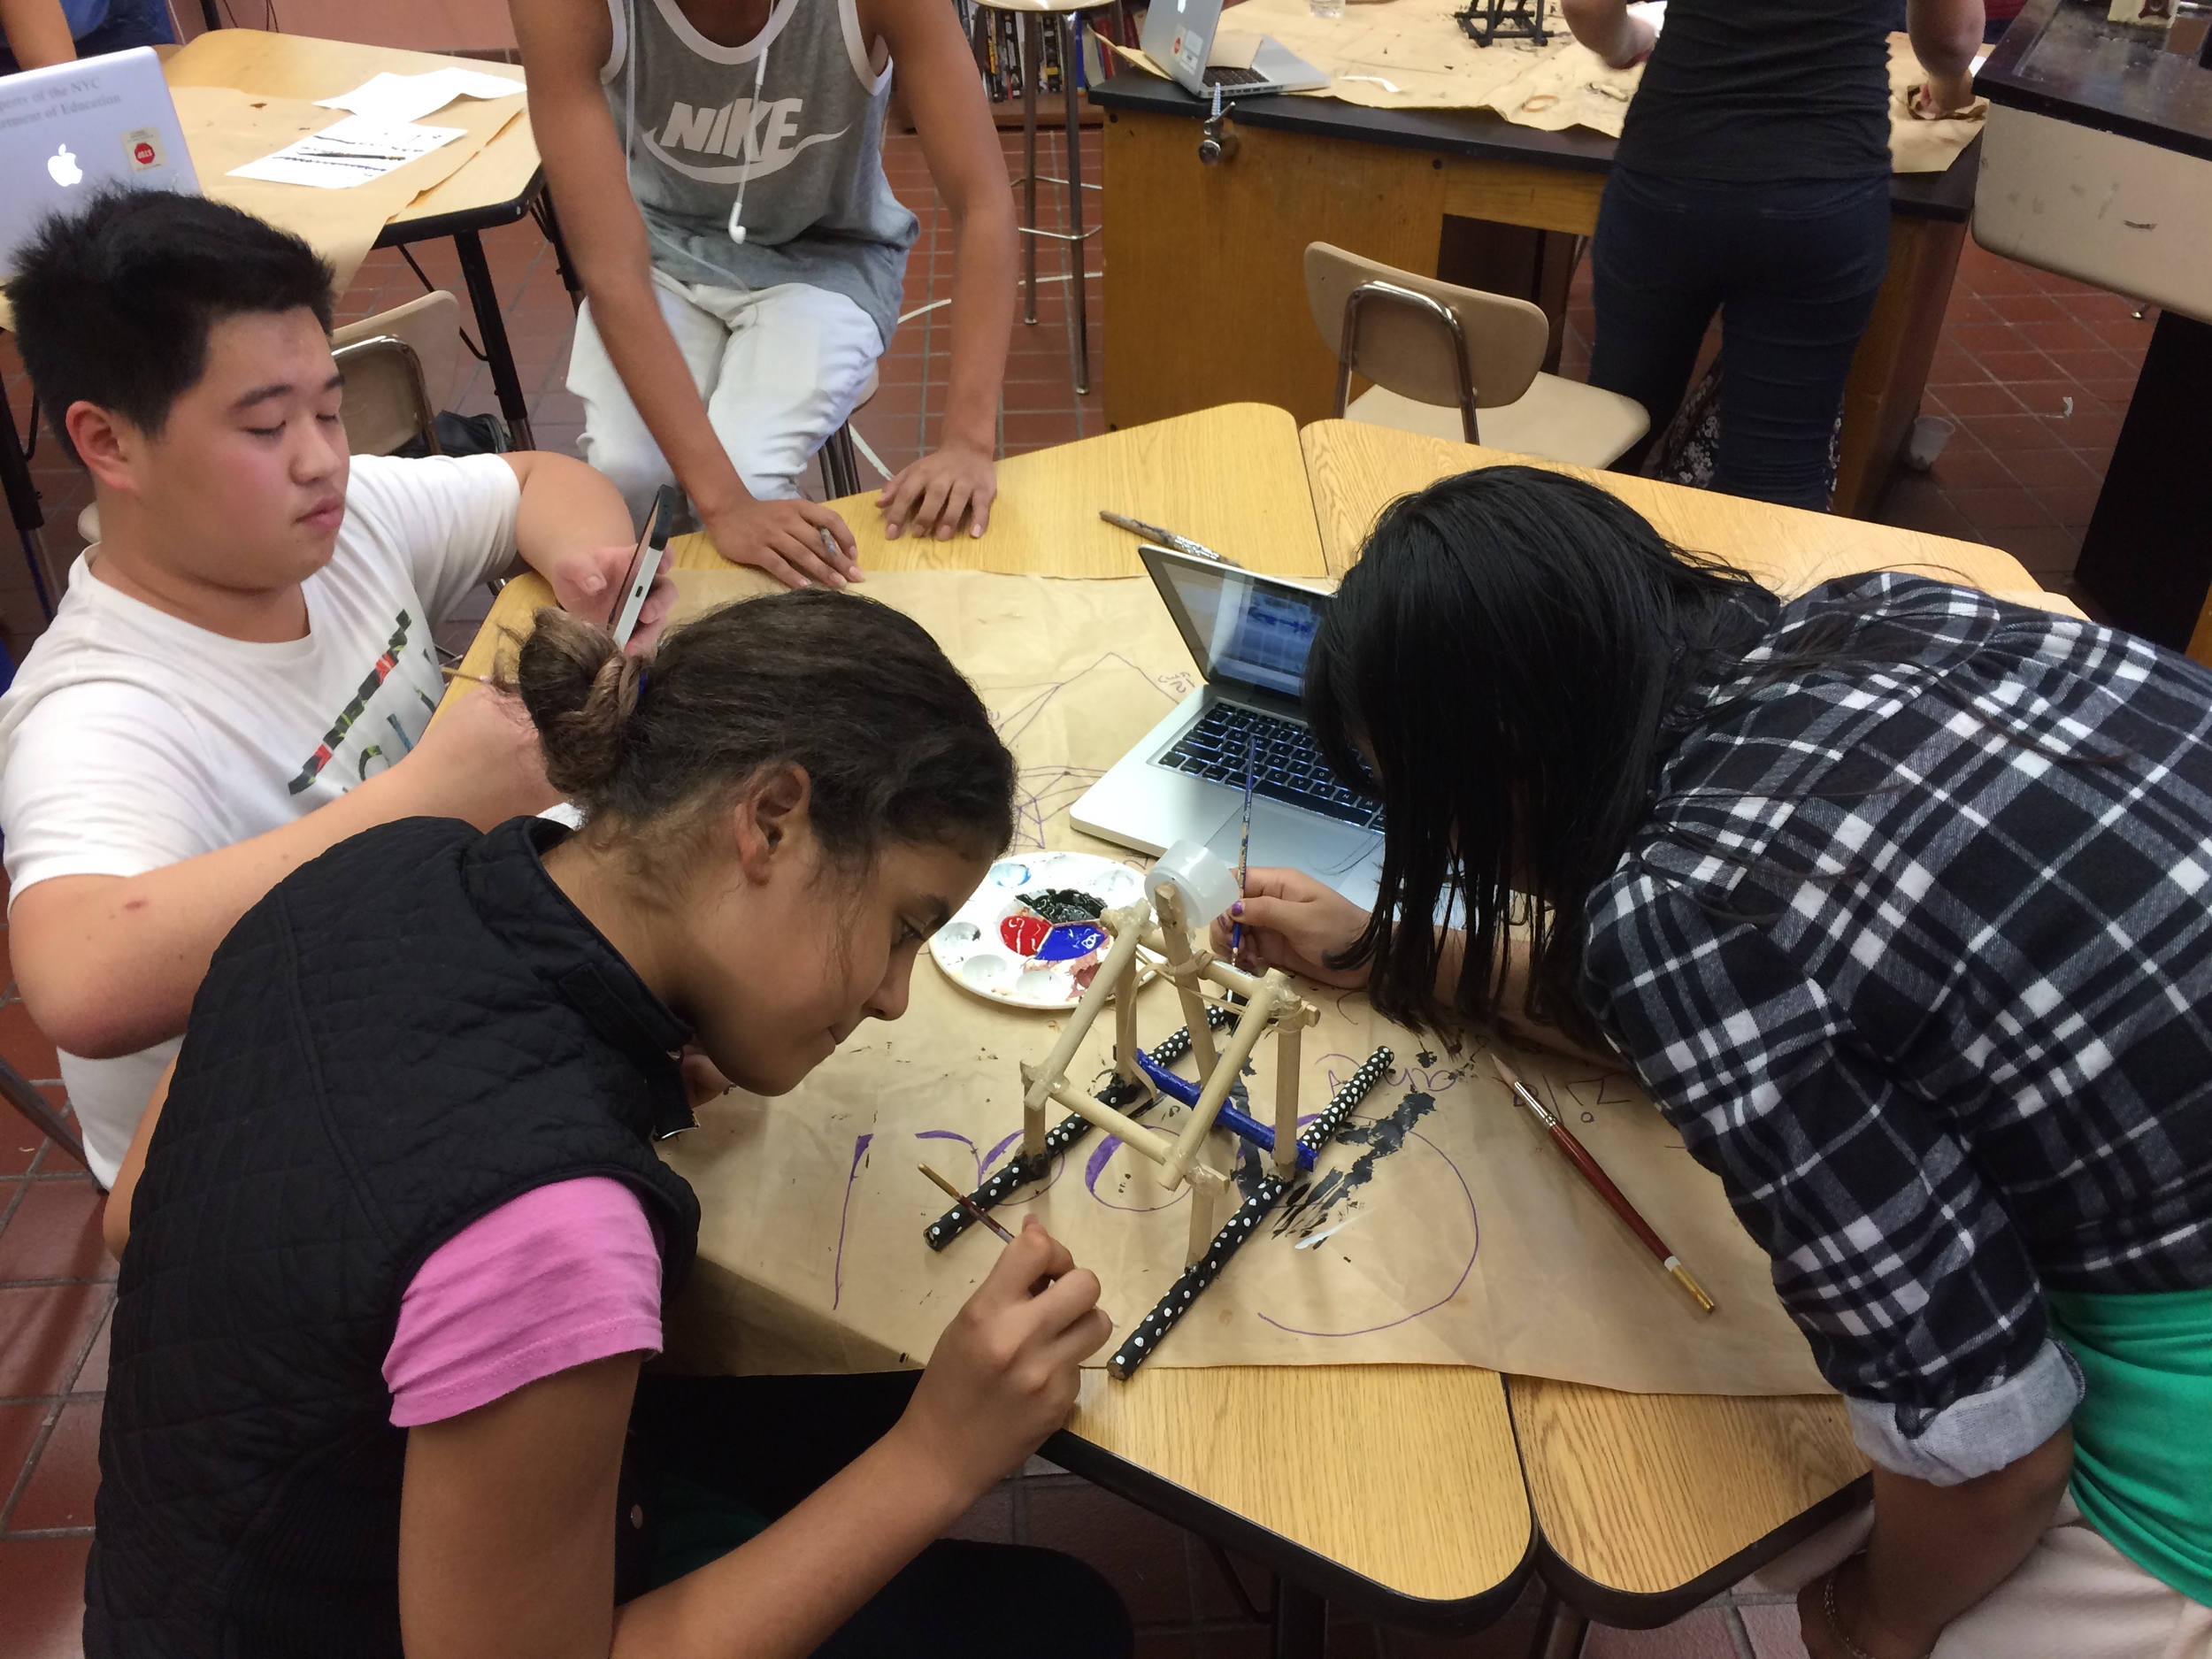
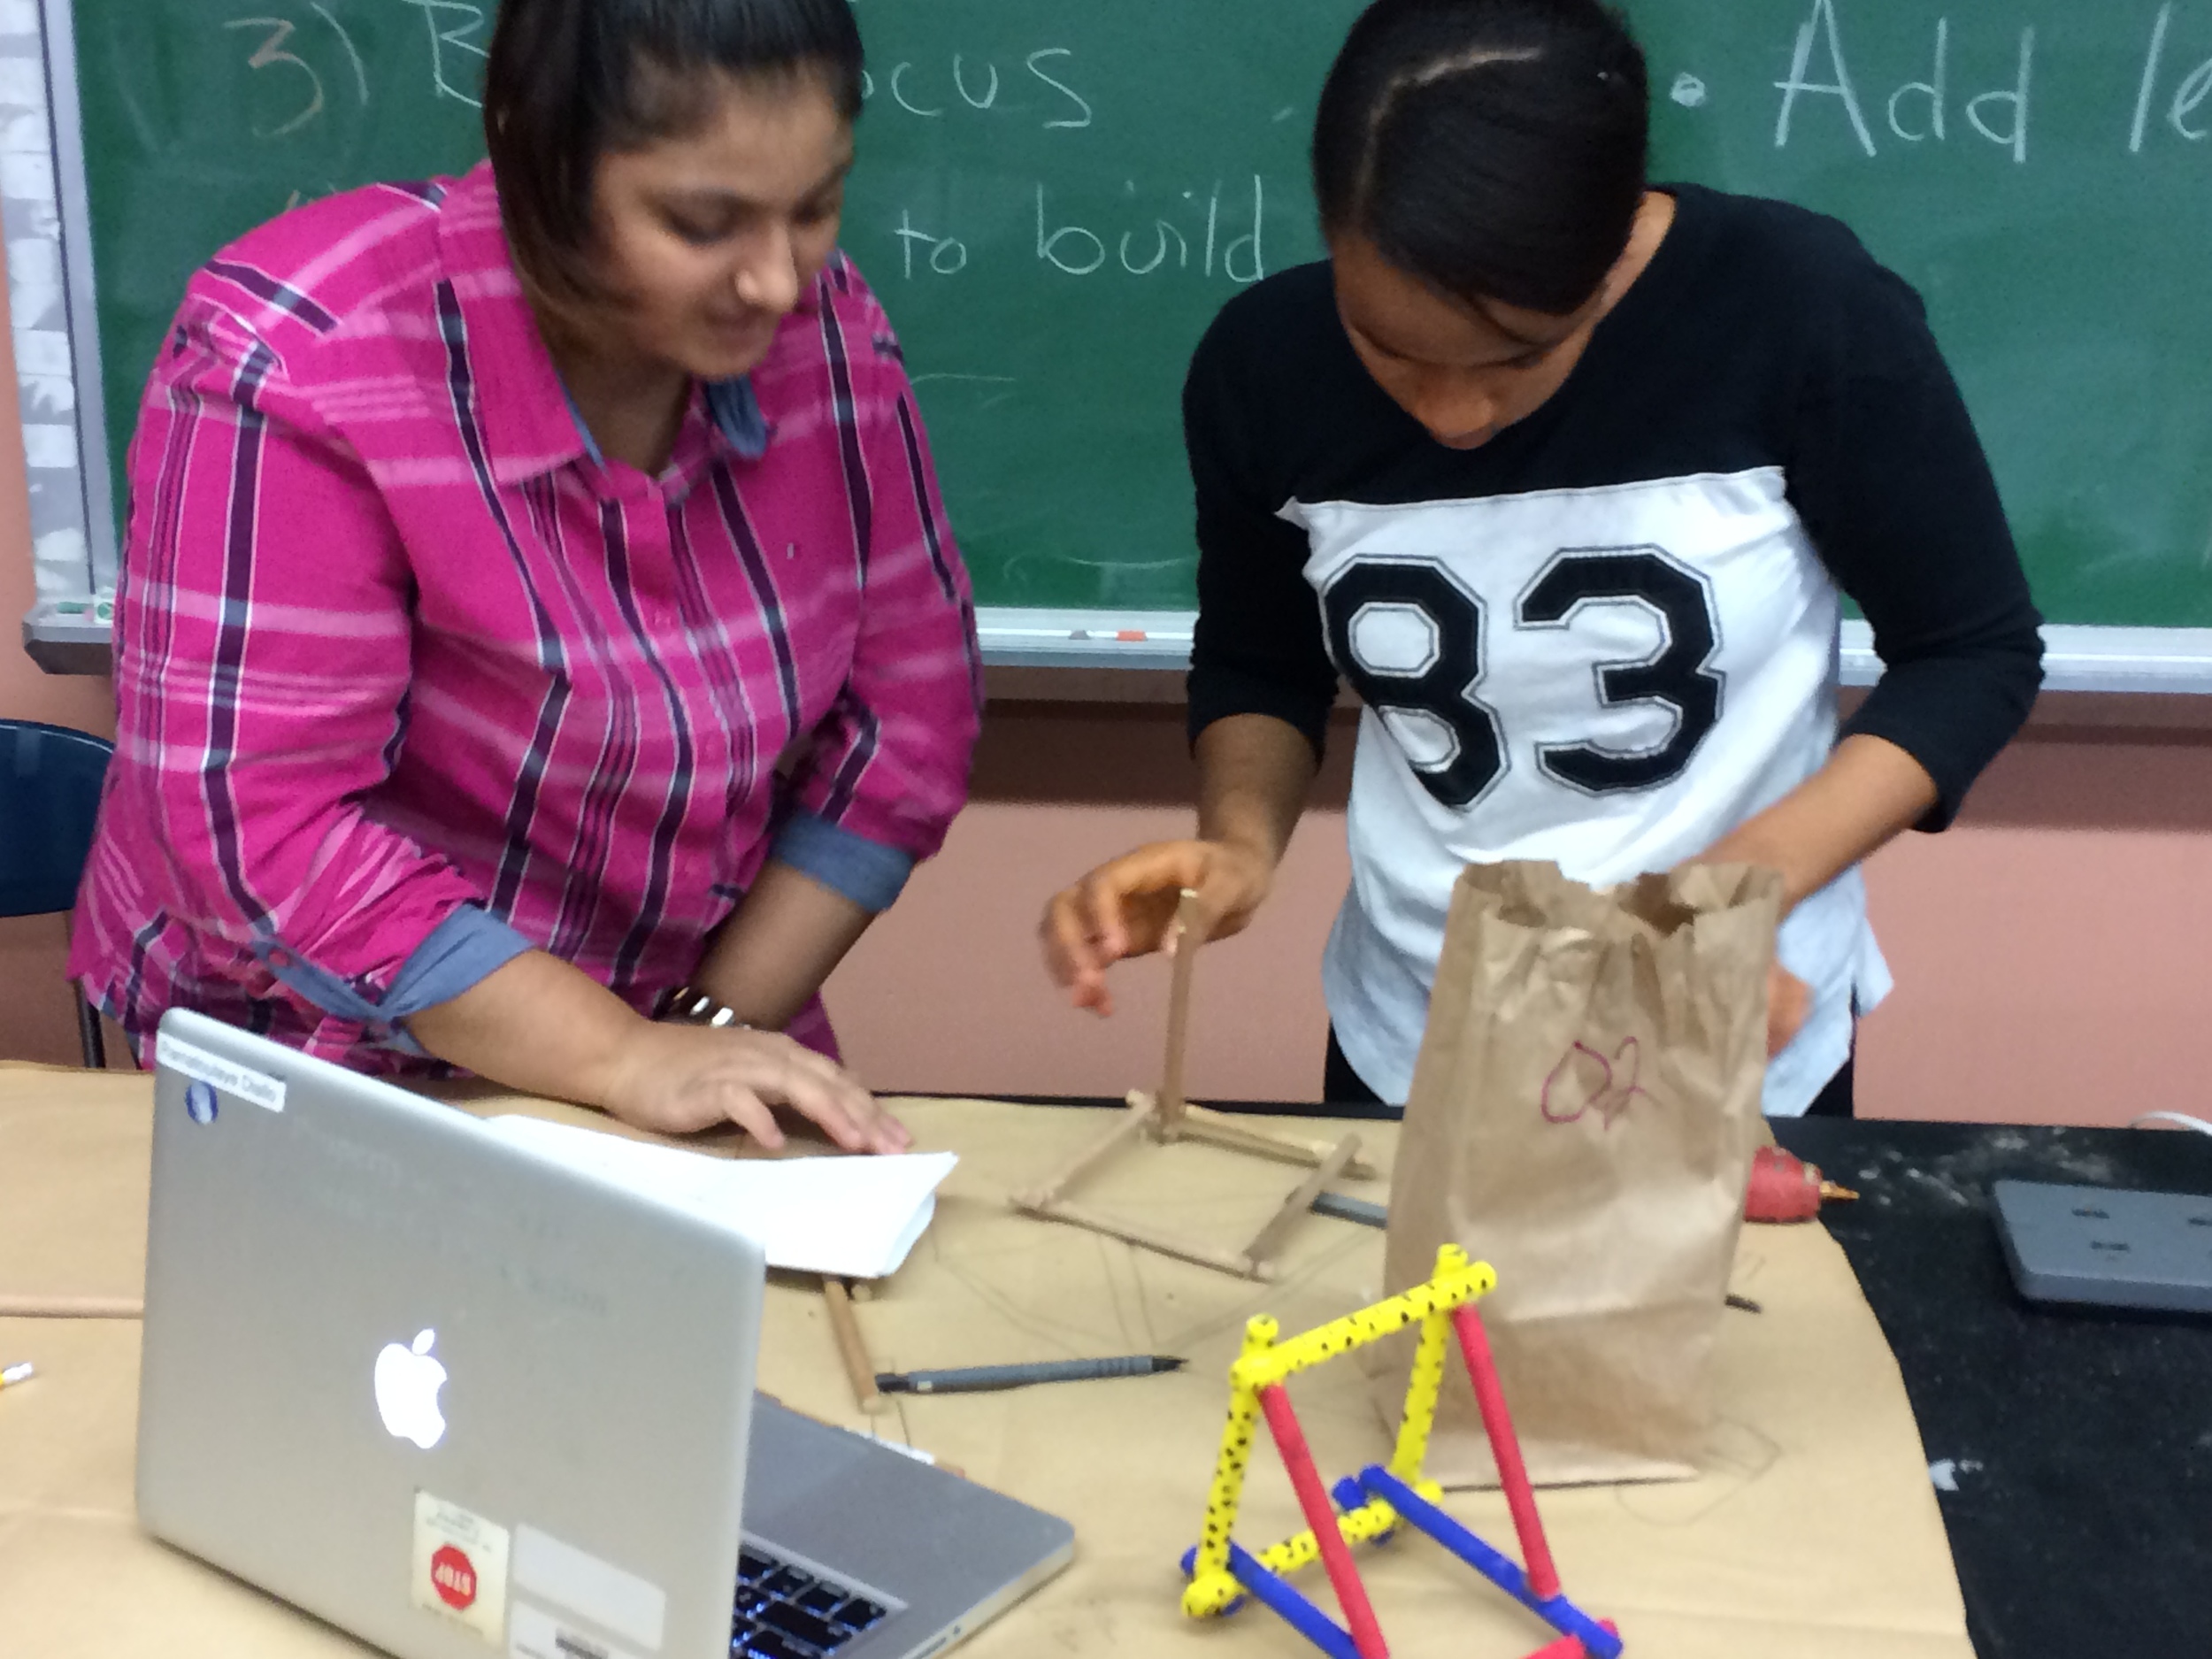
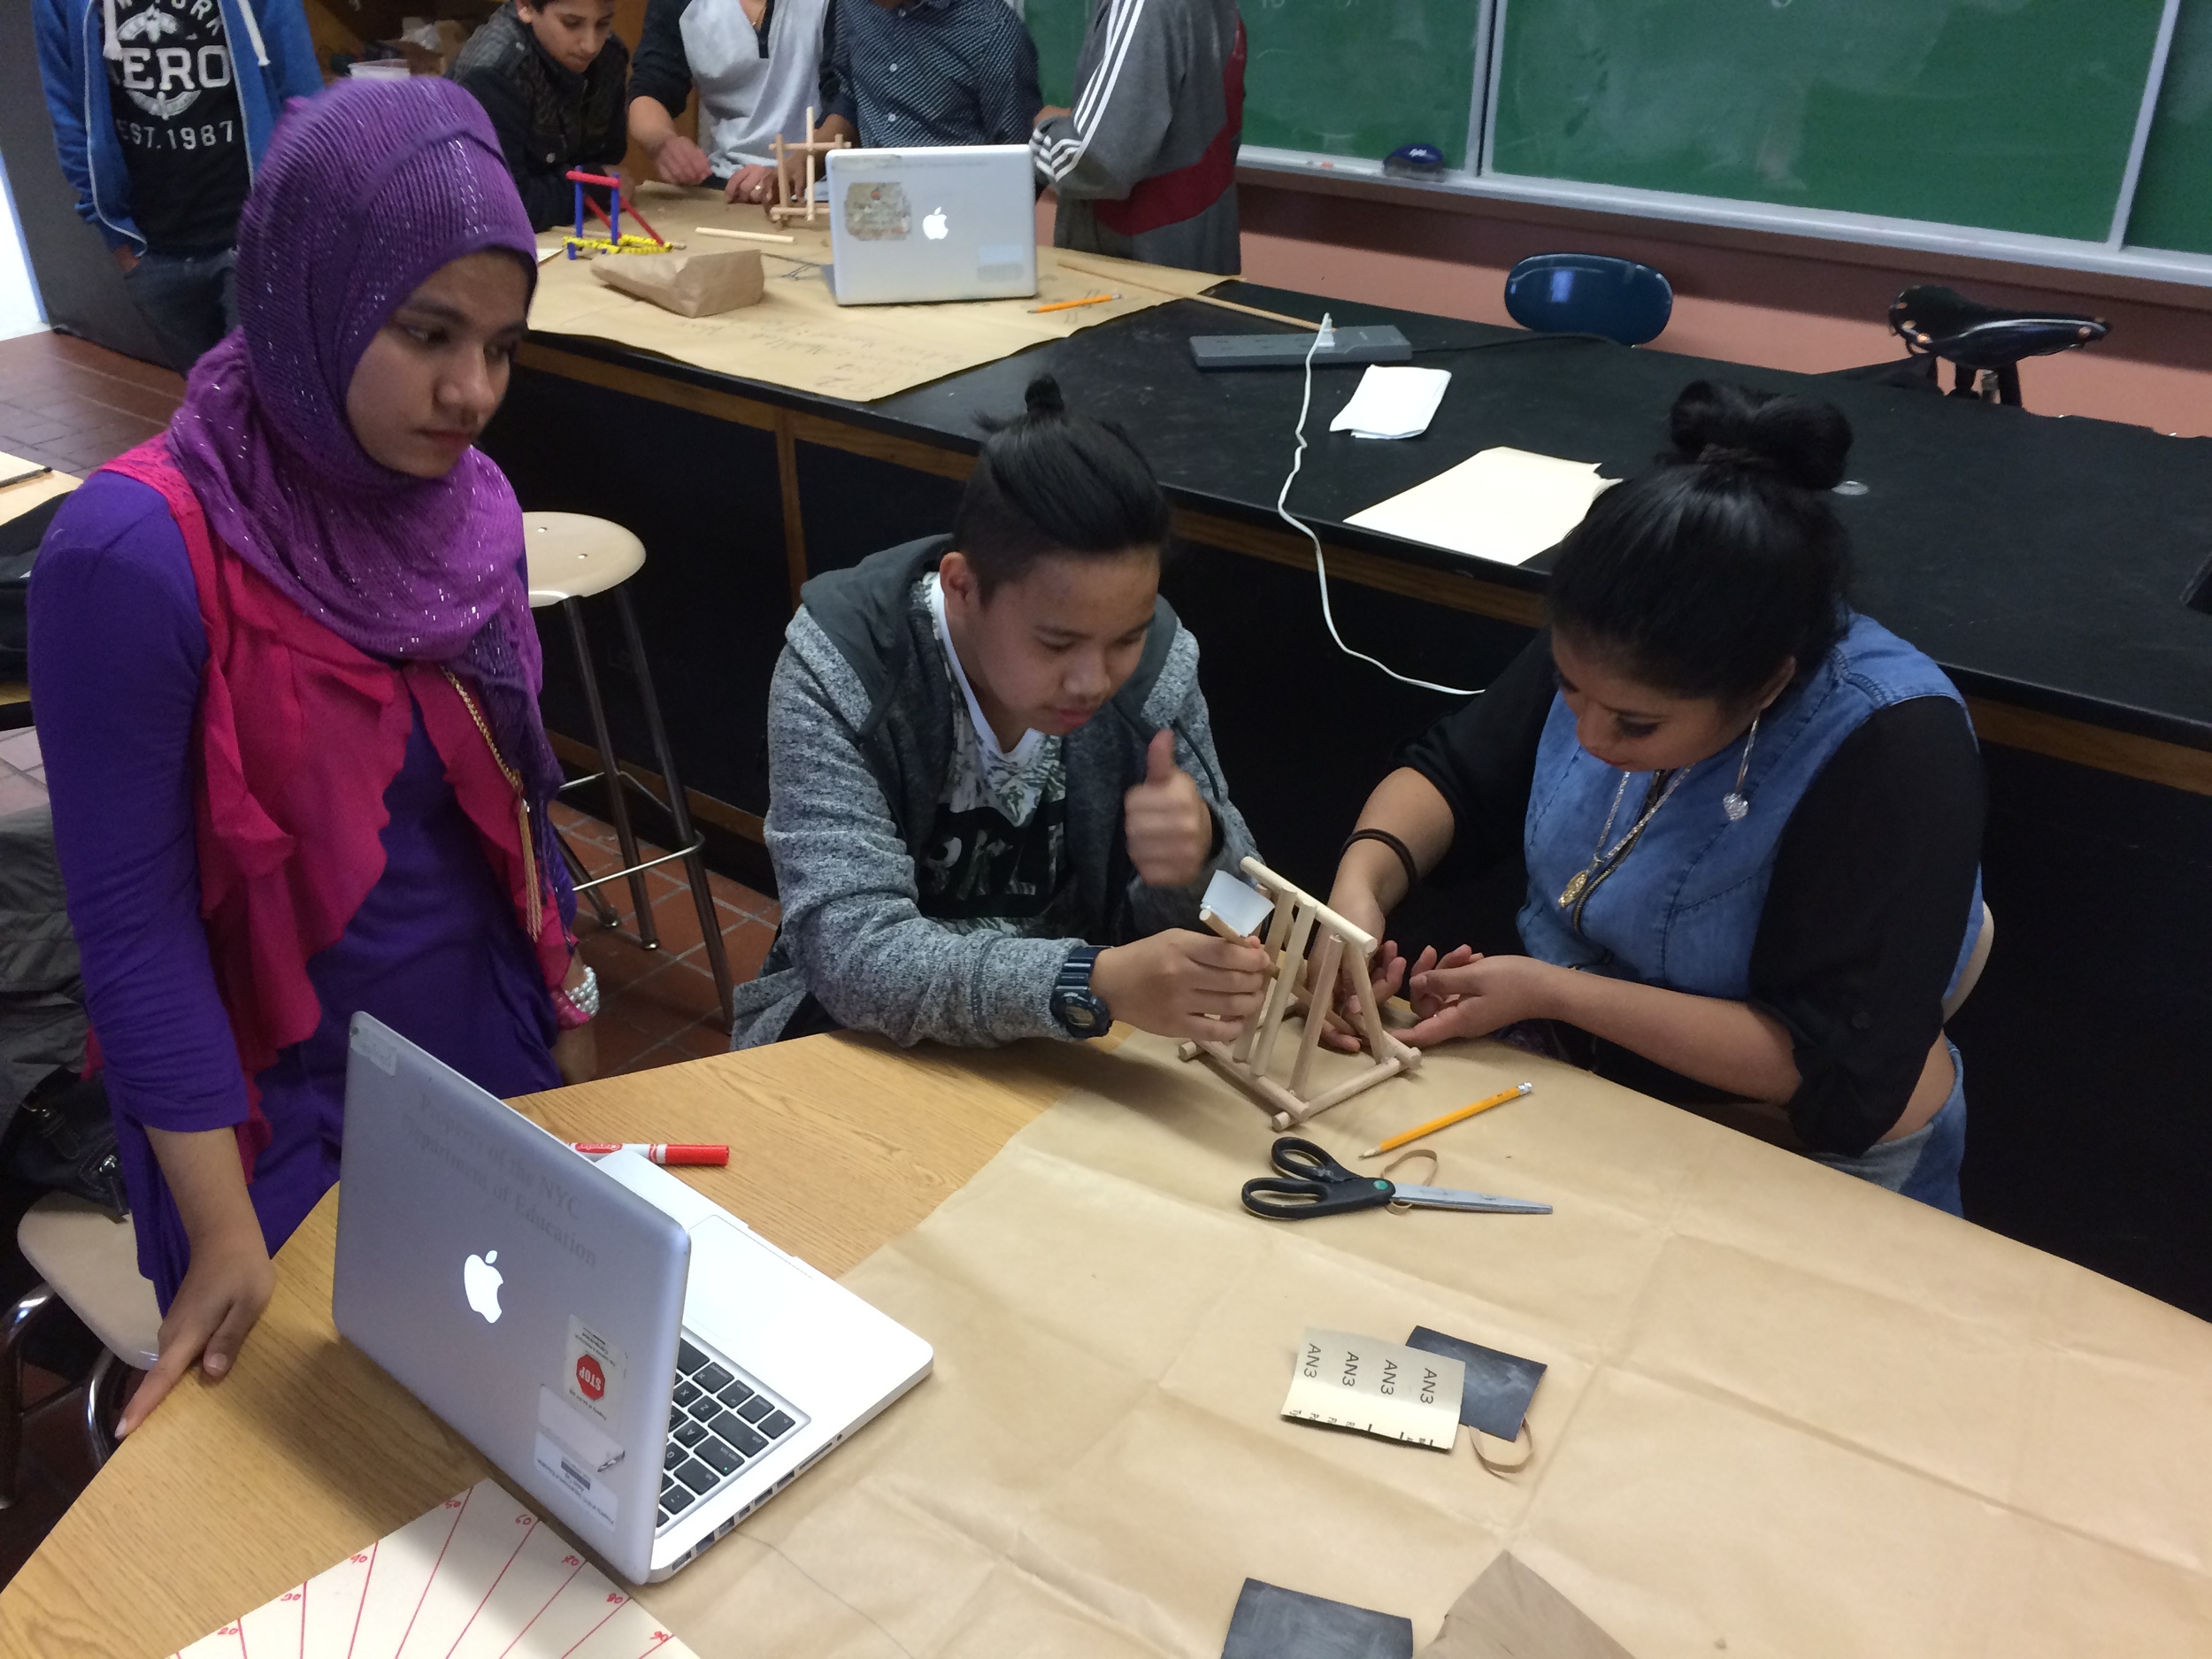
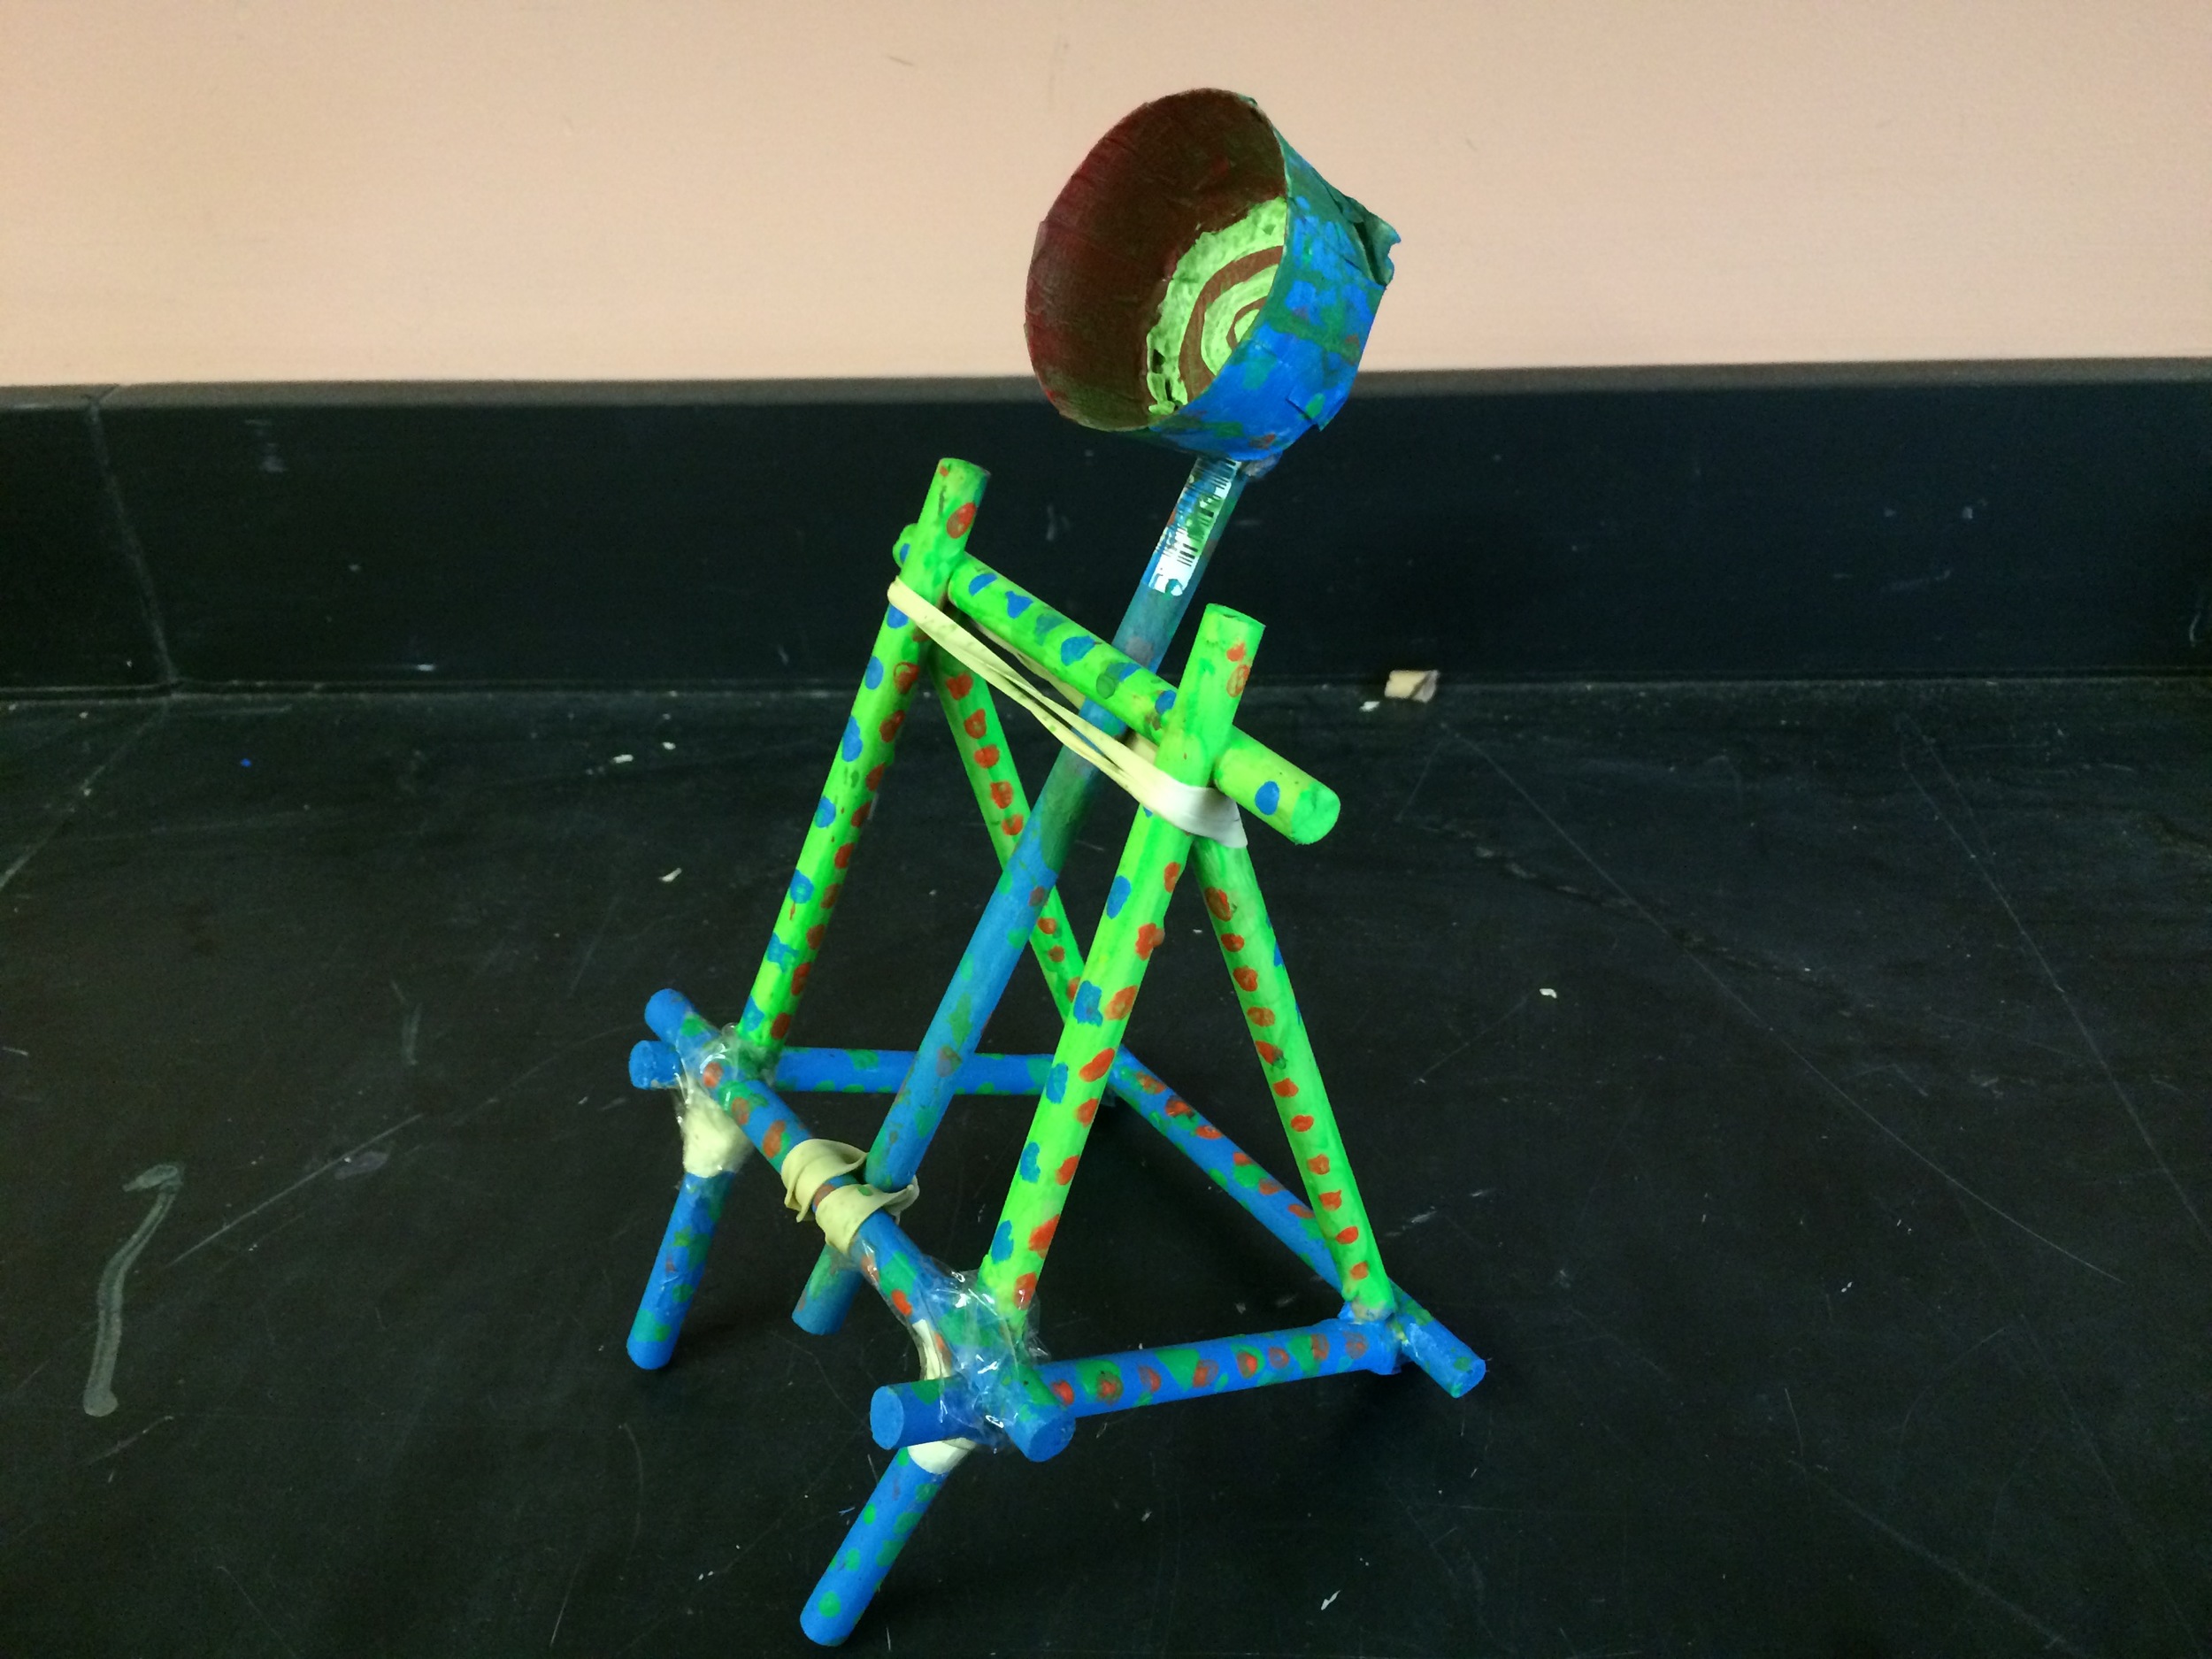
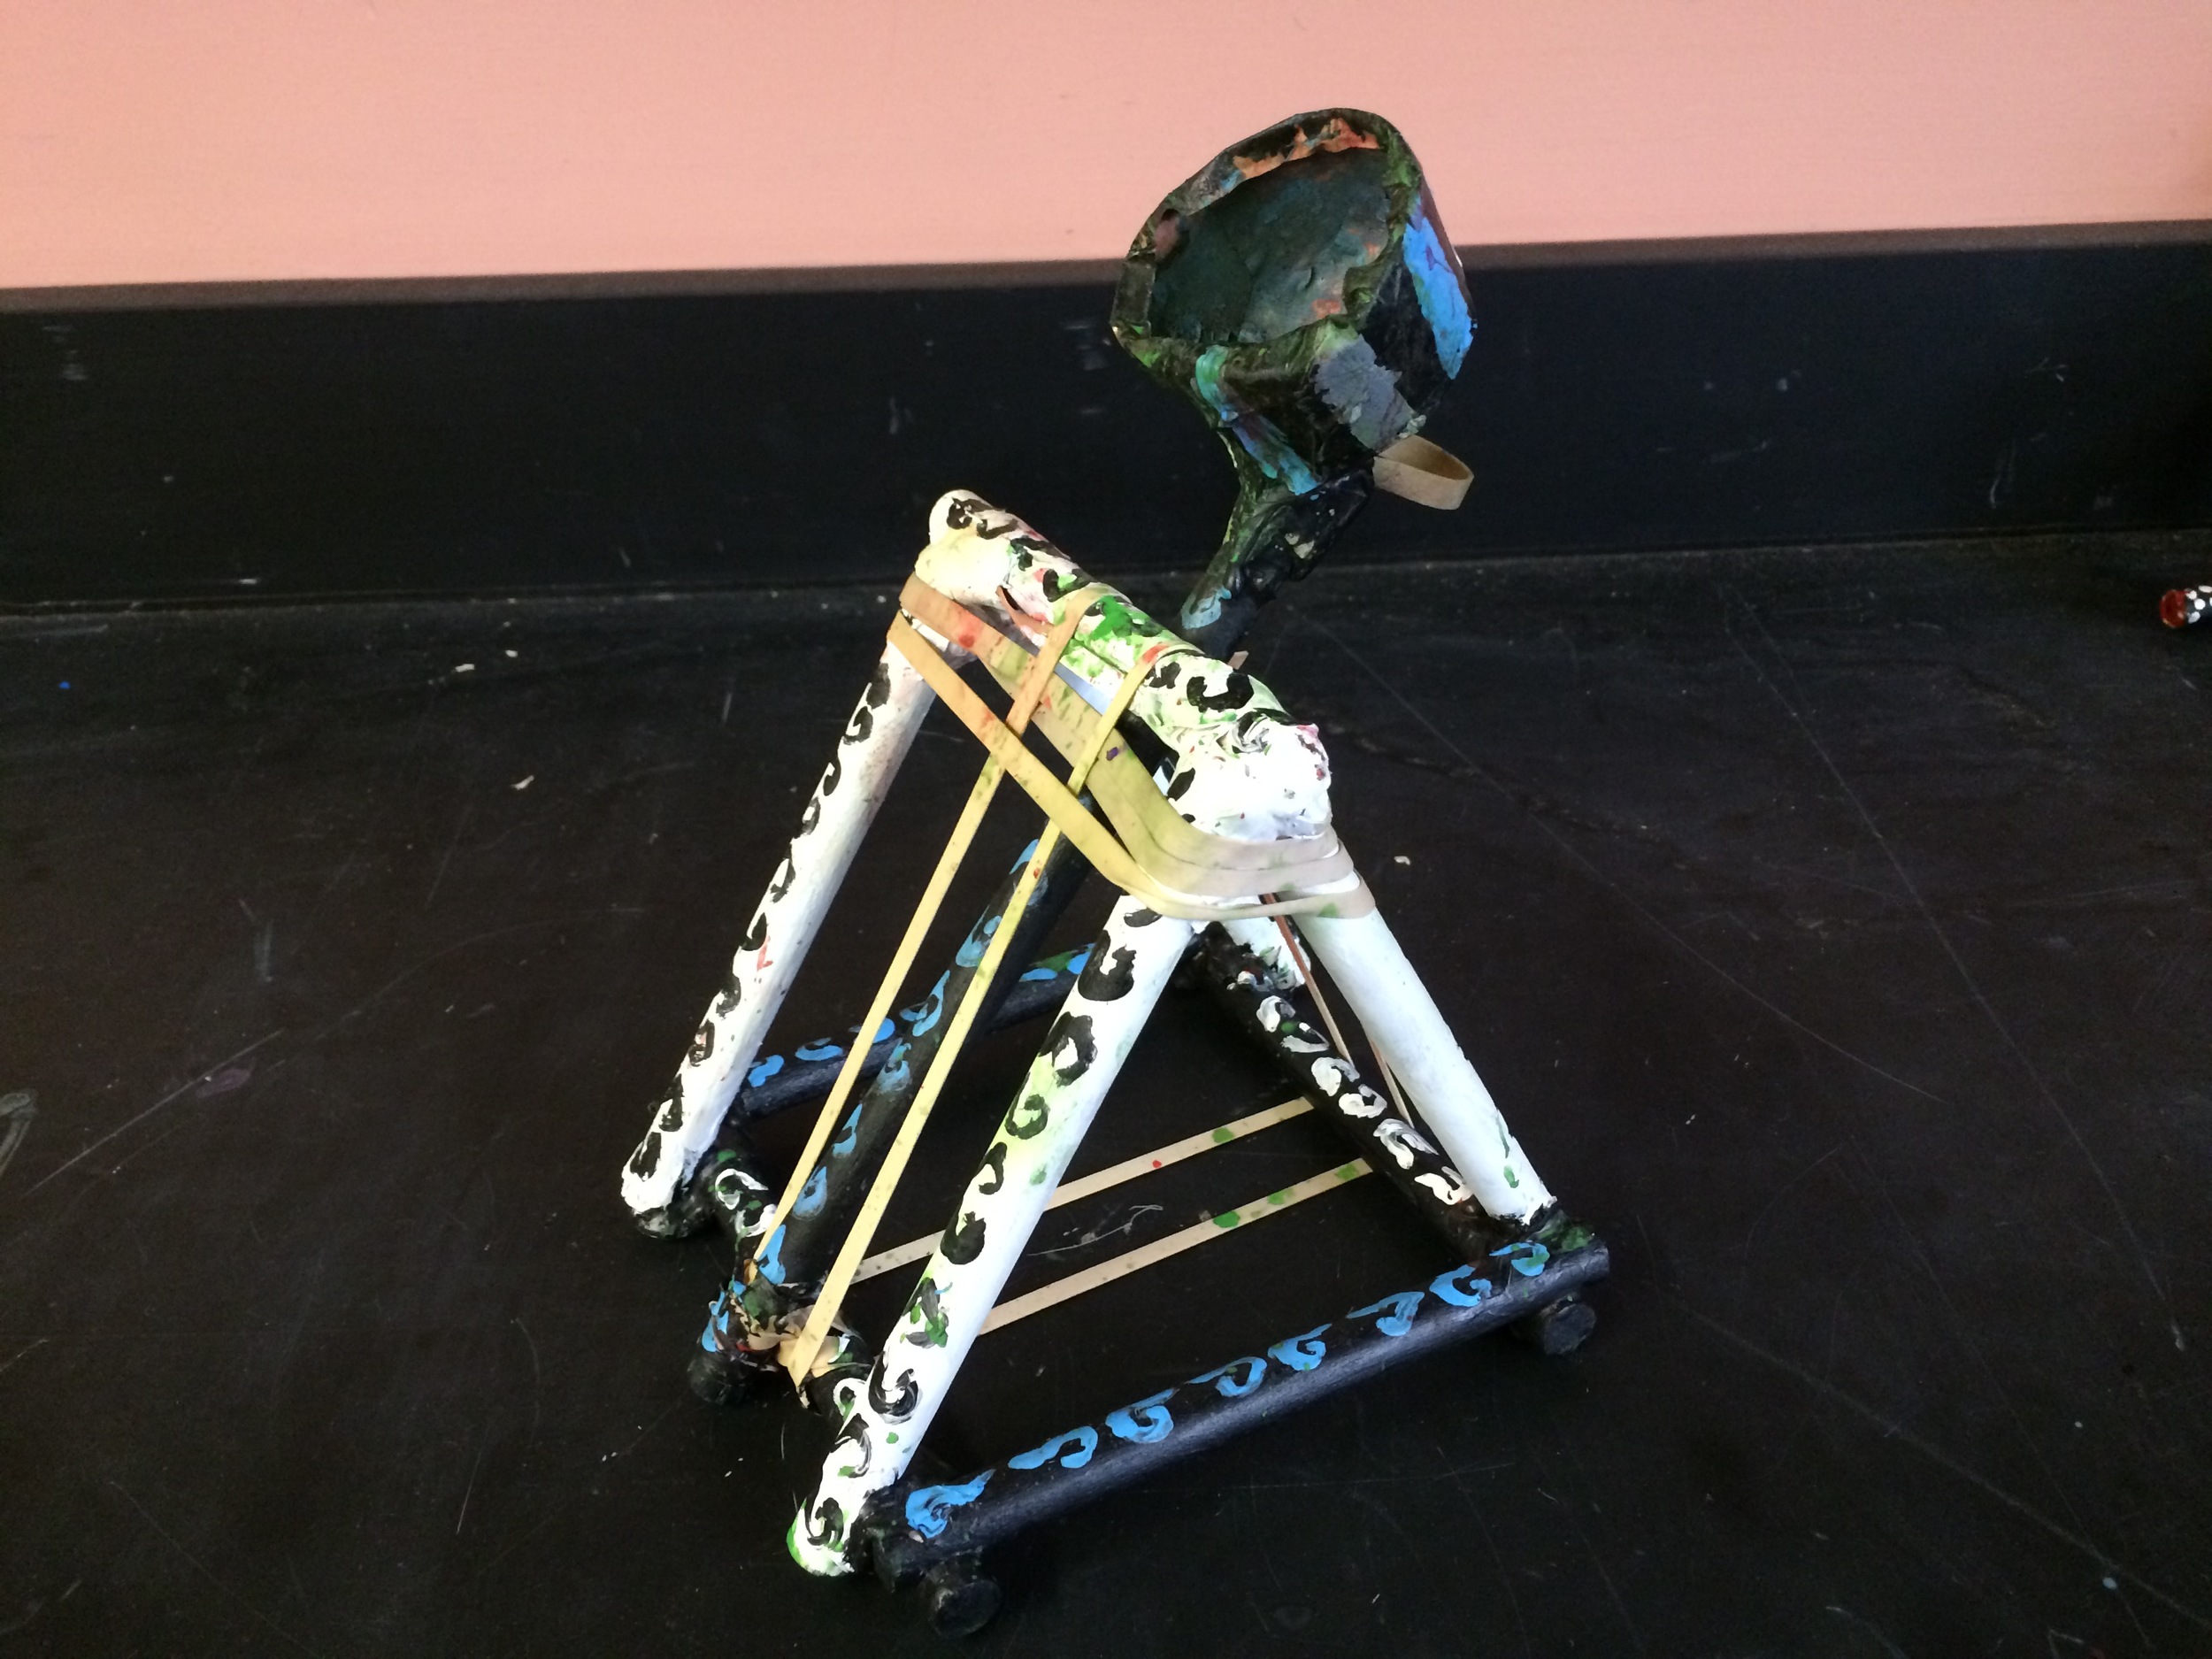
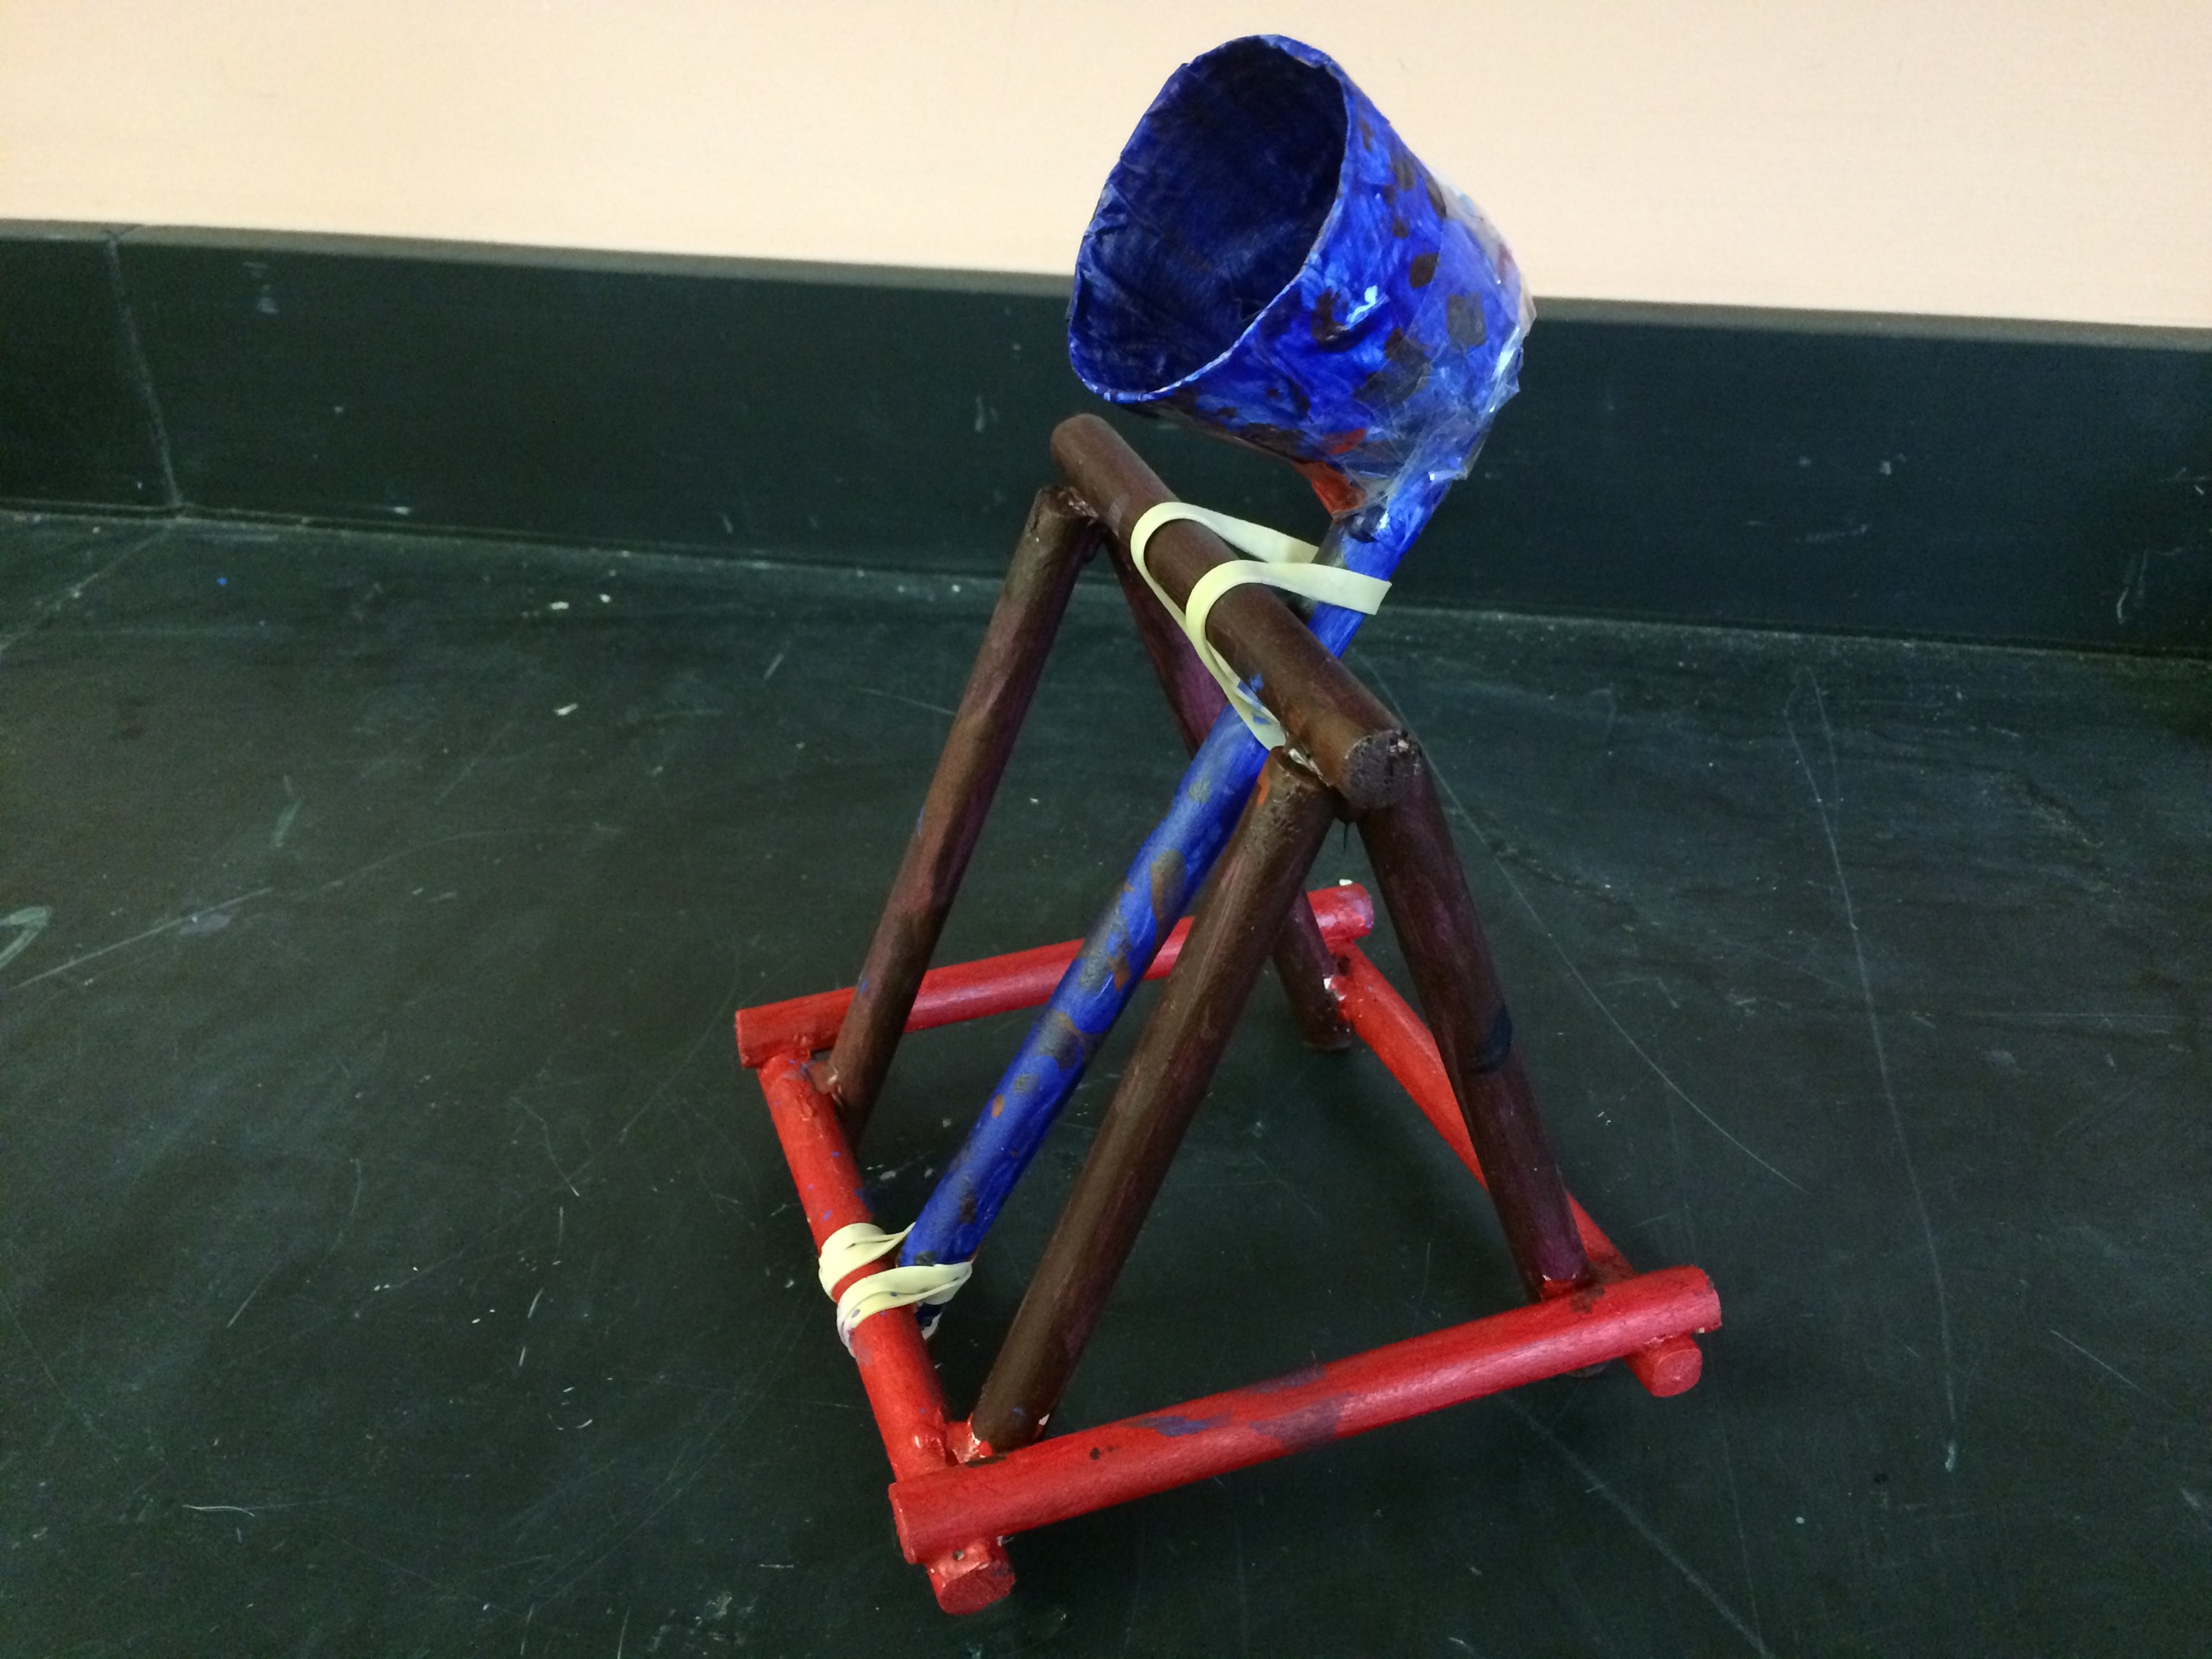
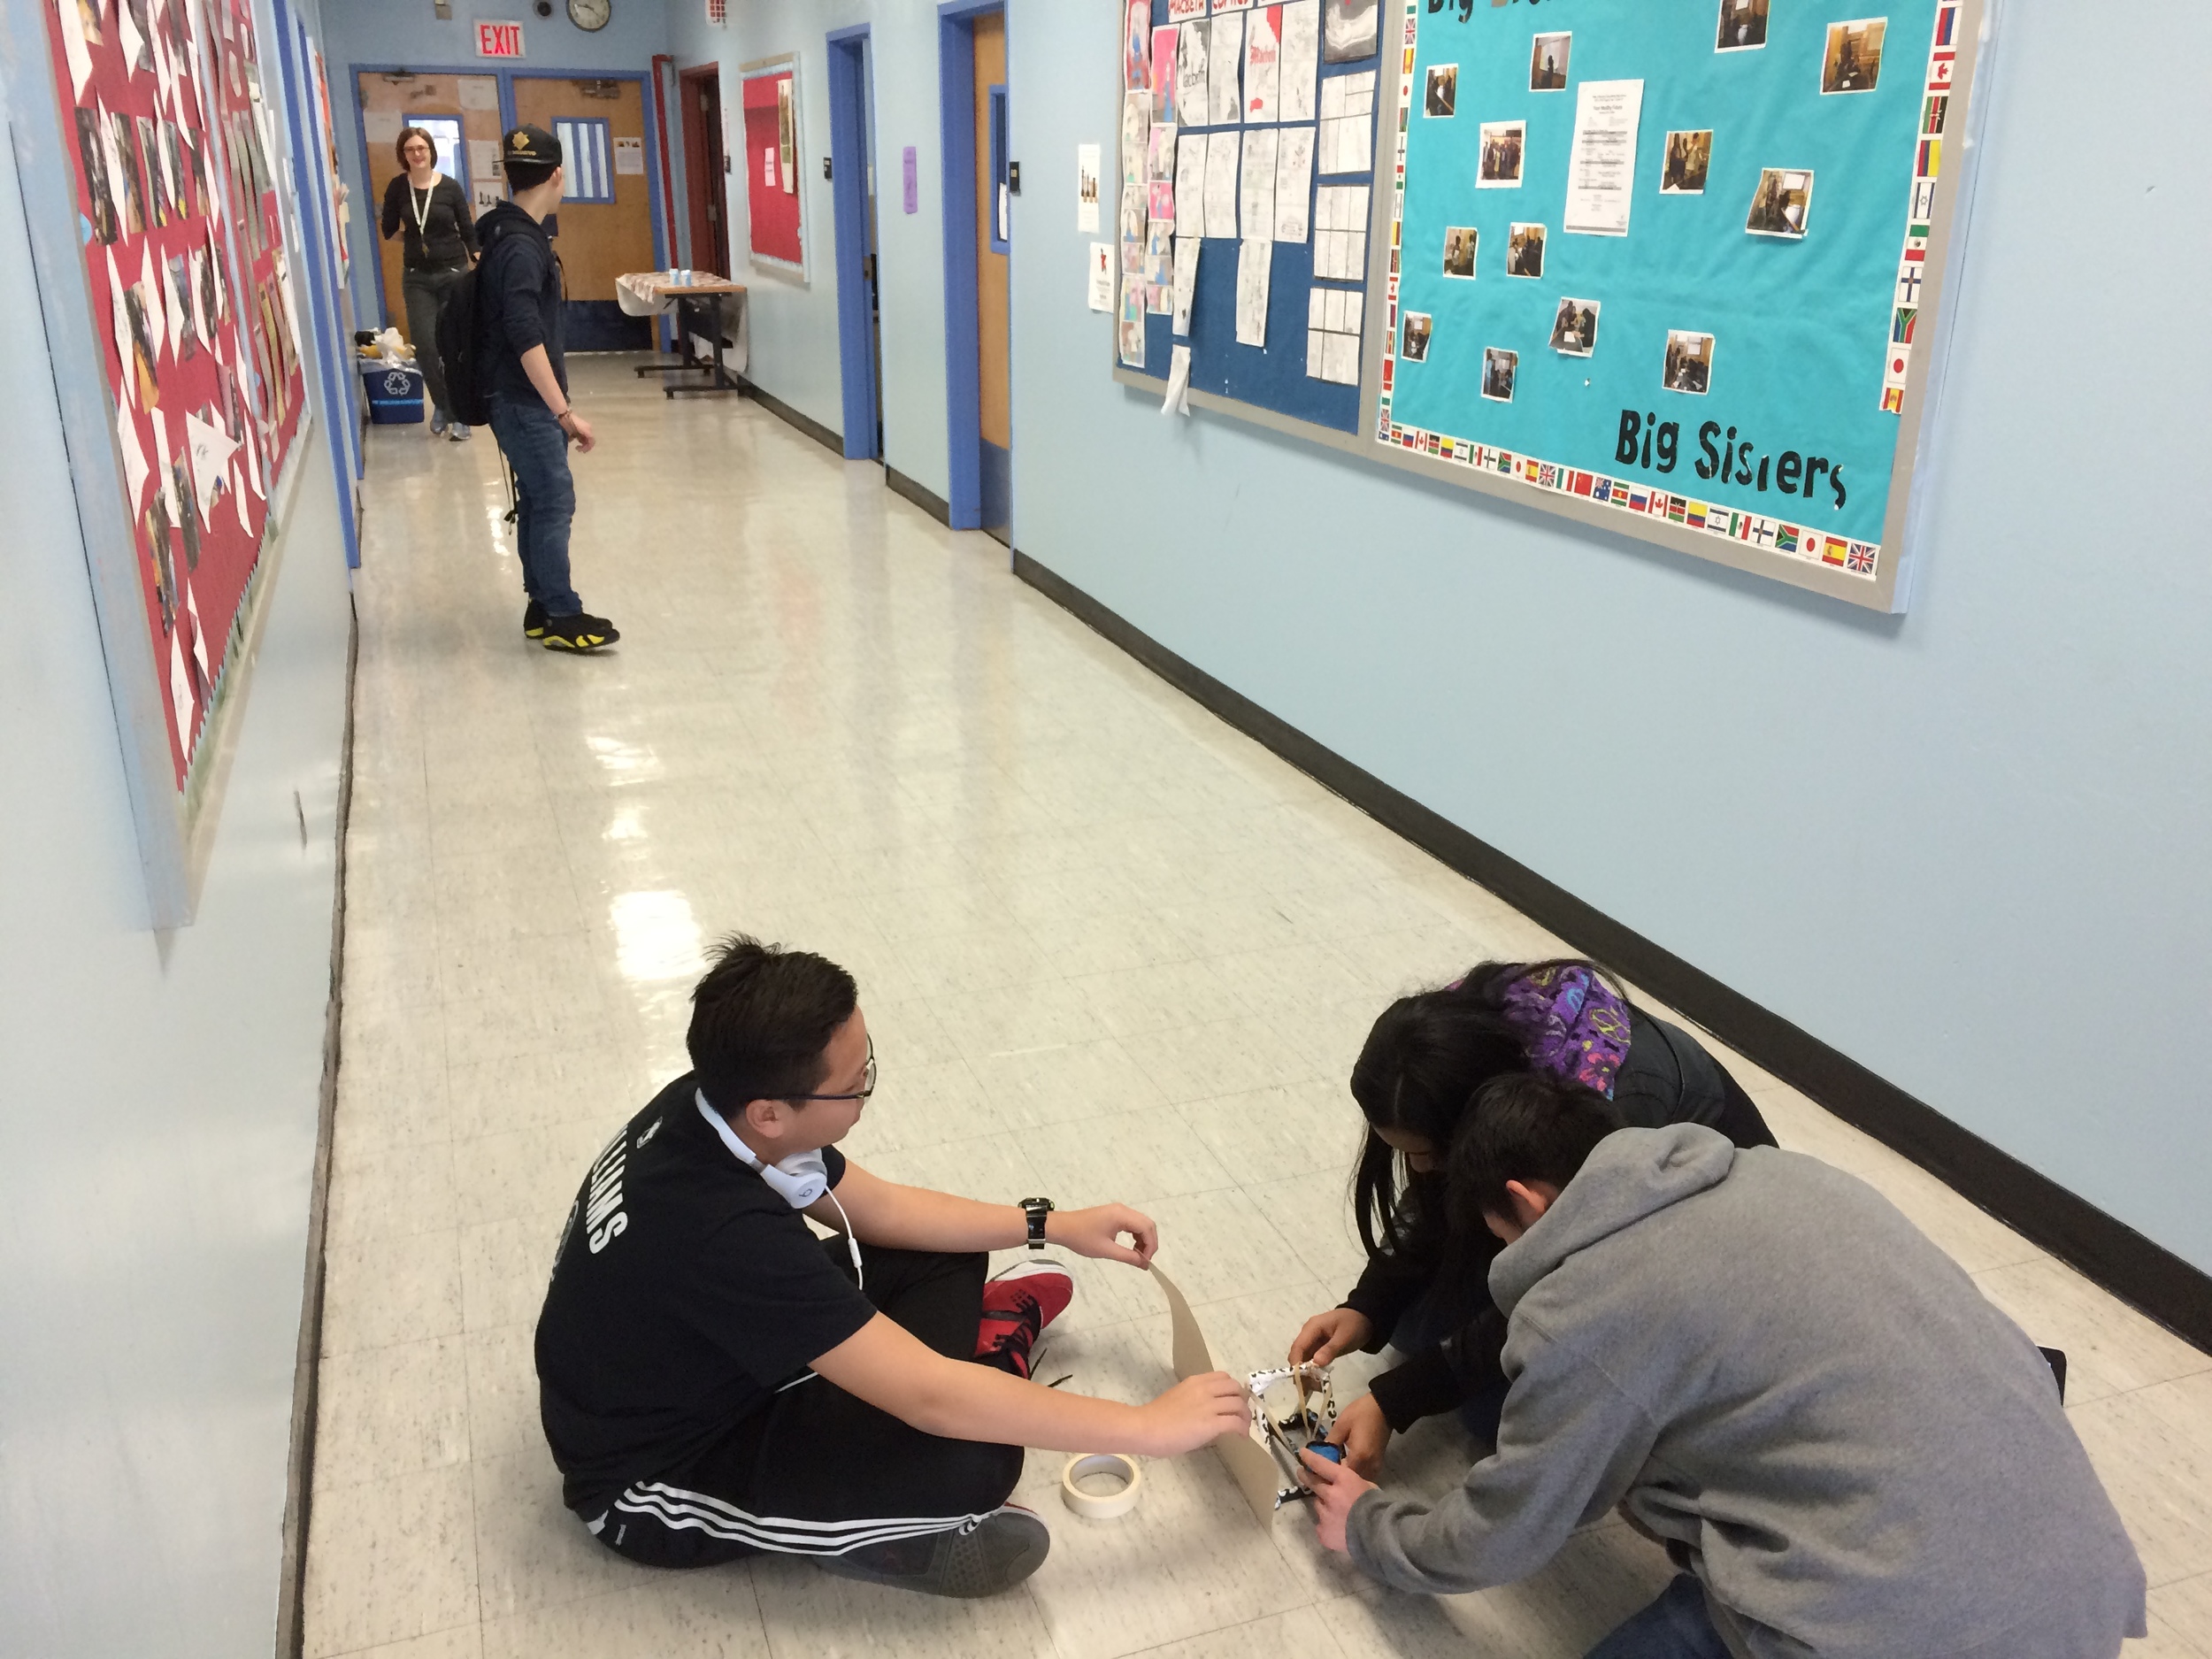
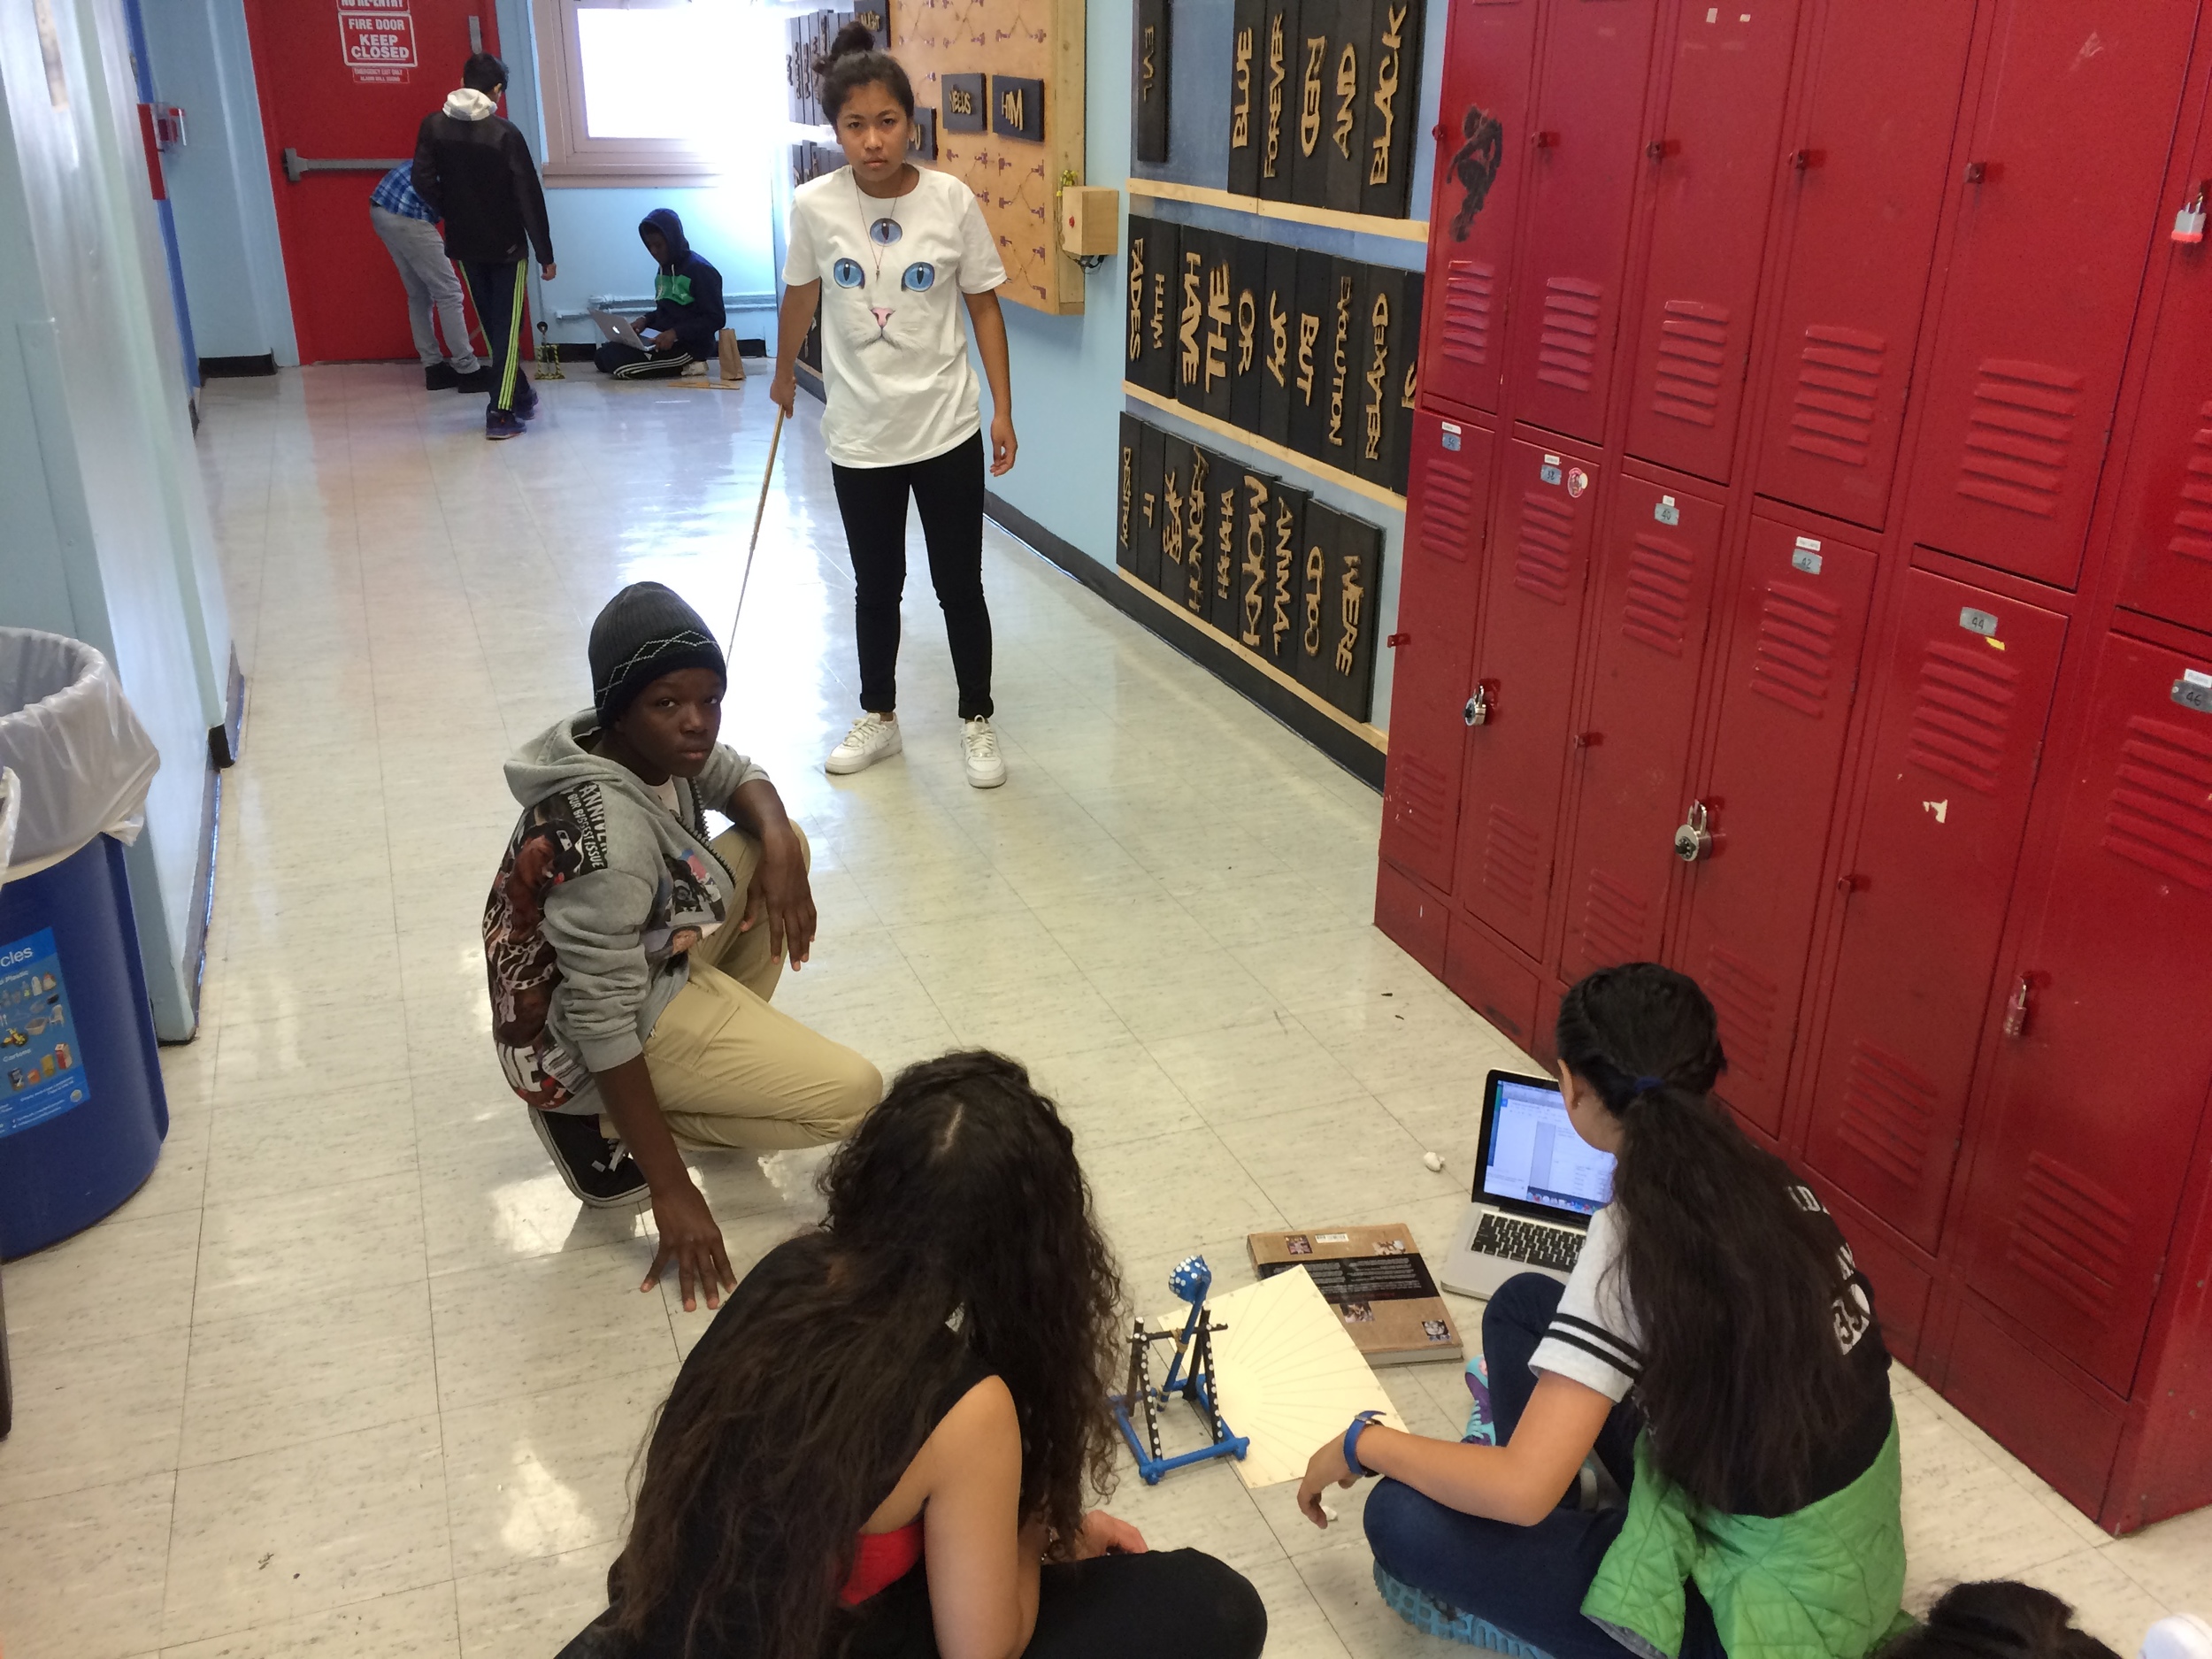
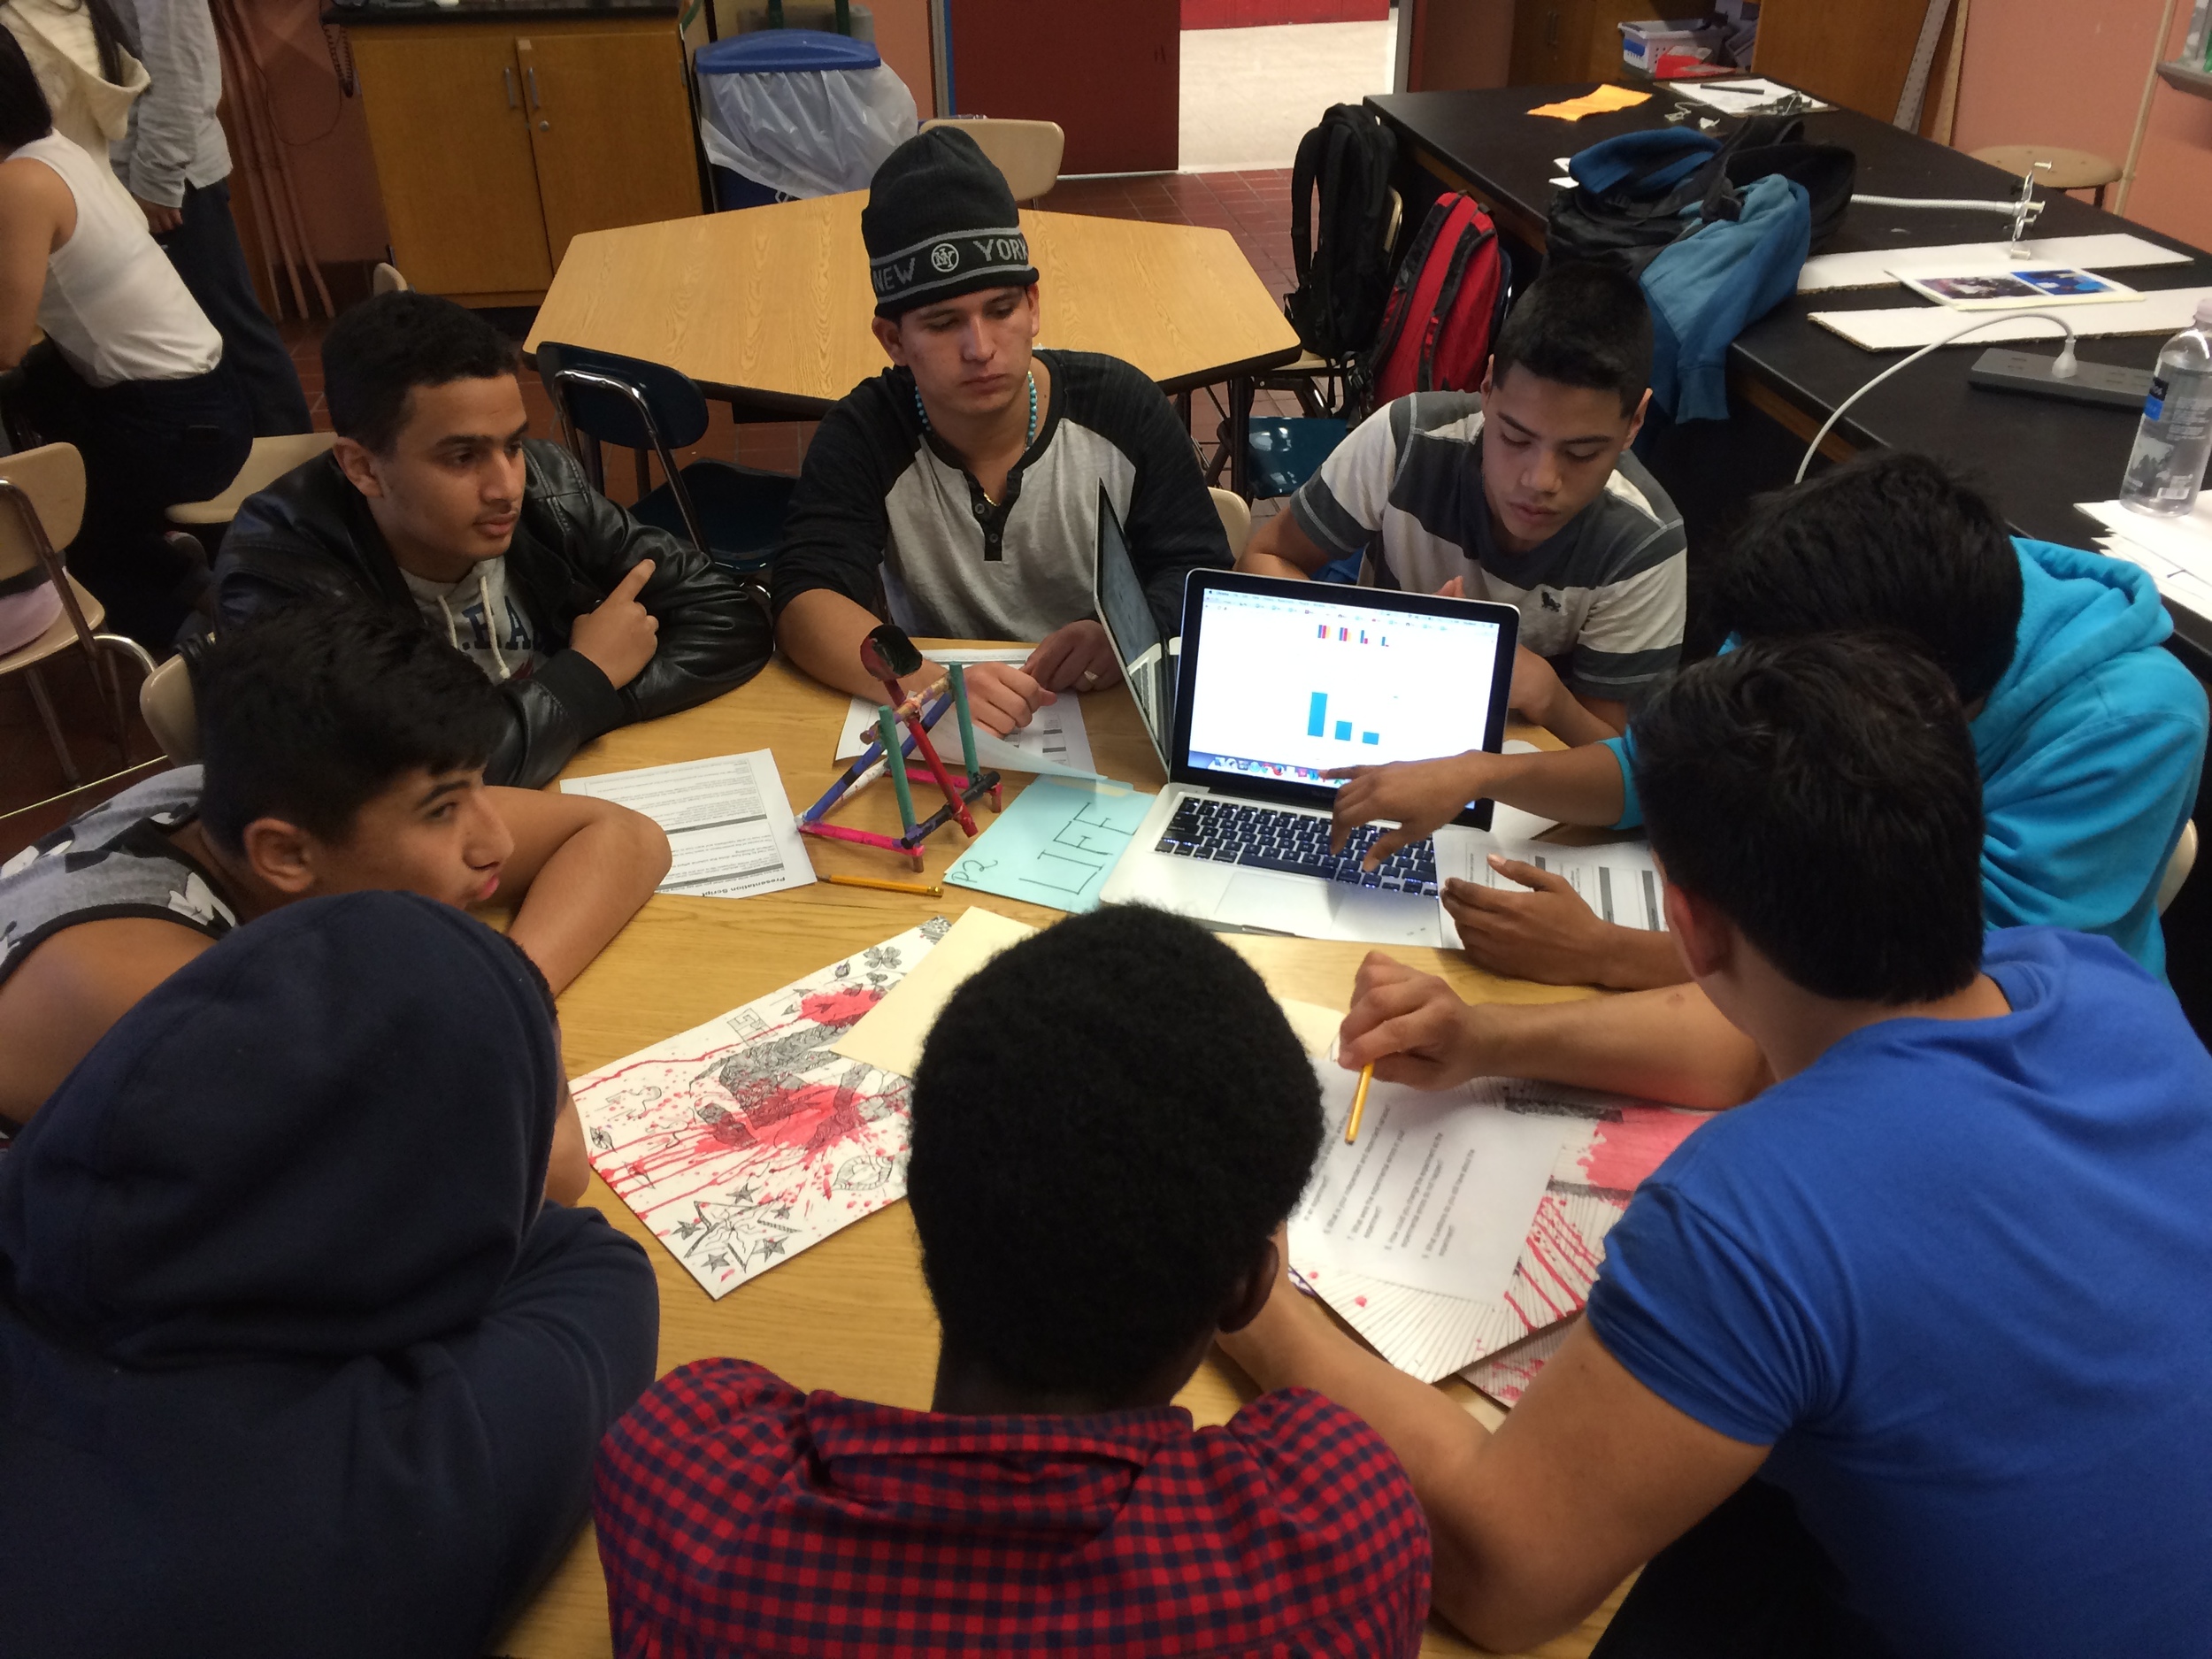
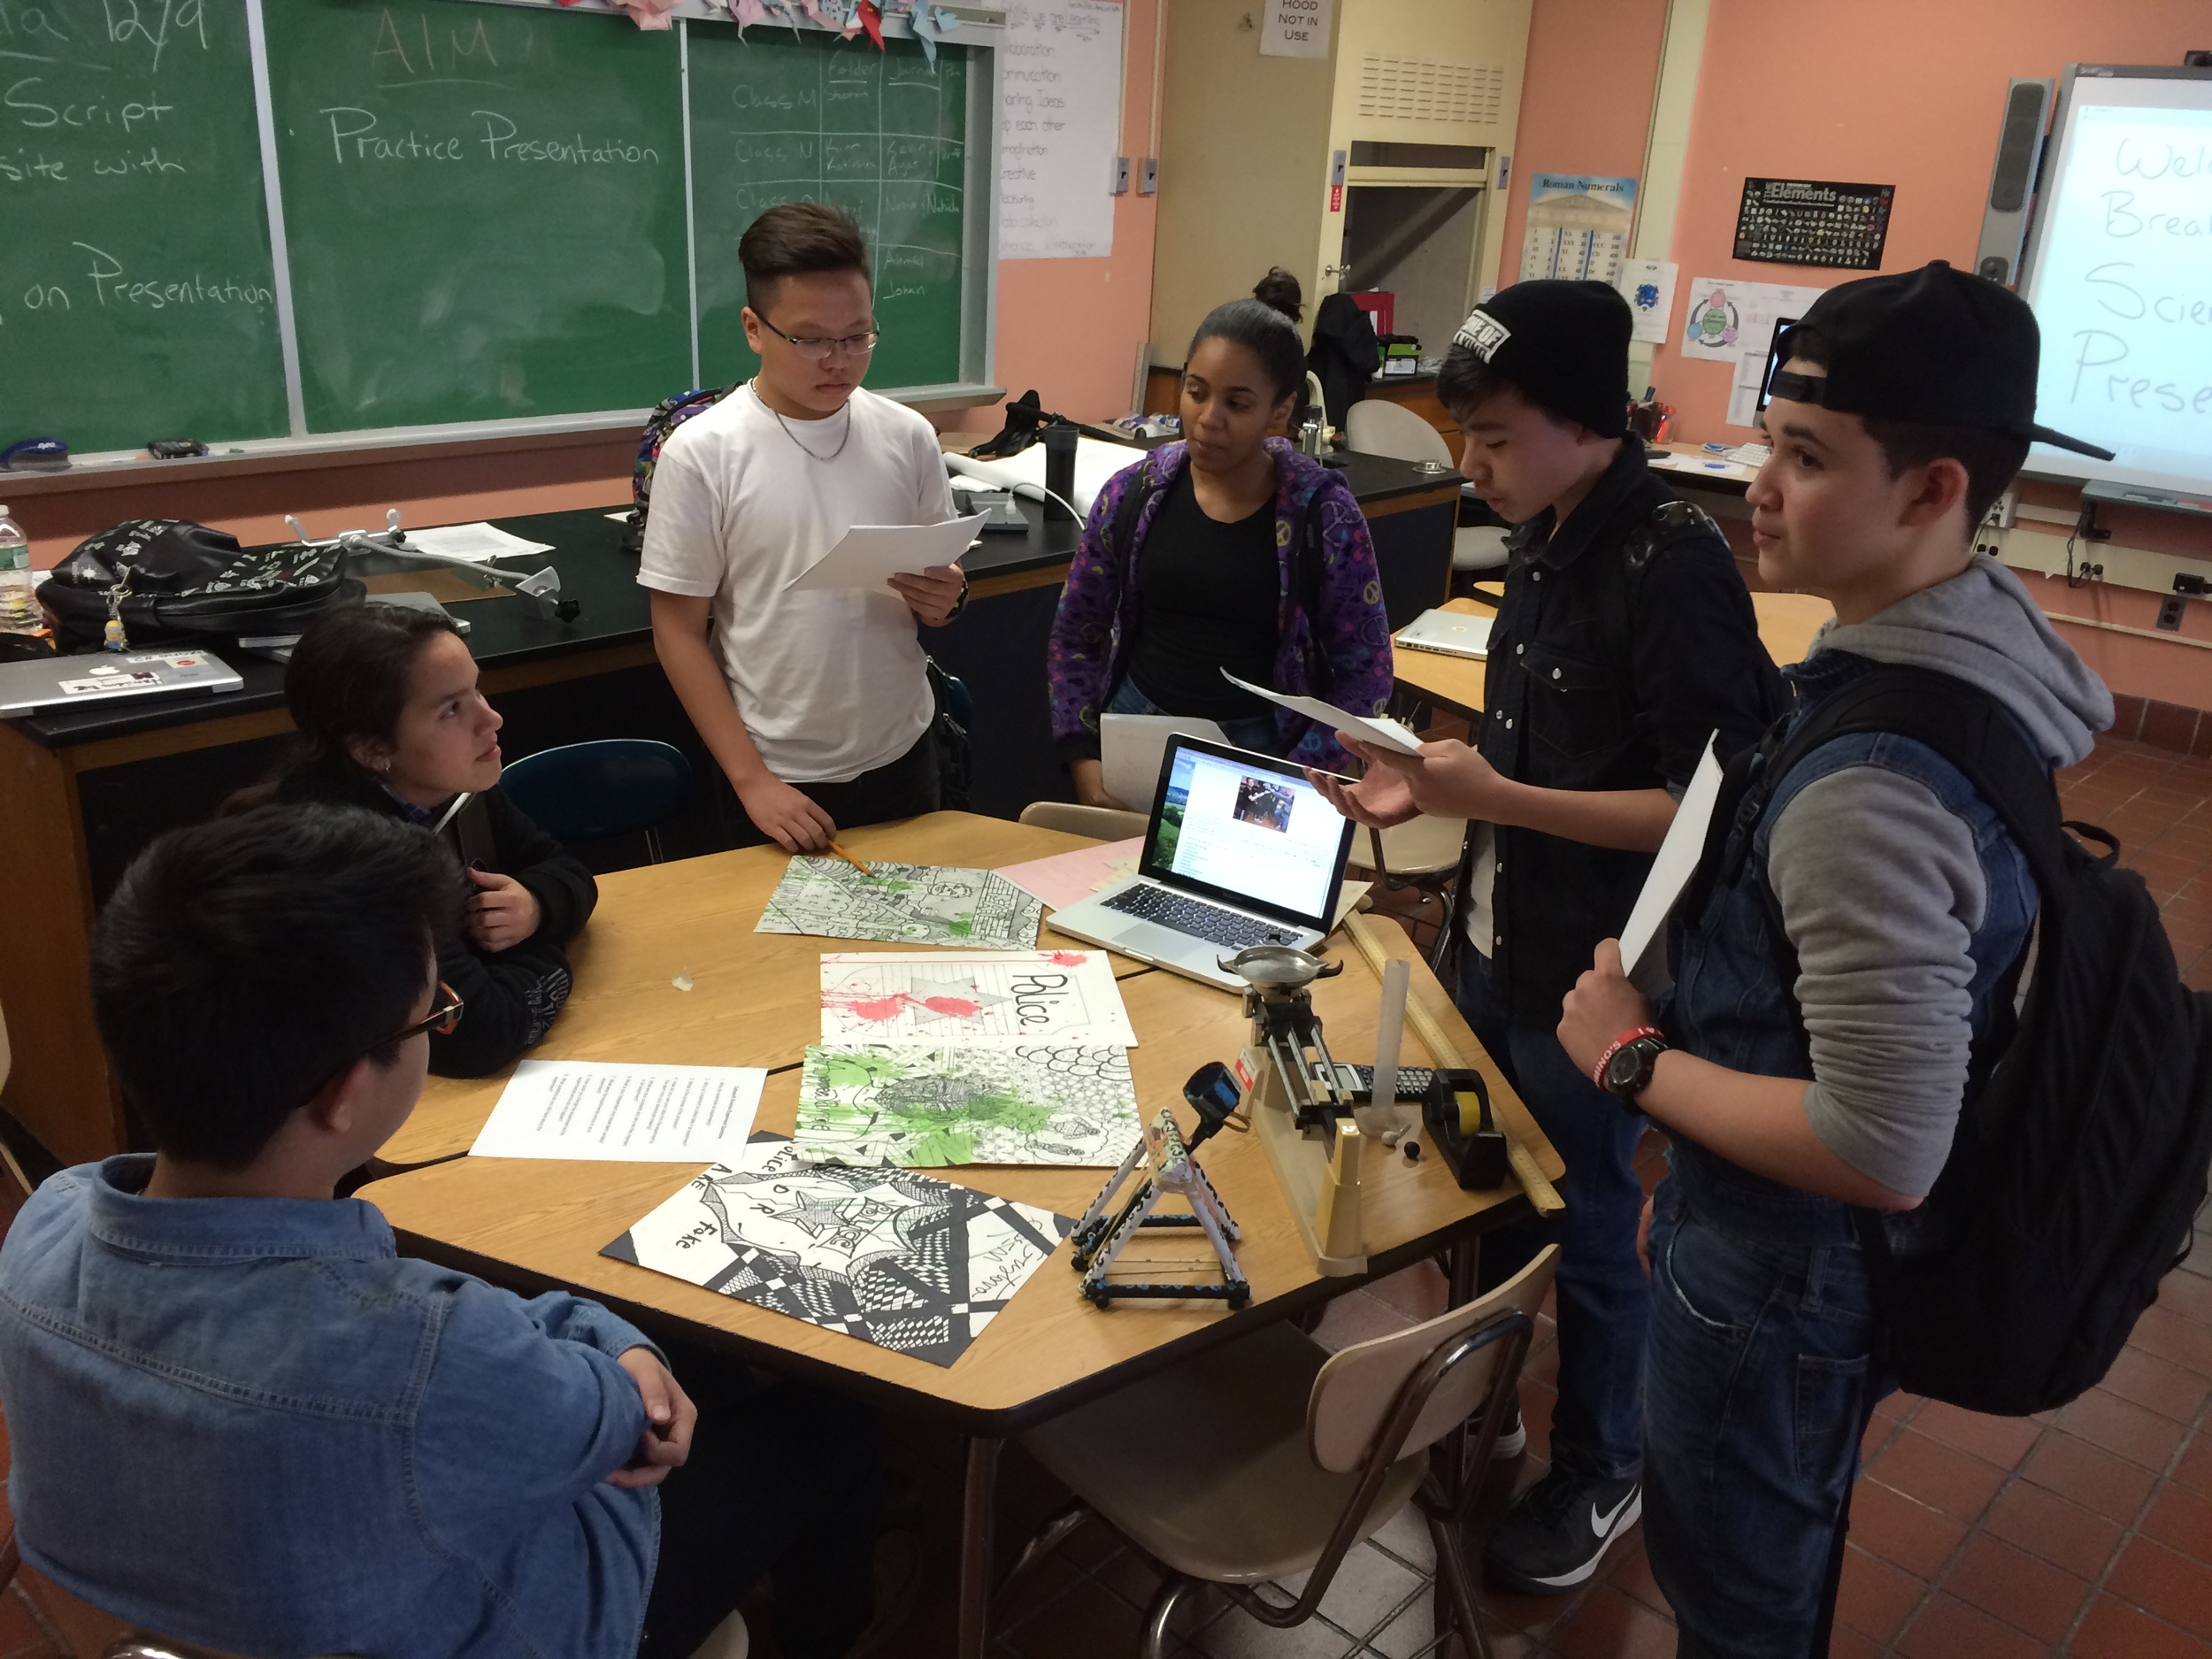
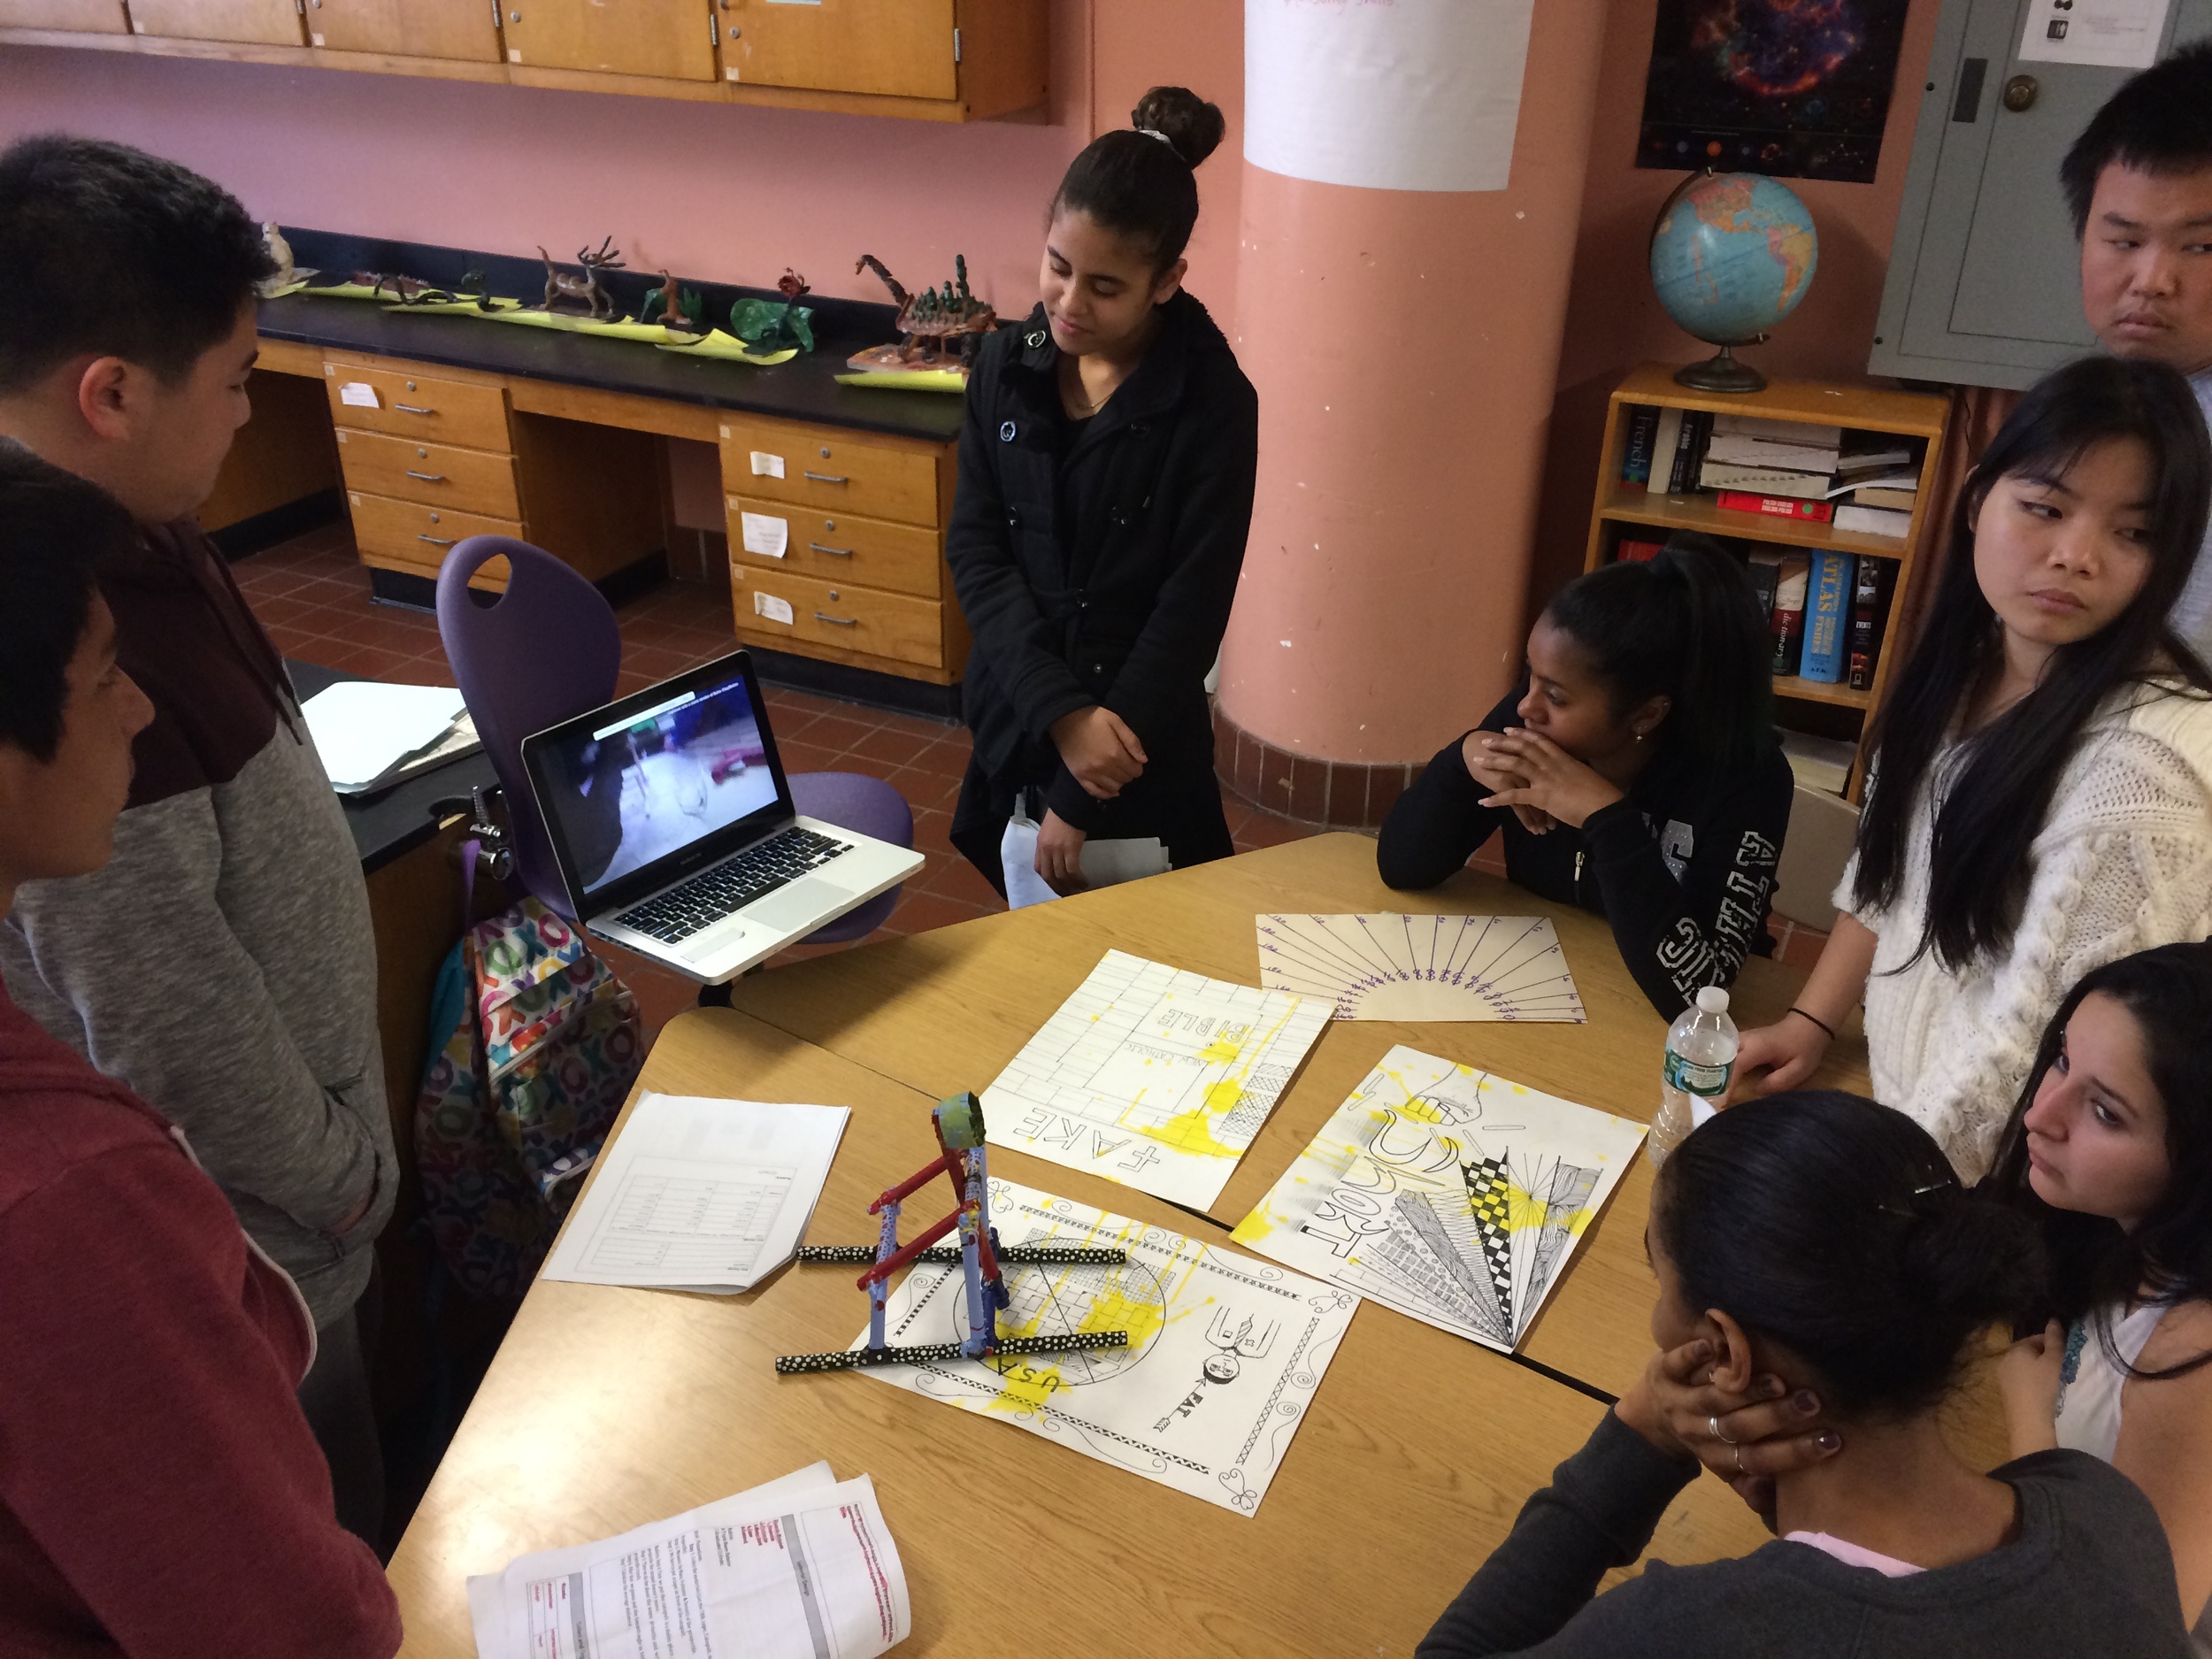
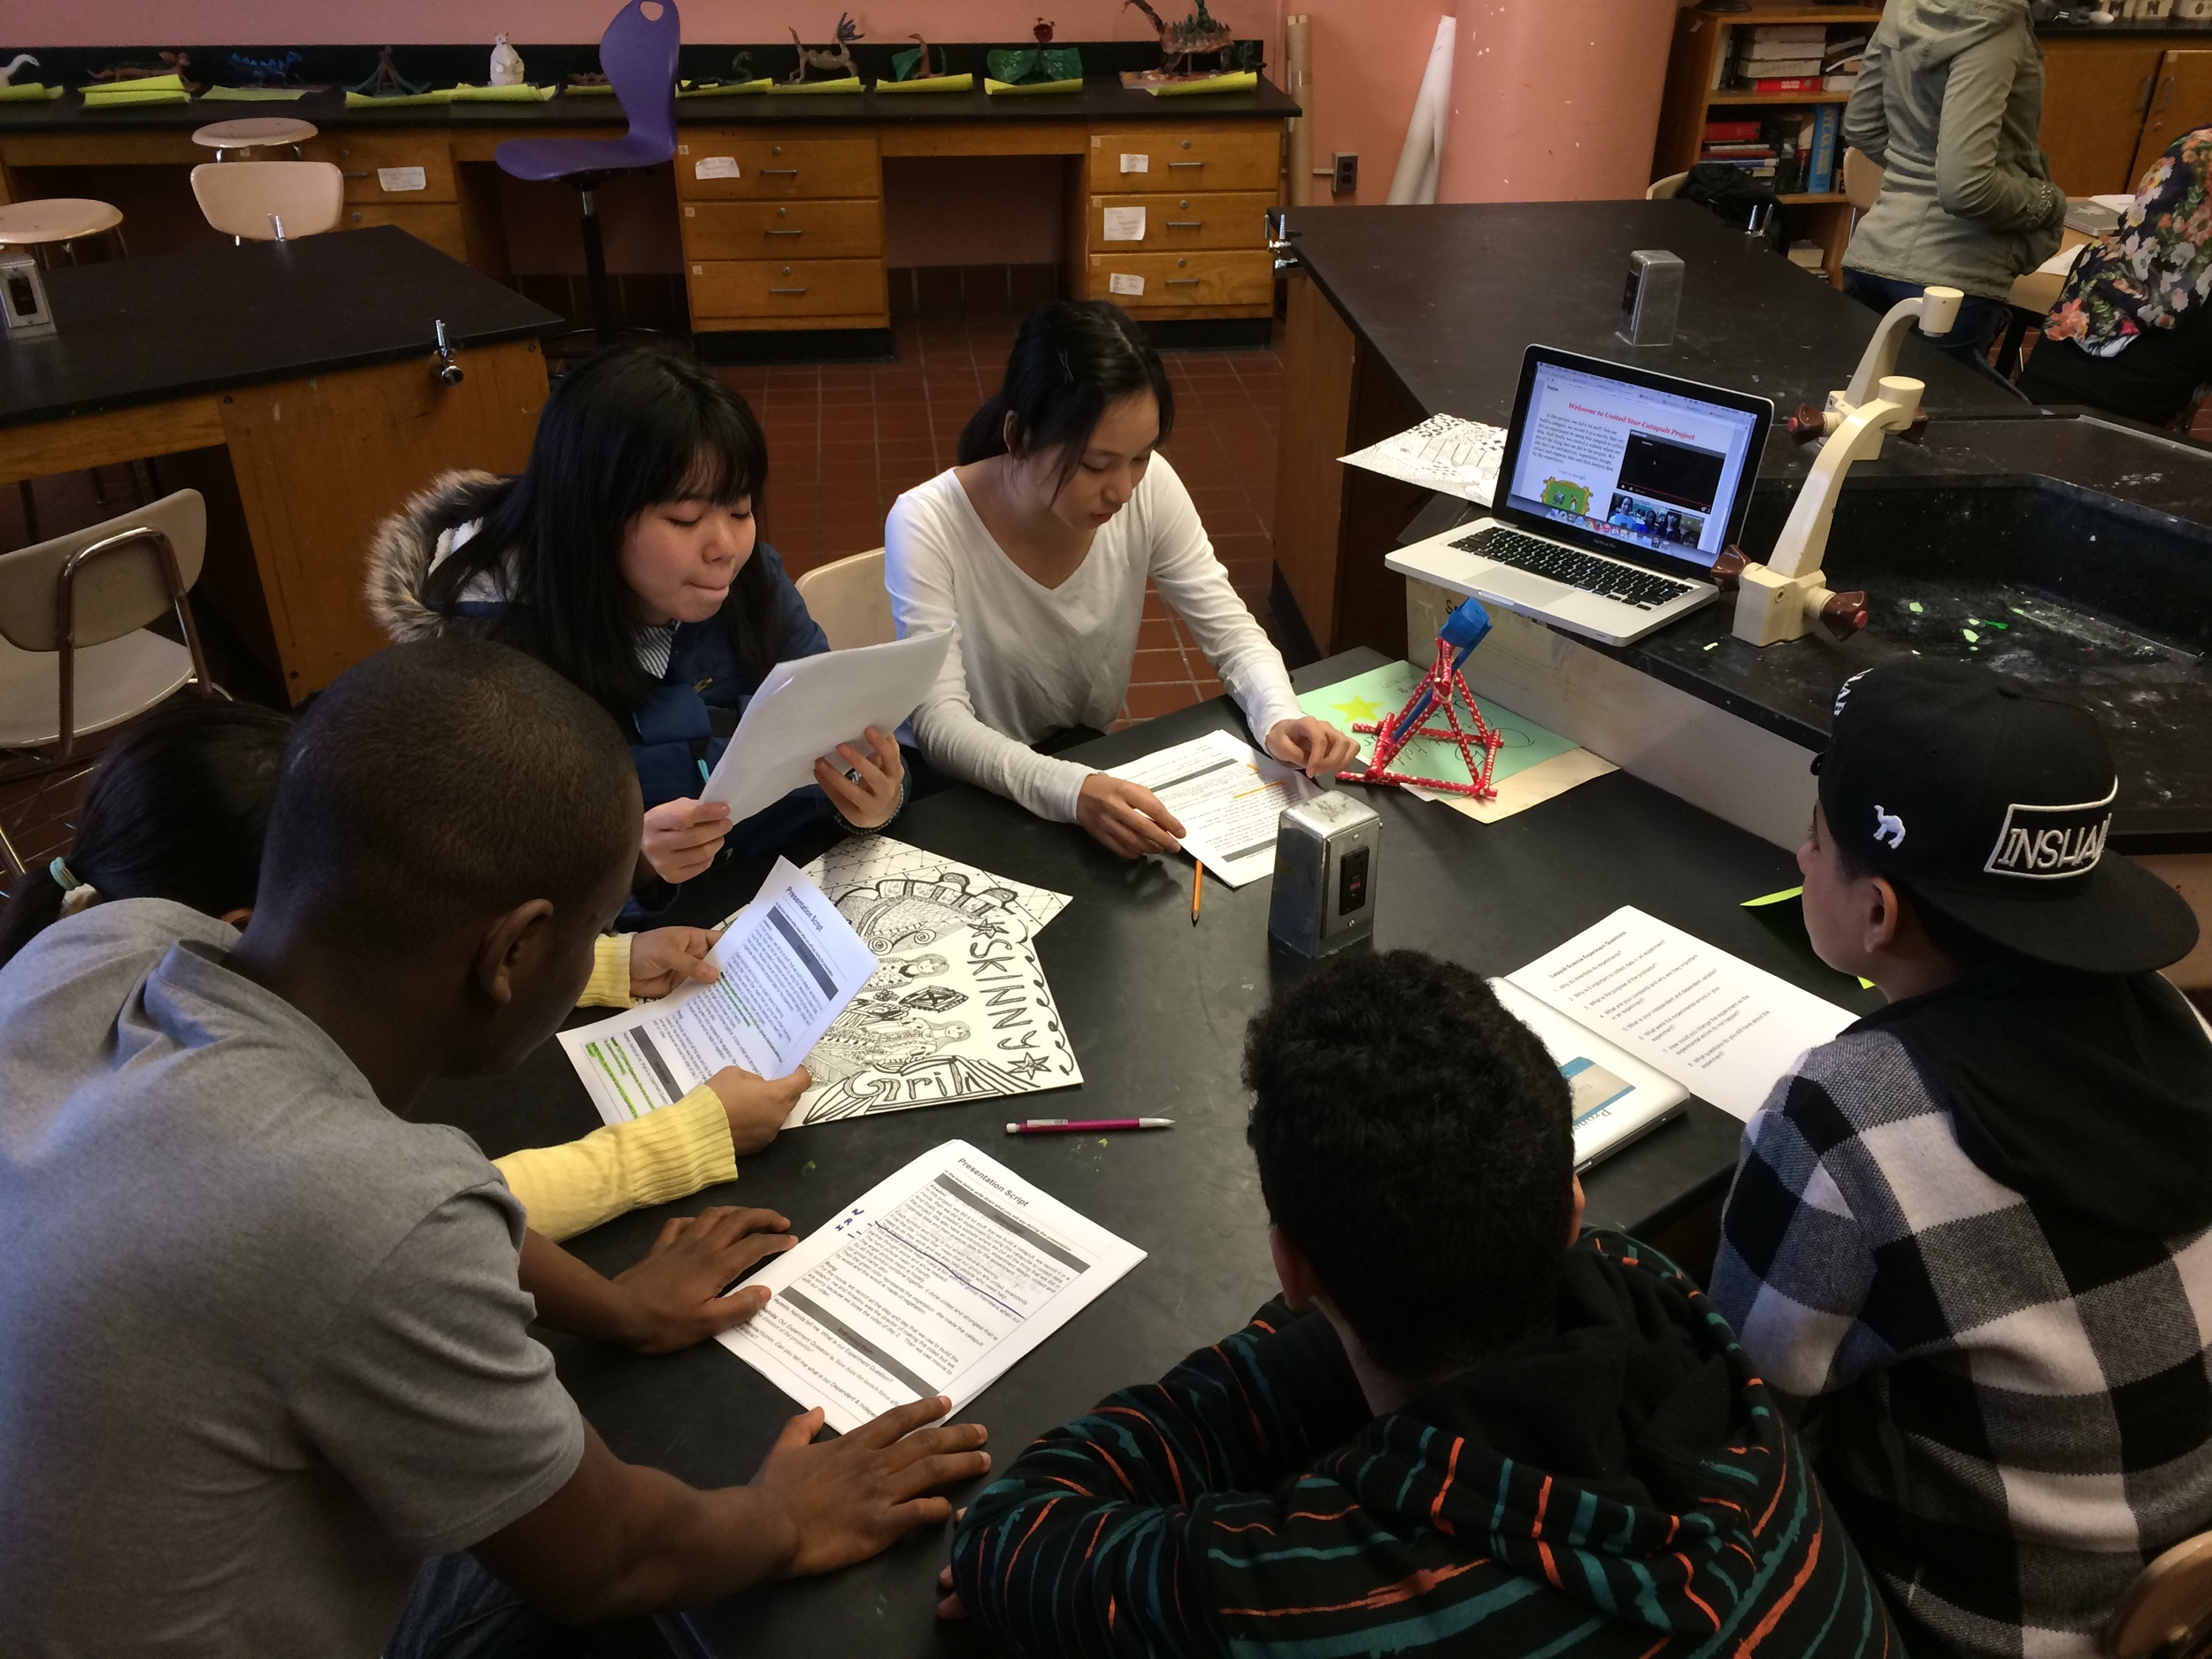
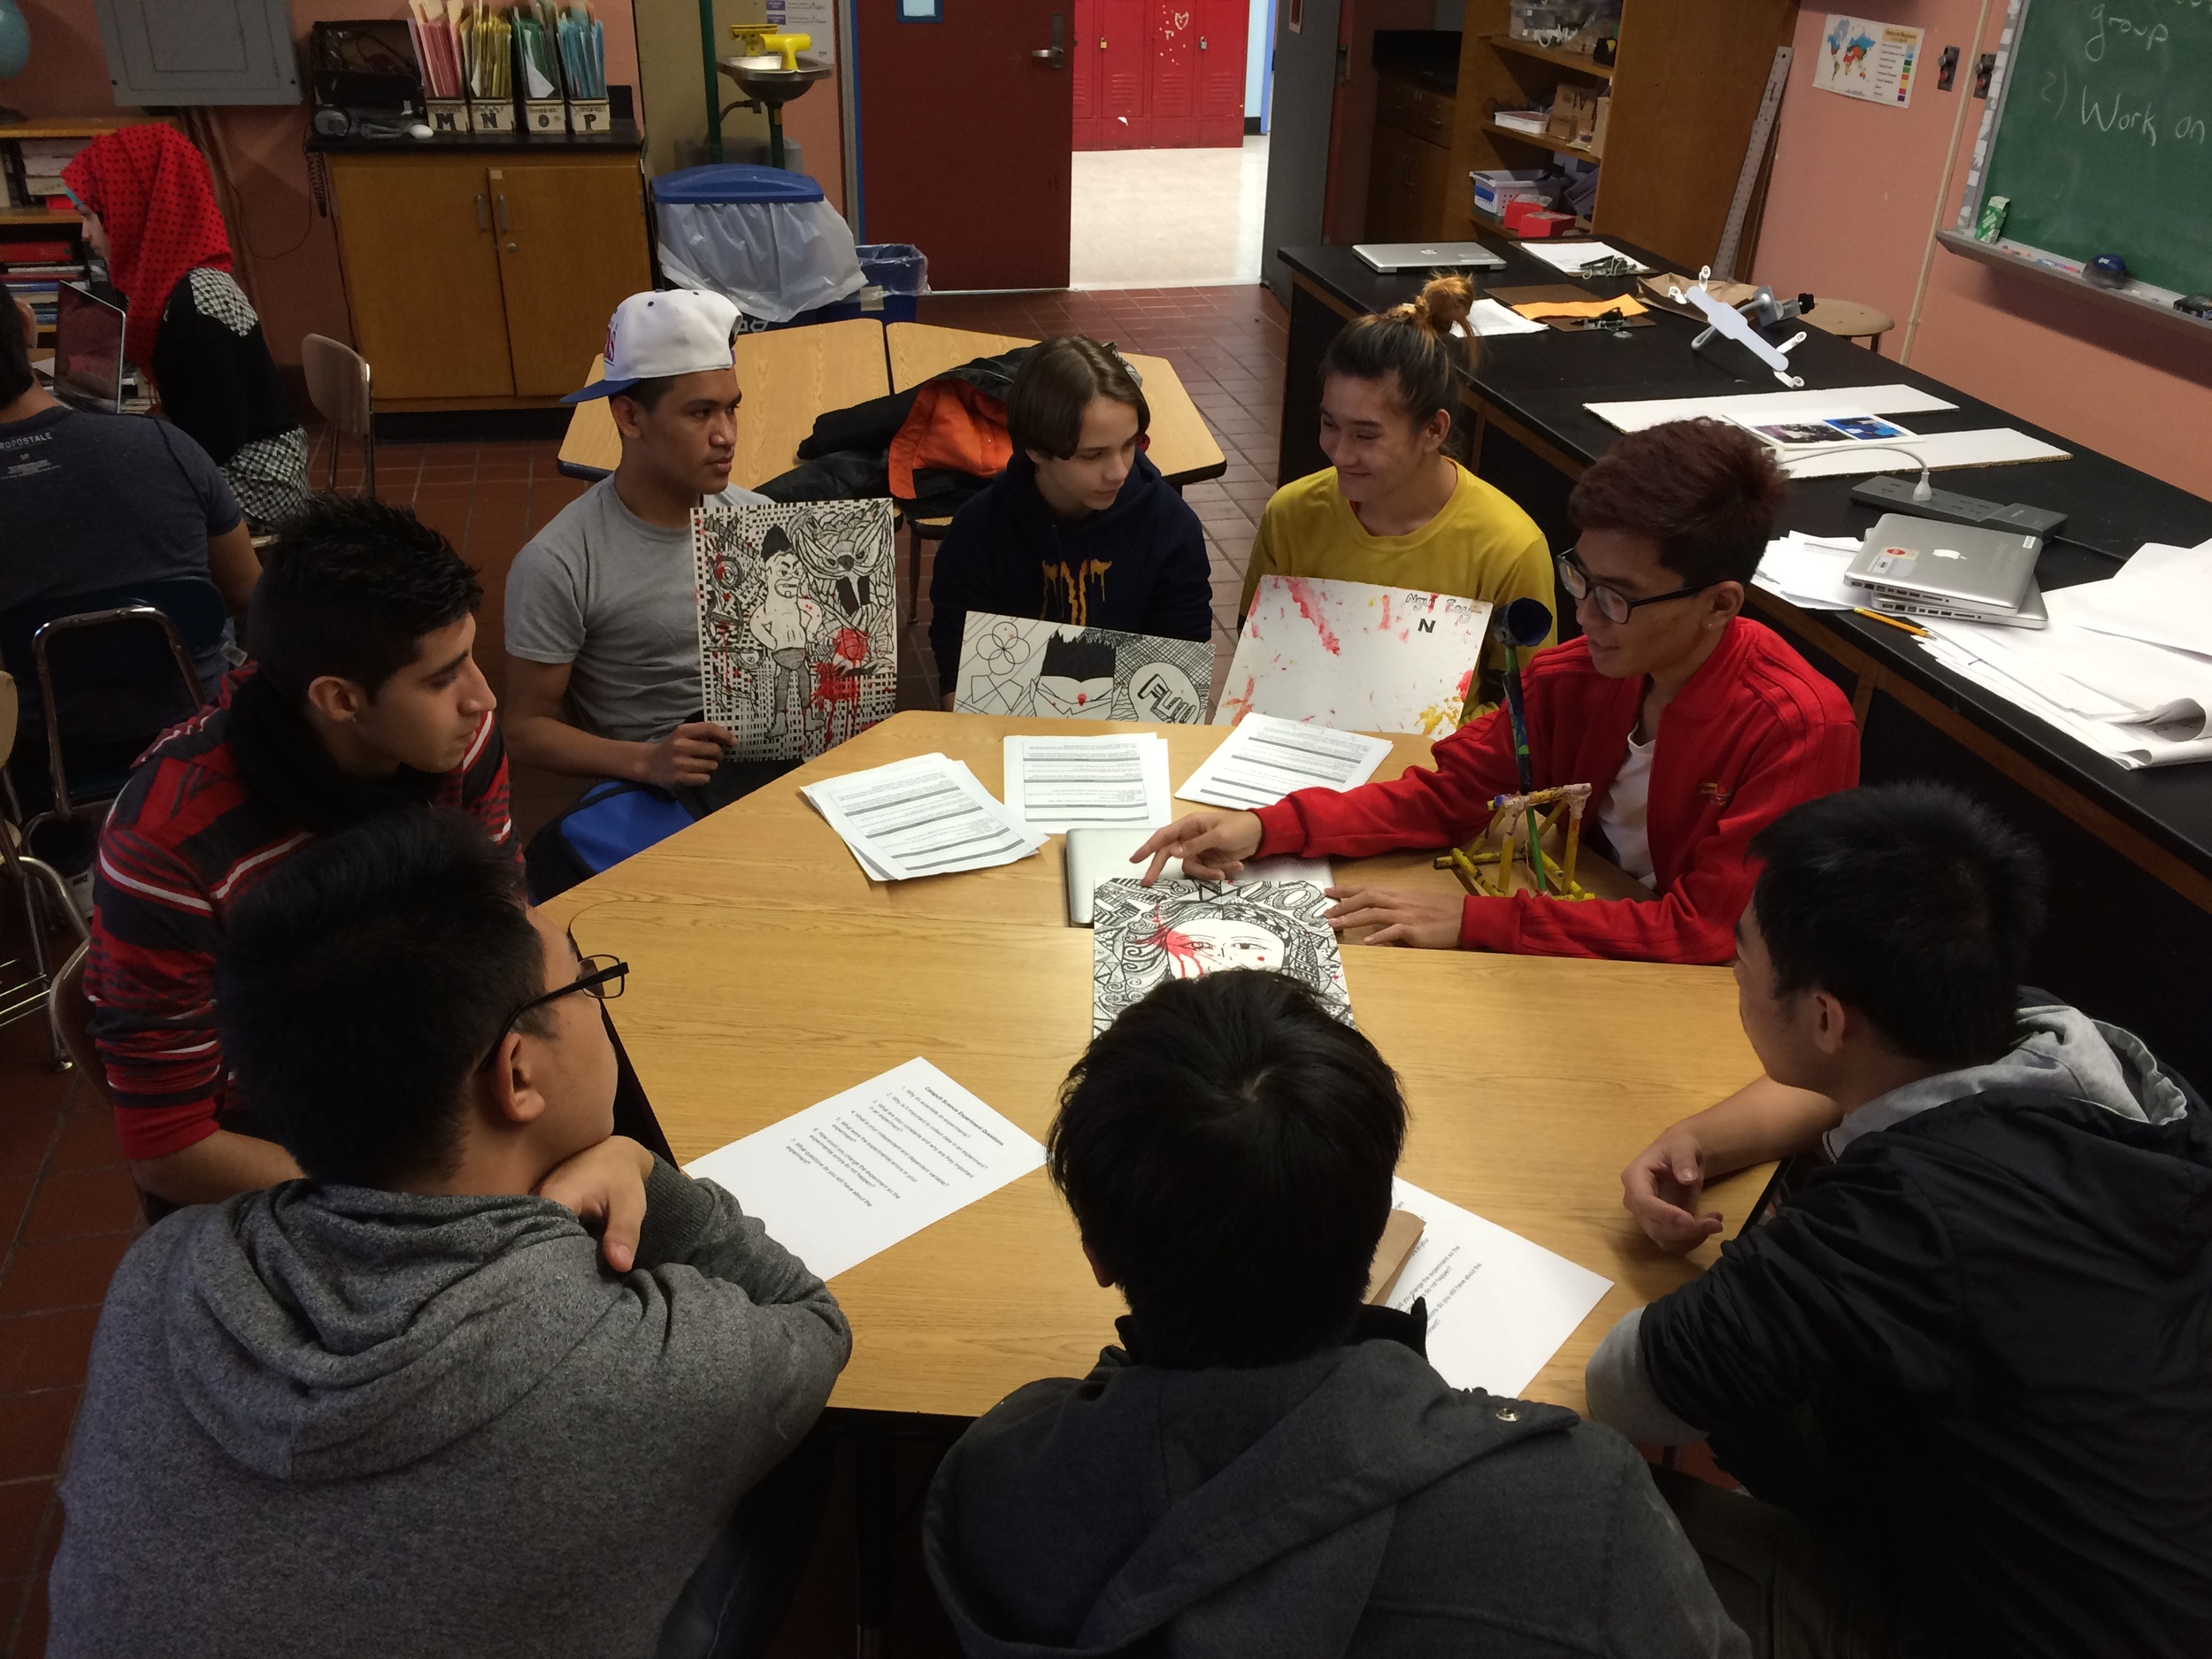
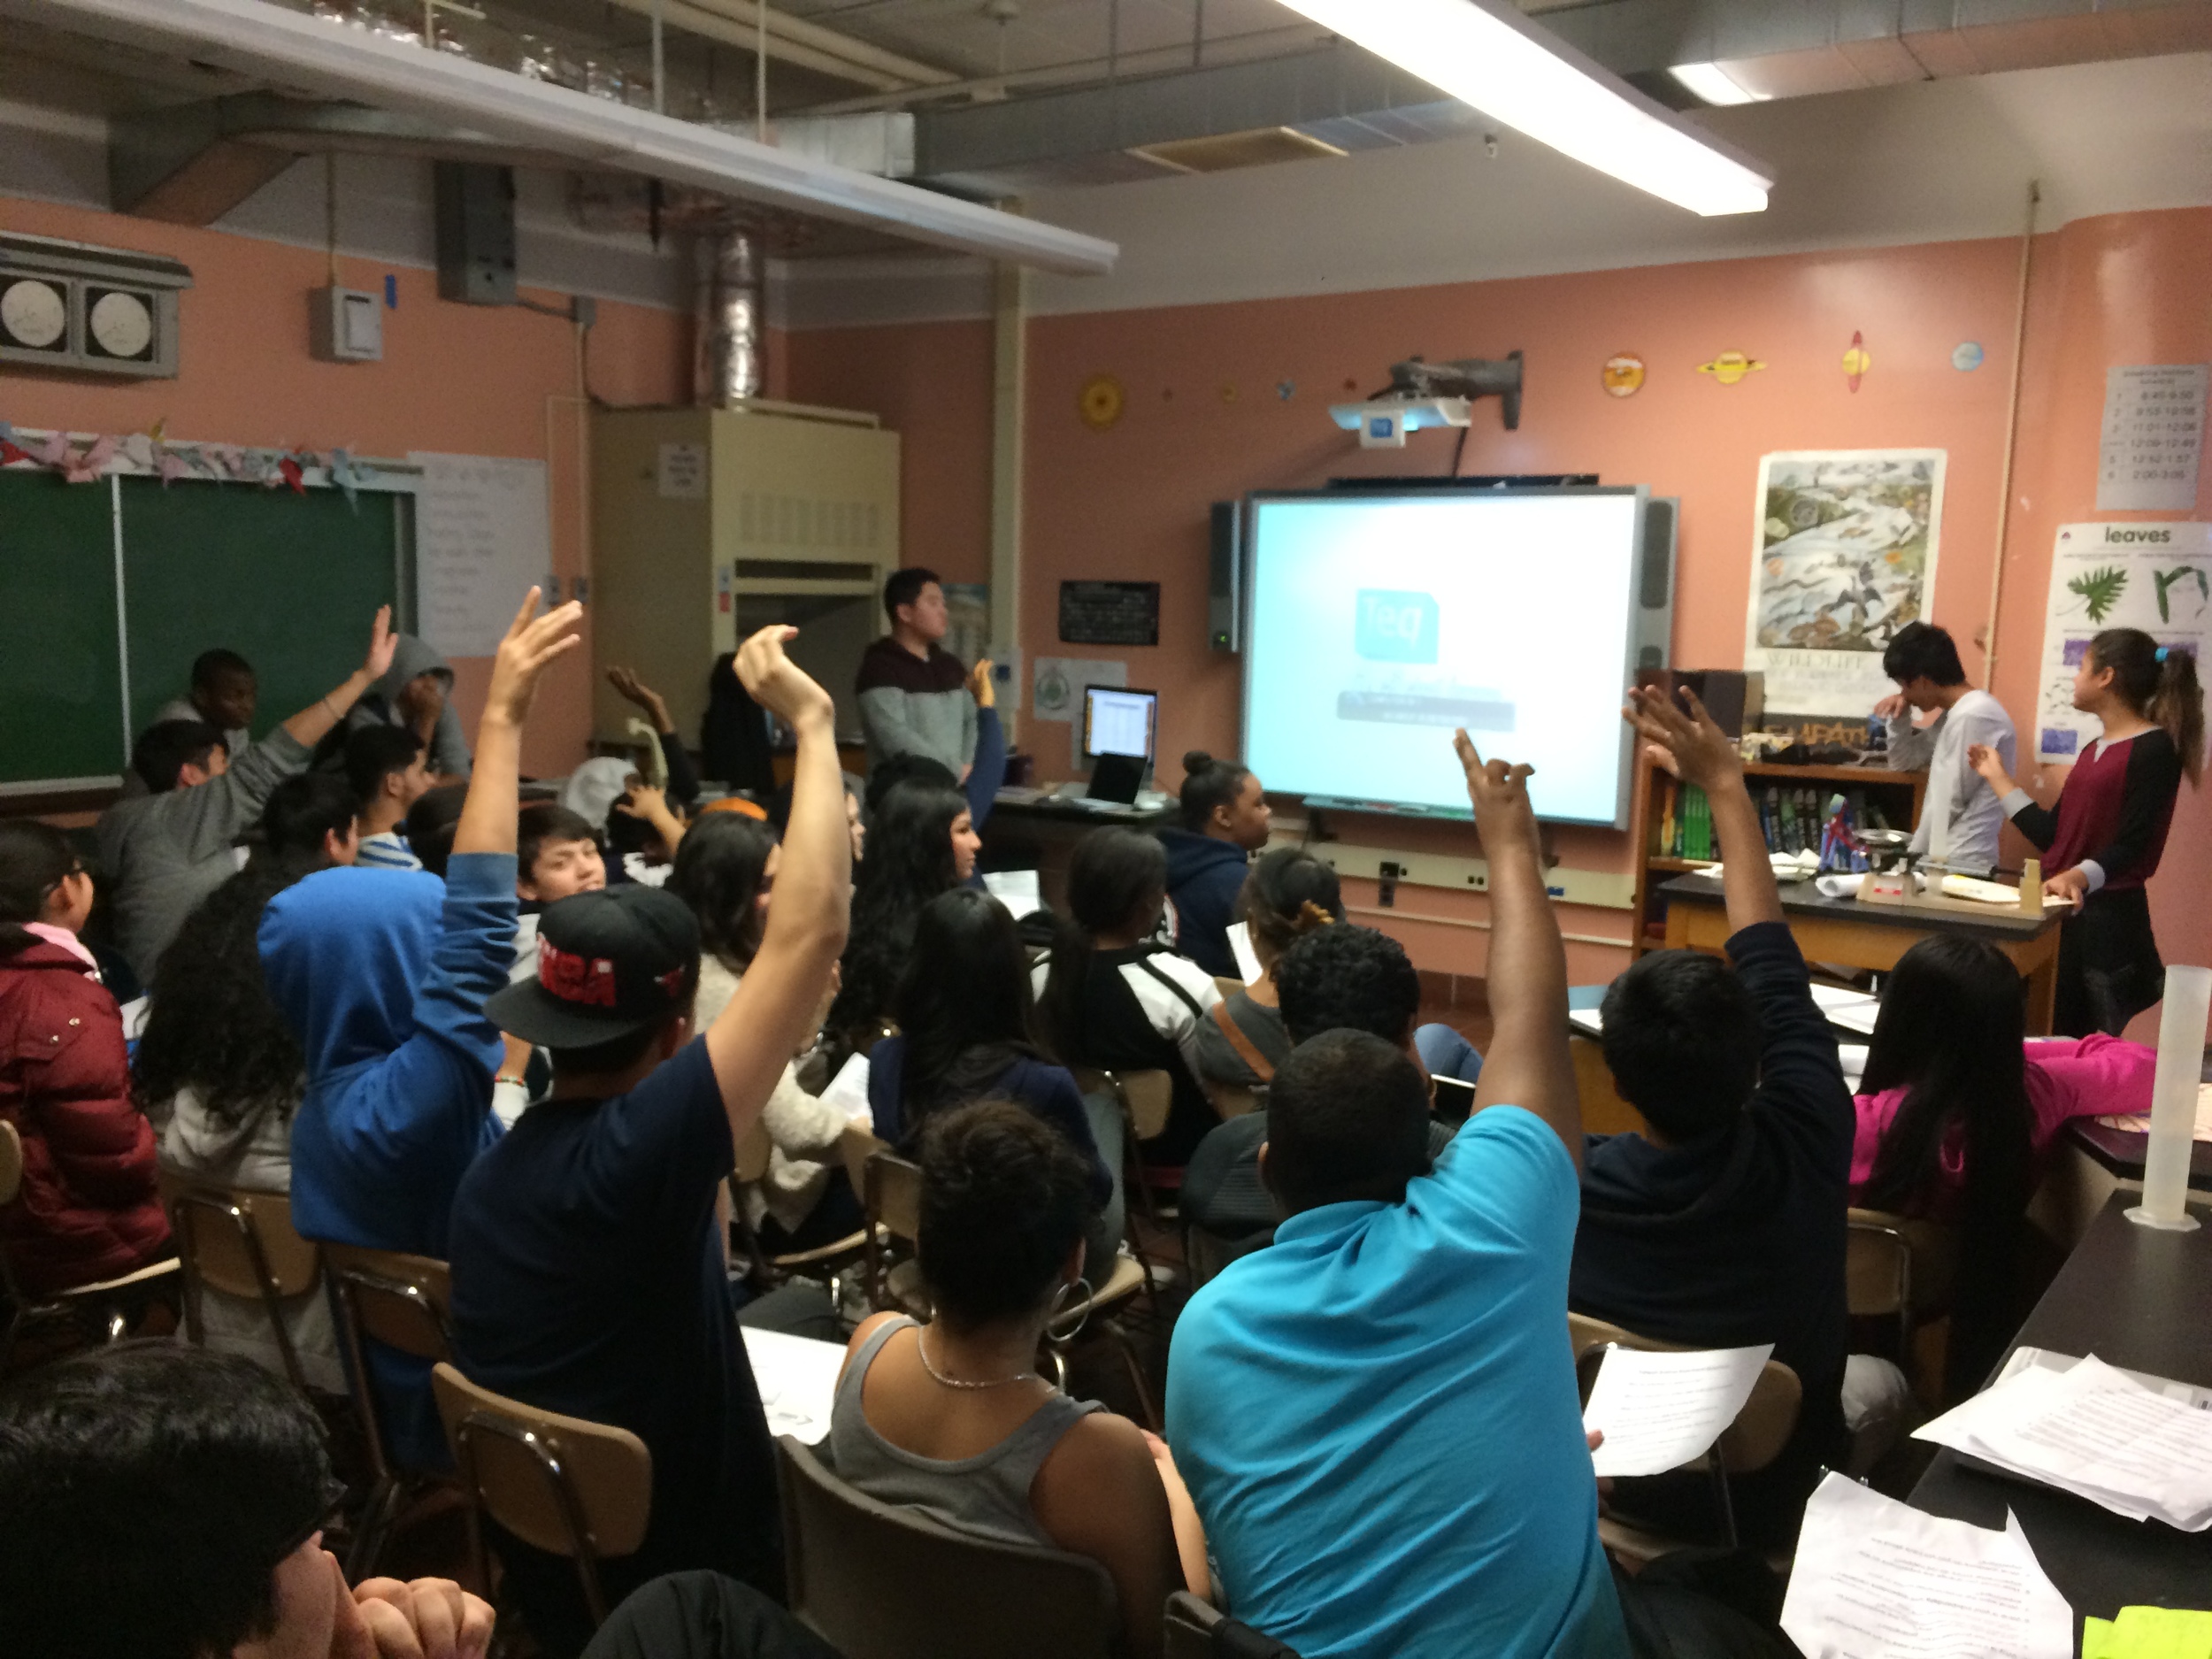
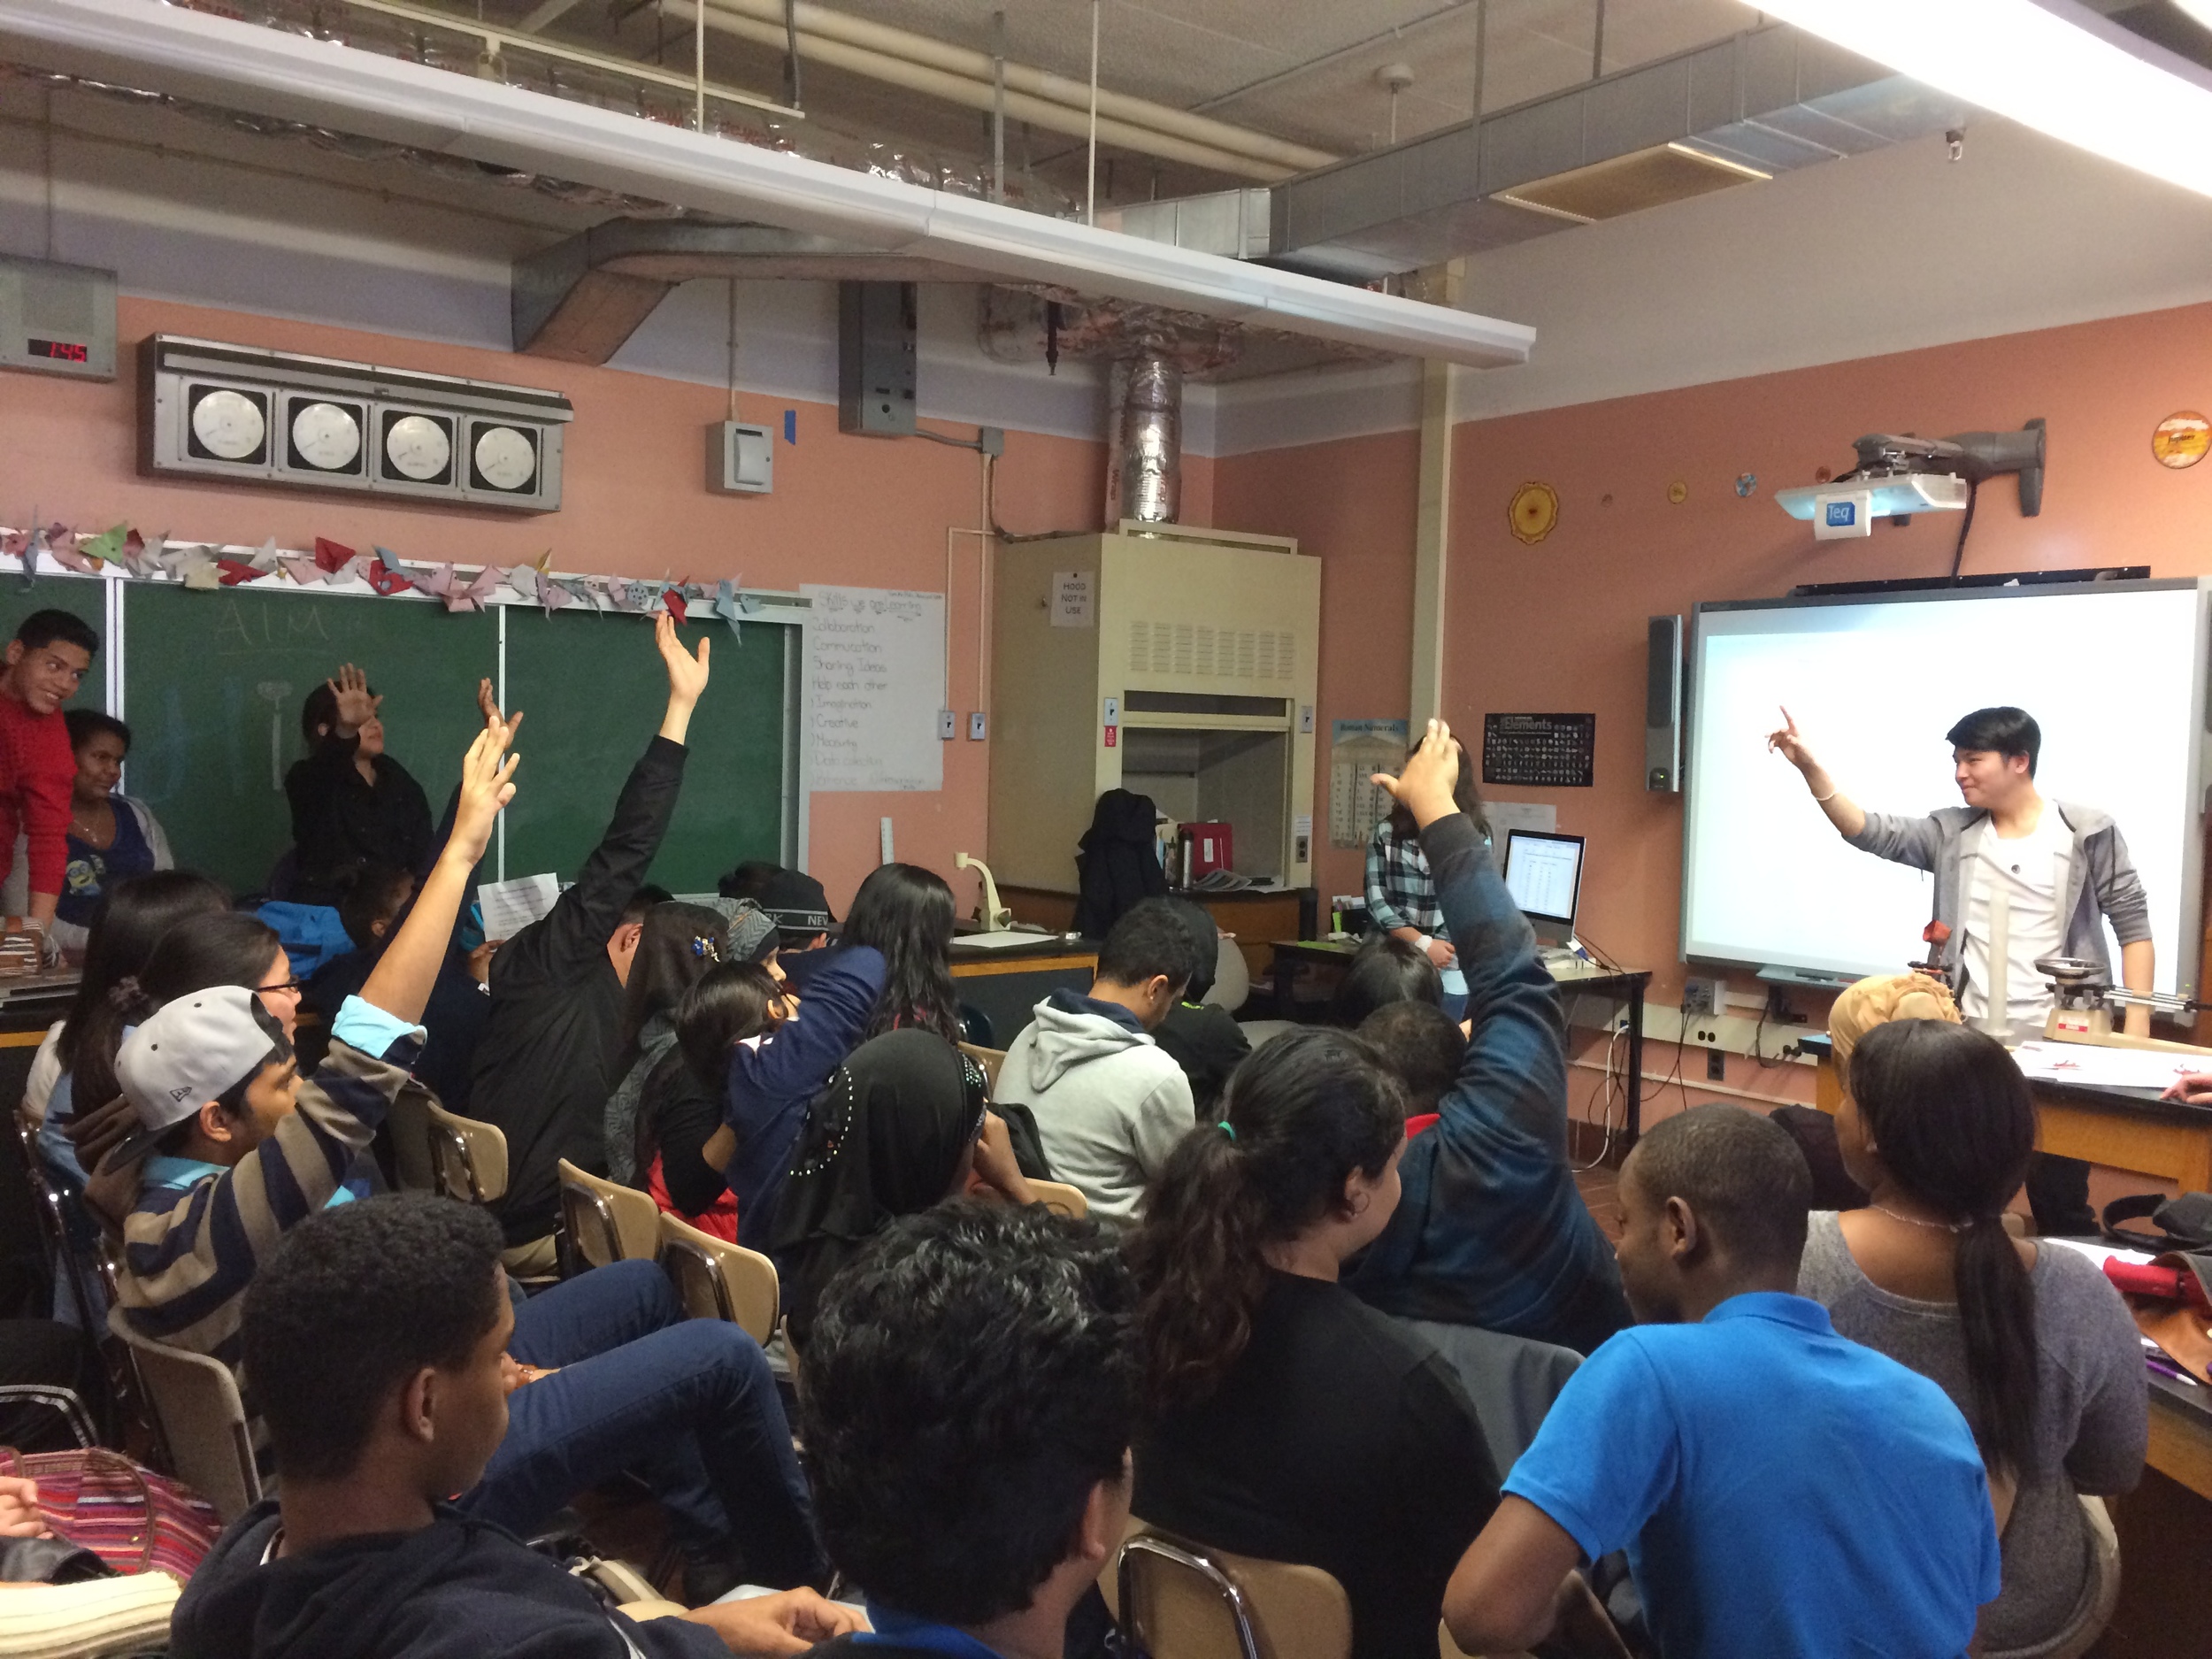
Photos of students building their catapults, conducting their experiments, and presenting their project
Essential Questions
Why do scientists do experiments?
Why is it important to collect data in an experiment?
Project Facilitation Resources
Consider using the following project management strategies to support student agency, collaboration, and learning.
To support students as they collaborate with their team, consider having students develop a team collaboration contract. Go here to see student-facing materials and read about how I use the restorative practice of talking circles to have student groups create their collaboration contract.
Consider having students use a Kanban Board to collaboratively manage their work together to develop their catapult. Go here to read how I implement Kanban Boards during a project.
In this project, students move through a design process to develop a catapult that they use to conduct projectile experiments. Consider having students document their design process that they can use to reflect on their learning more deeply. Go here to read how I have students use time-lapse or stop-motion video to record their design work in my STEM project.
Project Facilitation Guide
Part 1: The Scientific Method
Week 1-2
Introduce scientific methodology with the Jump Lab Experiment.
Focus on part of the lab at a time, and develop the test question, hypothesis, and procedure with class.
Before developing the procedure, have students write down the steps to do Jumping Jacks.
Teacher performs jumping jacks according to group instructions.
Discuss importance for accuracy & details.
When experiment is complete, have students brainstorm the steps of the scientific method without telling them first.
Refer to the Do Now List document for various beginning of class focus assignments.
Week 2-3
Conduct mini lessons & demos on Mass, Volume, & Density.
Students learn examine mass, volume, & density by performing Gummi Bear Lab.
Develop experiment question & potential hypotheses with class.
Given the materials, student groups develop their own procedure. Must verify with teacher before data collection.
After experiment the Experiment Rubric and Experiment Checklist was built with the class.
Students use the experiment checklist and rubric to self assess work.
Part 2: Build Catapults
Week 3-4
Place students in heterogeneous groups of four.
Describe project to students and in groups brainstorm the purpose of building the catapult, using it to design their own experiment, creating a stop-motion video, and presenting their work.
Example of Catapult Project and Purpose.
Groups identified roles within the group for building the catapult using the Catapult Job Responsibility.
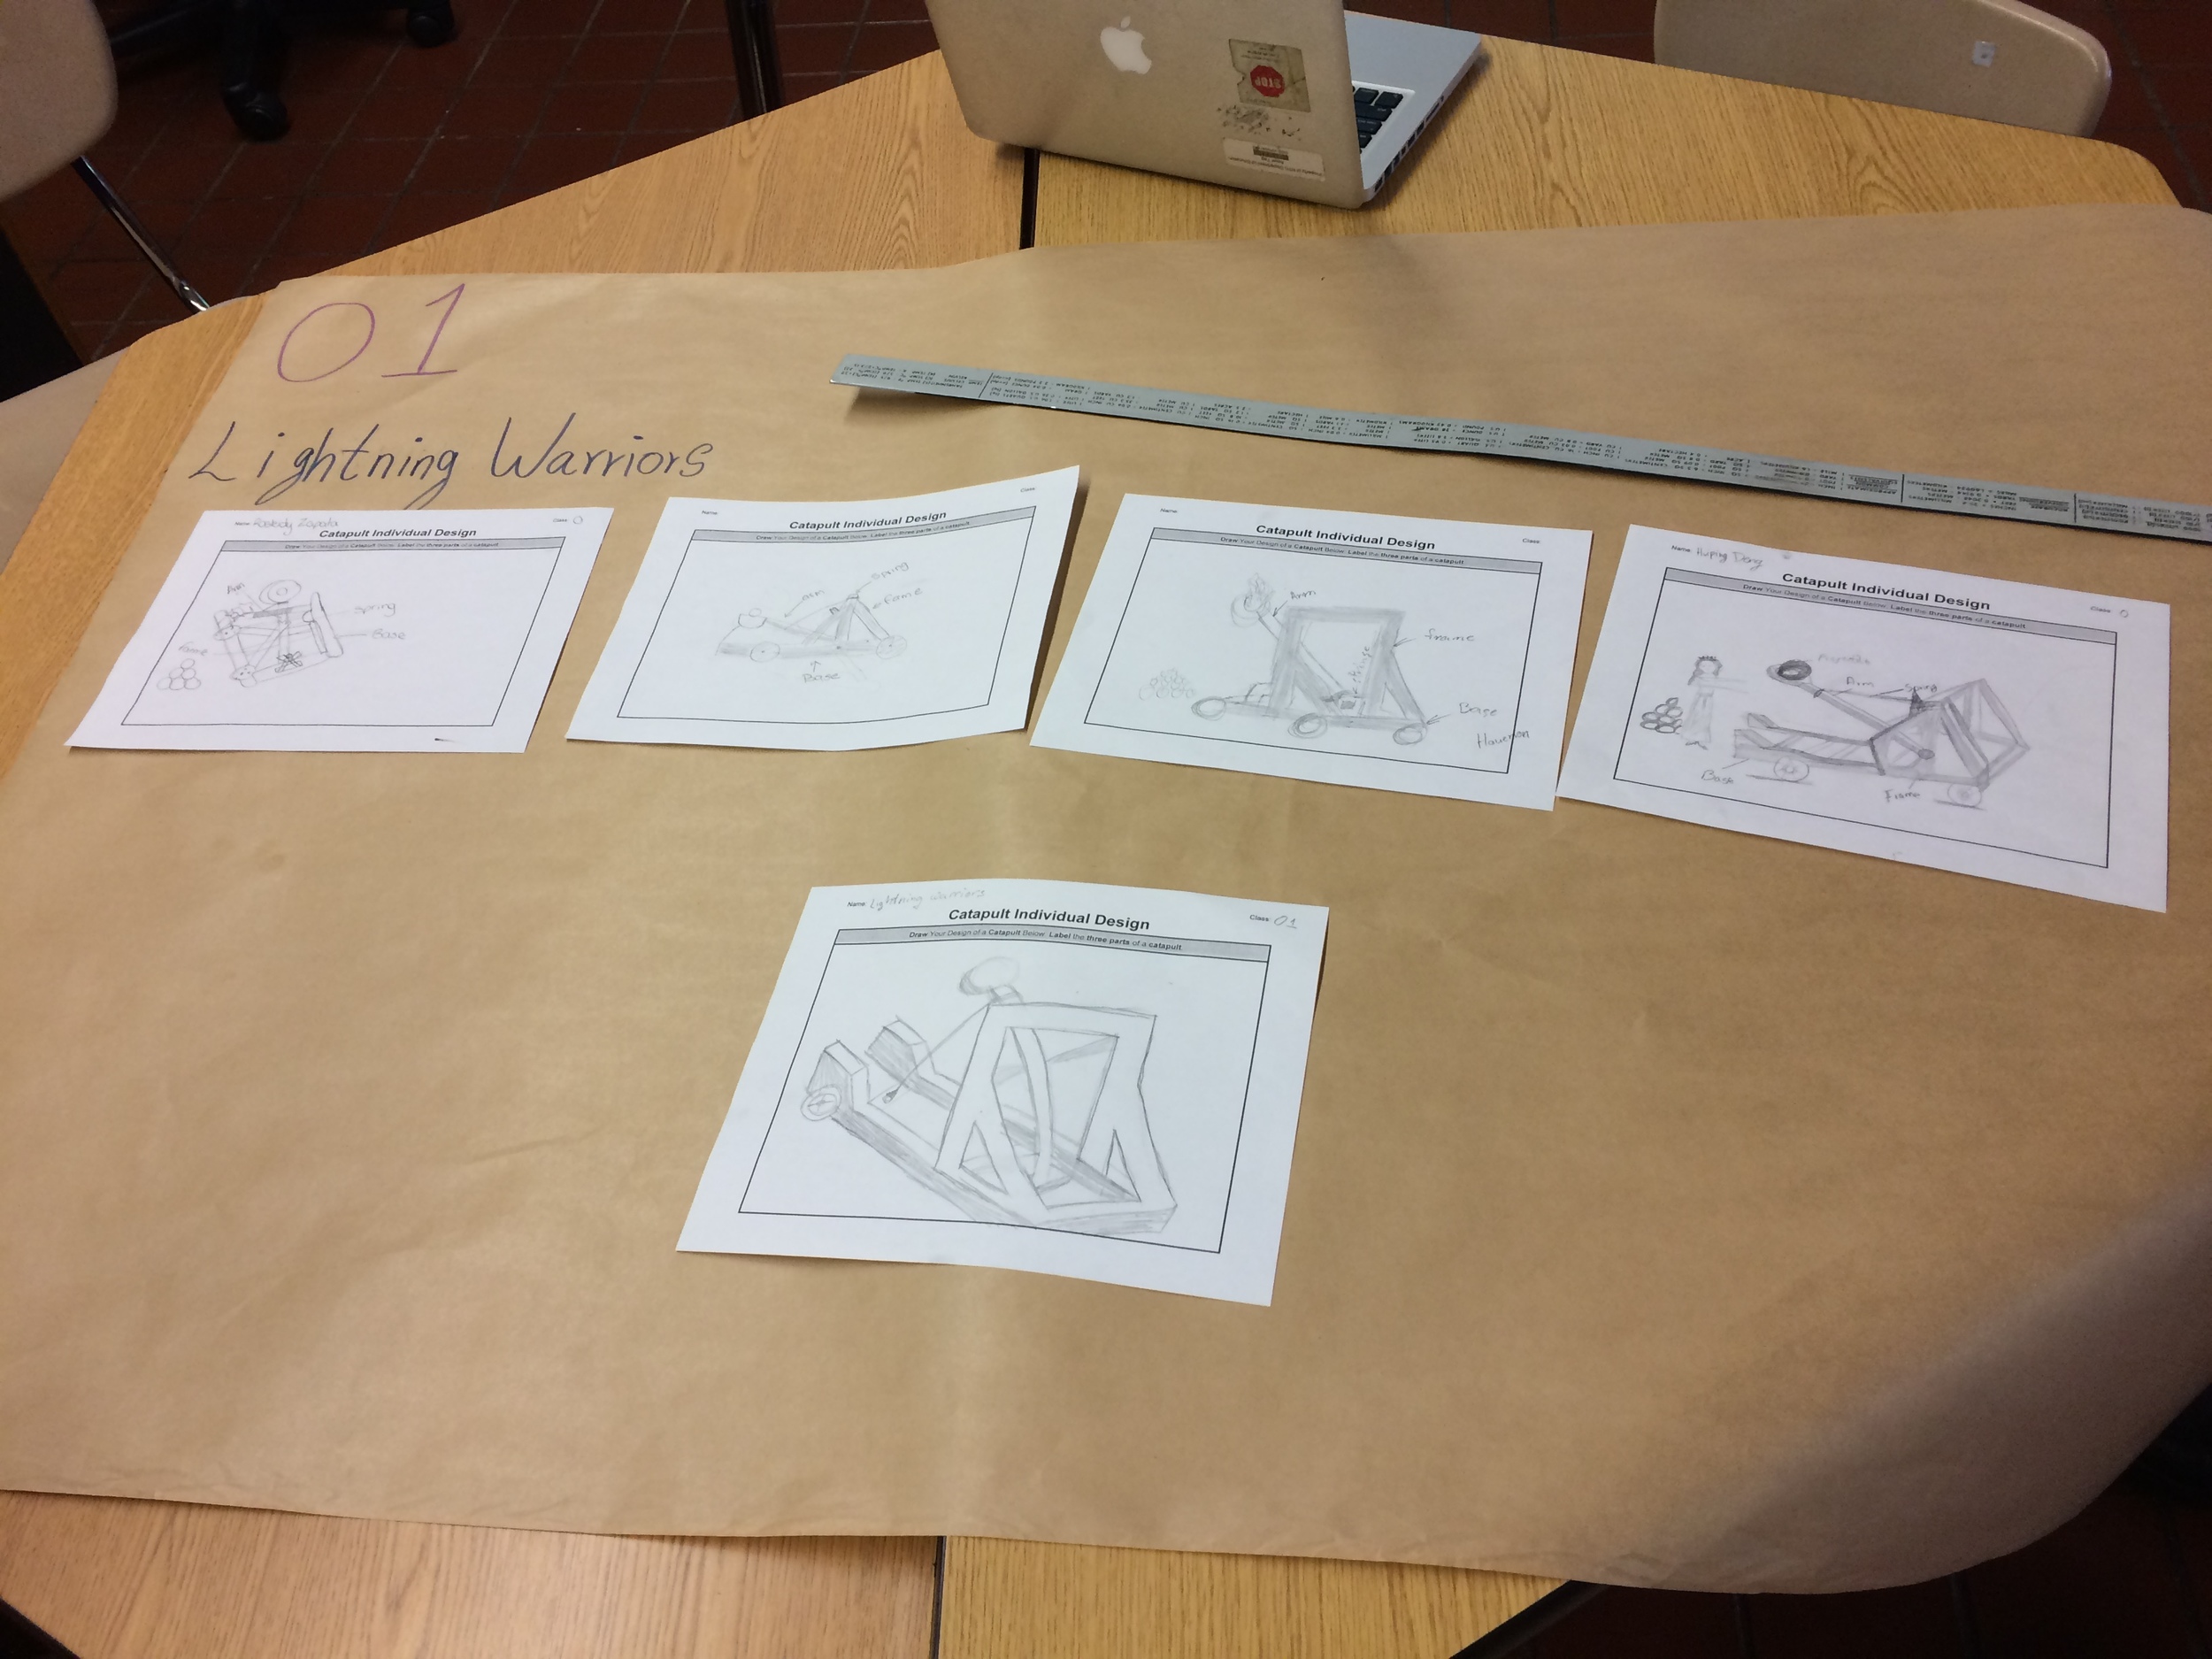
Show videos of catapults being used, and discus the three parts of the catapult (base, frame, arm), students began to build their catapult.
Groups begin building catapults using materials listed to the right.
Groups create a time-lapse video using the demo version of iStopmotion, and edited using iMovie. (See below for video details)
Example of student made time-lapse video of the group building their catapult
Student-made time lapse video documenting their design process
Catapult Materials
25 Dowel Rods used to build catapults
Metal files used to shape and fit the catapult pieces together
Rubber bands used to give the catapult firing power
Plastic cups used to hold the projectile
Wood glue and hot glue used to connect the wood pieces of the catapult together
Clay and balled up tin foil used as projectiles
Part 3: Design & Conduct Experiment
Asynchronous work on experiment, website, stop-motion video
Week 5
Students must design experiment on their own with out teacher input. Review the experiment rubric and checklist so students to verify expectations.
To develop the group experiment question, students developed their own questions on the Individual Experiment Question document, then selected one as a group on the Catapult Group Experiment Question document.
Experiment information was placed on the Catapult Experiment Template document.
Each student must develop their own hypothesis and write their own conclusion.
Student Example Catapult Experiment document.
When each student has developed their hypothesis, work on other aspects of project may begin.
Make deadline for all work clear to students.
At beginning of every class groups must fill out their Daily Planner document.
At beginning, teacher needs to demo how to do.
Student Example Daily Planner document.
Week 5-7
To develop the experiment website students use Google Sites and the Experiment Website Requirement document.
To edit the stop-motion video students use iMovie, and the Stop-motion Video Requirements document.
When complete, students upload stop-motion video to Google Drive, and embed on their website.
Students link their website to the Group Catapult Experiment Websites
Students link their videos to the Group Catapult Stop Motion Videos
Students will use website to present.
Before presentations, build the Presentation Rubric with students.
To organize presentation create the Catapult Presentation Information document with the students.
Have students in each group decide who will be responsible for each part of presentation.
Provide groups time to practice presentation.
Students do two formal presentations.
First in front of class to audience of students and teachers.
Second presentation to senior students sitting in groups.

